


19
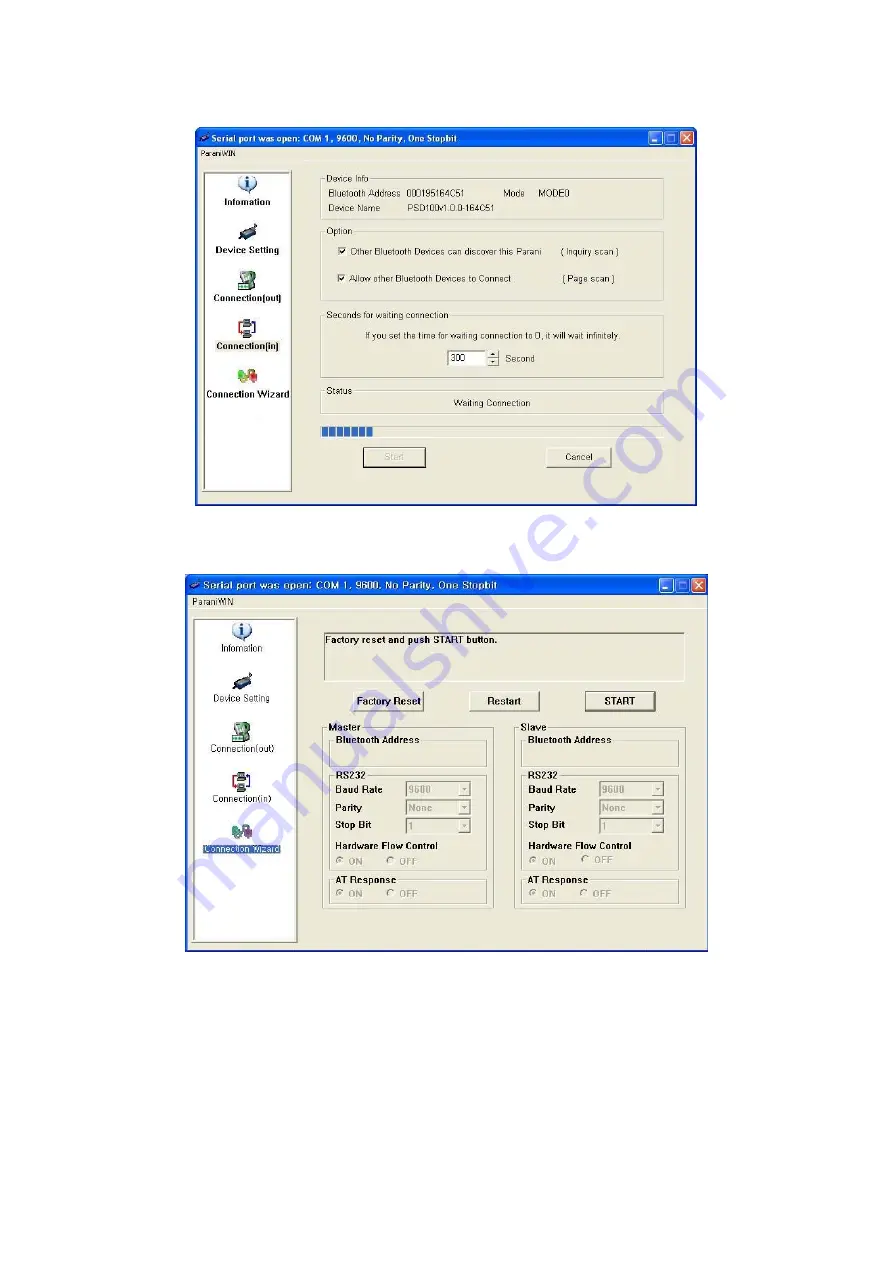
Figure 3-8 Connection(in) Window
If the Connection Wizard icon is clicked, an easy to use pairing menu will appear:
Figure 3-9 Connection Wizard Window
In this example we will refer to the two Parani-ESDs as ESD1 and ESD2 respectively. To use this menu,
please do the following:
Step 1.
Connect ESD1 and then push the START button.
Step 2.
Disconnect ESD1, connect ESD2 and then push the Next button after setting up Slave
configuration.
Step 3.
Disconnect ESD2, once again connect the ESD1 and then push the Finish button. The pairing
Содержание Parani-ESD100
Страница 1: ...Parani ESD100 110 User Guide Version 2 0 6 2 2017 01 26...
Страница 15: ...15 Figure 3 2 Main Window Figure 3 3 Information Window...
Страница 39: ...39...
Страница 60: ...60 Appendix F How to make a RS232 interface Development Board...
Страница 61: ...61 Appendix G Parani ESD100 110 PCB mechanical drawing...


