By-Fold Sliding Shutters
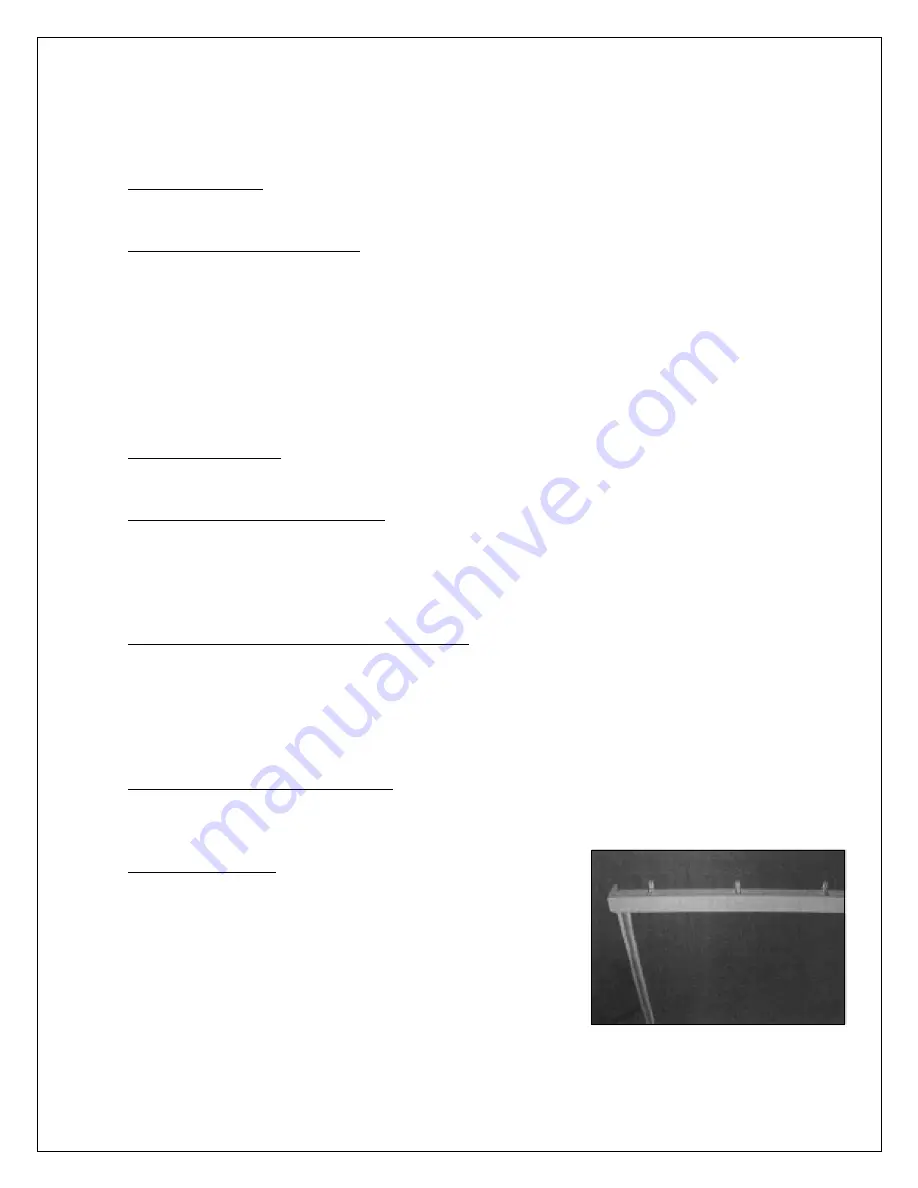
1. Frame Assembly - Insert the carries into the tracks on the top horizontal Frame Rail.
Assemble the pre mitered frame using the #8 x 1 ‘/2" screws in the pre drilled holes.
2. Headrail & Frame Installation - Stand the frame up against
the wall and level it using a Level. Place shims under the
vertical legs to level the frame and to bring the bottom of the
vertical frame legs flush with the level of the carpet. Attach the
top frame rail to the wall using the 2" x 4" brackets and the
screws (refer to diagram). Make sure the vertical frame legs
are square to the top horizontal frame rail and parallel to each
other then secure them to the wall using #8 x 3" painted head
screws at the top only.
3. Jamb Kit Assembly - Install the jamb kit assembly at the bottom left and right frame
leg(s) and to the floor. Follow the instructions in the jamb kit that is included in the slider.
4. Hanging First Panel Onto Track - Install the outer panel by placing the bottom pivot
into the hole in the jamb bracket assembly. Allow the panel to rest on the pivot. Hold the
panel in position so that the top pivot is aligned with the pre-installed track bushing, and
adjust the top pivot so that the head enters into the hole of the track bushing to a point
where the panel is securely held.
5. Aligning Panel And Hanging Second Panel - Close the shutter panel and adjust the
top and bottom pivots until the panel is parallel to the vertical frame leg, hang the inner
panel(s) to the outer panel(s) using the hinges. Align the inner panel’s factory installed
stile anchor with the carriers. Attach the carrier into the stile anchor. Adjust the stem of
the carrier until the panel is leveled, and tighten the lock nut. Repeat this step for all
successive panels.
6. Ensuring Proper Panel Operation - Close the shutter panels to make sure they are
fully extended and flush in line with the frame. If panels do not extend fully, adjust pivot
points in either direction. Install catches as needed with or without spacers.
7. Valance Assembly - Insert the valance corners into the
valance and secure them with screws. Slide the valance
returns over the corner leg and secure them with screws.
Mount the valance to the top frame rail using the 1" x 1"
brackets and #6 x 3/4" screws at the pre-drilled locations.
Note:
Be sure the bottom of the valance is 1/8" above the
top plates.


