Installation Instructions Sliders
Bi-Pass Sliding Shutters
There are basically two methods that can be used to install Bi-pass shutters. The first
method described below is the preferred method. The second method can be used
when obstacles such as walls or cabinets are protruding on both sides of the door
opening preventing side access to the shutter frame.
Leg Removal Method
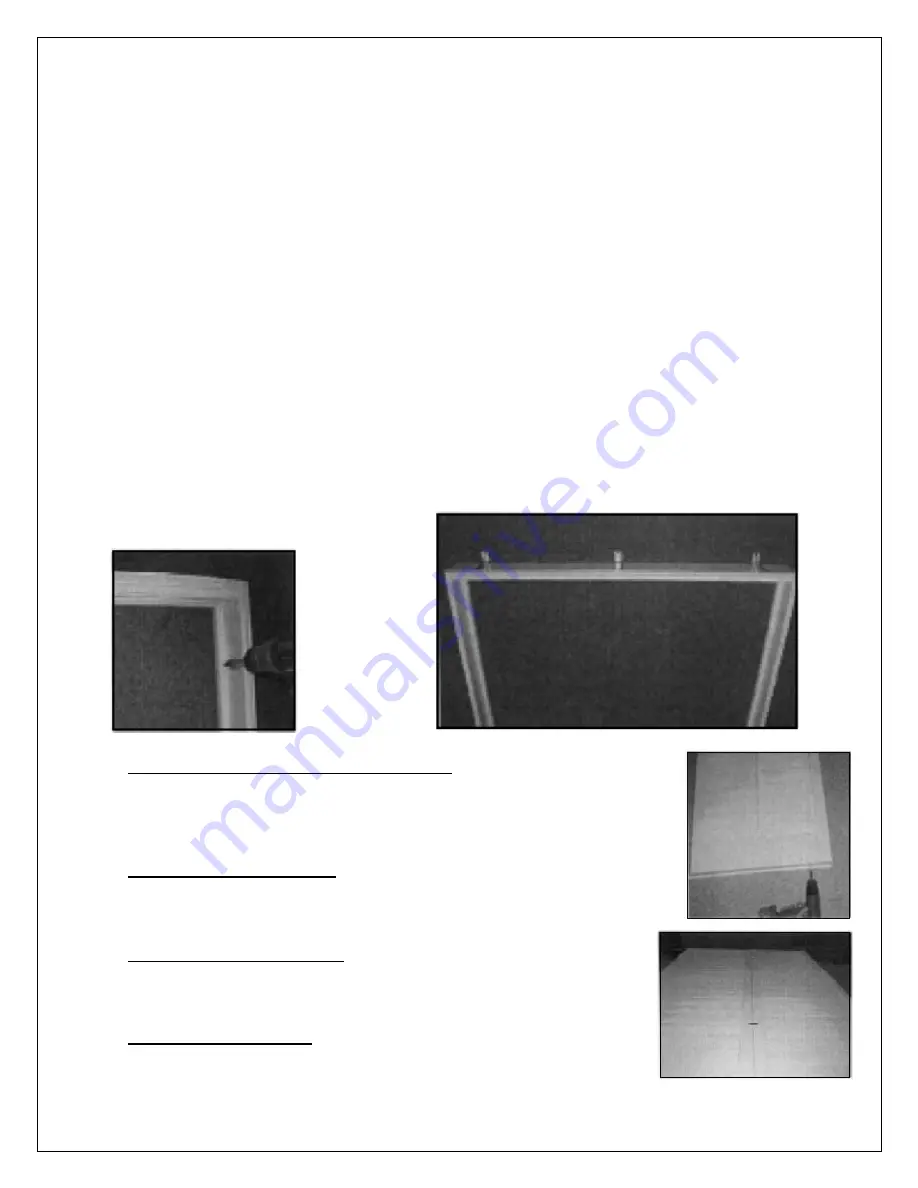
1. Frame Assembly - Lay the pieces of the frame on a smooth surface in front of the
opening and assemble the frame by attaching the frame legs to the frame headrail using
#8 x 1-1/2” screws into the predrilled holes at the top of the frame legs.
2. Headrail Installation -Stand the frame up against the wall and position it around the
door opening. Level the frame. Use shims to raise the legs as necessary to make the
frame level. Attach one of the vertical frame legs to the wall using a #8 x 3" painted
head screw. Attach the Frame Headrail to the wall using the 2" x 4" brackets and
screws supplied.
3. Attach Bottom Panel Guides (if supplied) - Attach the guides to the
bottom of the panels using the 1/2” screws supplied.
4. Sliding Panels Onto Track - Remove one of the frame legs and
slide the panels onto the tracks attached to the Frame Headrail.
Reattach the frame leg to the Frame Headrail.
5. Attaching Panels To eq the - If necessary attach panels that are
on the same track together by using magnet plates on the back
side of the panels.
6. Side Frame Installation - Move the panel on the back track
toward the frame leg away from where the door opens and closes.


