7
Secure DVI KVM Switch with Dedicated CAC Port and 4K Ultra-HD Support
INSTALLATION (Continued)
MULTI-HEAD UNITS:
1. Ensure that power is turned off or disconnected from the unit and the computers.
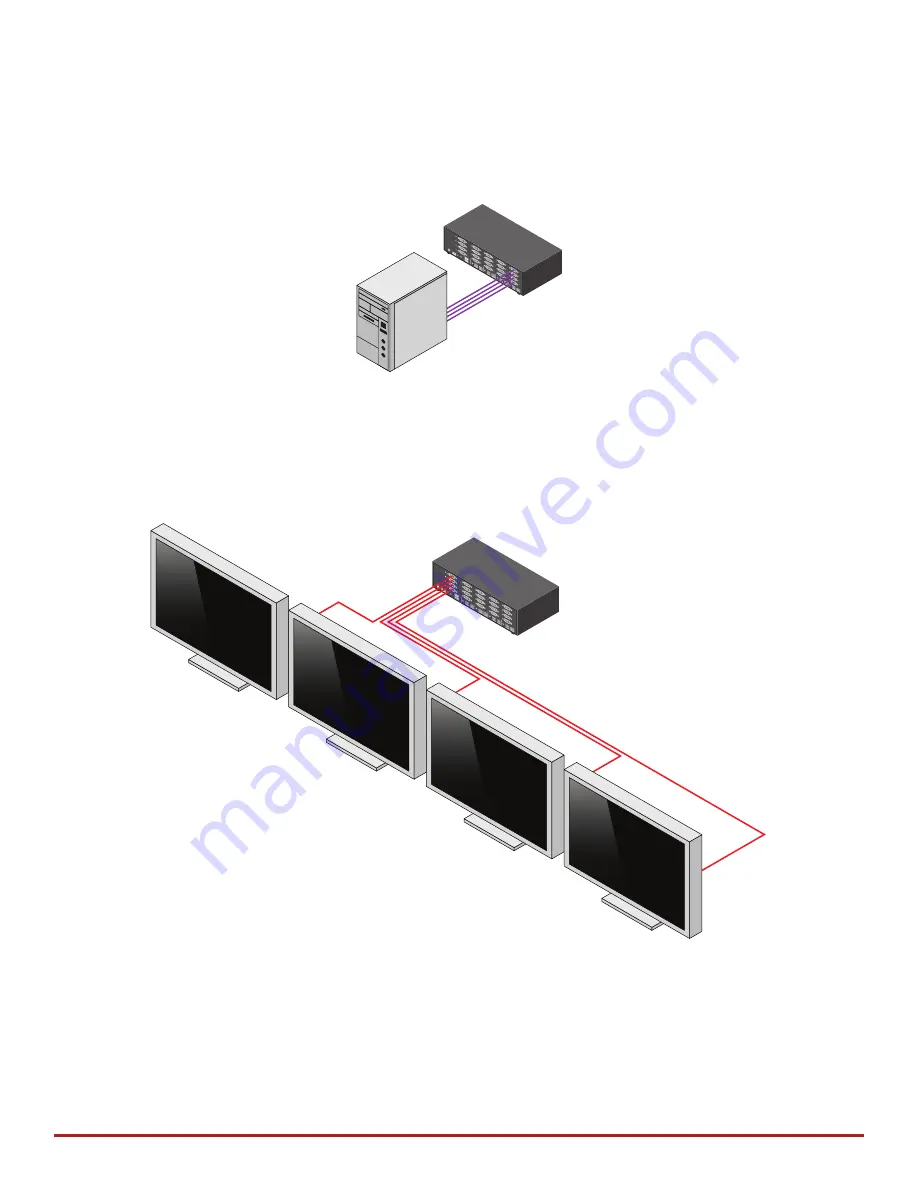
2. Use DVI cables to connect the DVI output ports of each computer to the corresponding DVI IN
ports of the unit. For example, if using CK4-D404C, the four DVI ports of one computer must all be
connected to one channel.
The DVI IN connectors that belong to the same channel are arranged vertically.
3. Use a USB cable (Type-A to Type-B) to connect a USB port on each computer to the respective
USB ports of the unit.
4. Optionally connect a stereo audio cable (3.5mm on both ends) to connect the audio output of the
computer to the AUDIO IN ports of the unit.
5. Connect the monitors to the DisplayPort OUT console ports of the unit using DisplayPort cables.
The DVI IN ports on one row will be switched to the DVI OUT of the same row.
6. Connect a USB keyboard and mouse in the two USB console ports.
7. Optionally connect stereo speakers to the AUDIO OUT port of the unit.
8. Optionally connect CAC (smart card reader) to the CAC port in the user console interface.
9. Power on the KVM by connecting a 12VDC power supply to the power connector, and then turn
on all the computers.
Note
: The computer connected to port 1 will always be selected by default after power up.
CONS
OLE
12V
DC2.
0A
AUD
IO
K/M
AUDIO
AUDIO
AUD
IO
AUDIO
K/M
K/M
K/M
K/M
CA
C
CAC
CAC
CAC
CA
C
IN-1
IN-2
IN-3
IN-4
CK4-D404C
DVI-
I A
DVI-
I A
DVI-
I A
DVI
-I A
DV
I-I O
UT A
DVI-I B
DVI-
I B
DVI-
I B
DVI-
I B
DVI-I
OU
T B
DVI-I
C
DVI
-I C
DV
I-I C
DVI-
I C
DVI-I
OU
T C
DVI-I
D
DVI-I D
DVI-I
D
DVI-
I D
DVI
-I OU
T D
CONSOL
E
12VD
C2.0
A
AUDIO
K/M
AUDIO
AUDIO
AUD
IO
AUDIO
K/M
K/M
K/M
K/M
CA
C
CA
C
CA
C
CA
C
CA
C
IN-1
IN-2
IN-3
IN-4
CK4-D404C
DV
I-I A
DVI-
I A
DV
I-I A
DVI-
I A
DVI-
I OU
T A
DV
I-I B
DVI-
I B
DV
I-I B
DVI-
I B
DVI-
I OU
T B
DV
I-I C
DVI-
I C
DV
I-I C
DVI-
I C
DVI-
I OU
T C
DV
I-I D
DVI-
I D
DV
I-I D
DVI-
I D
DVI-
I OU
T D


