4
5. WIRING CONNECTIONS
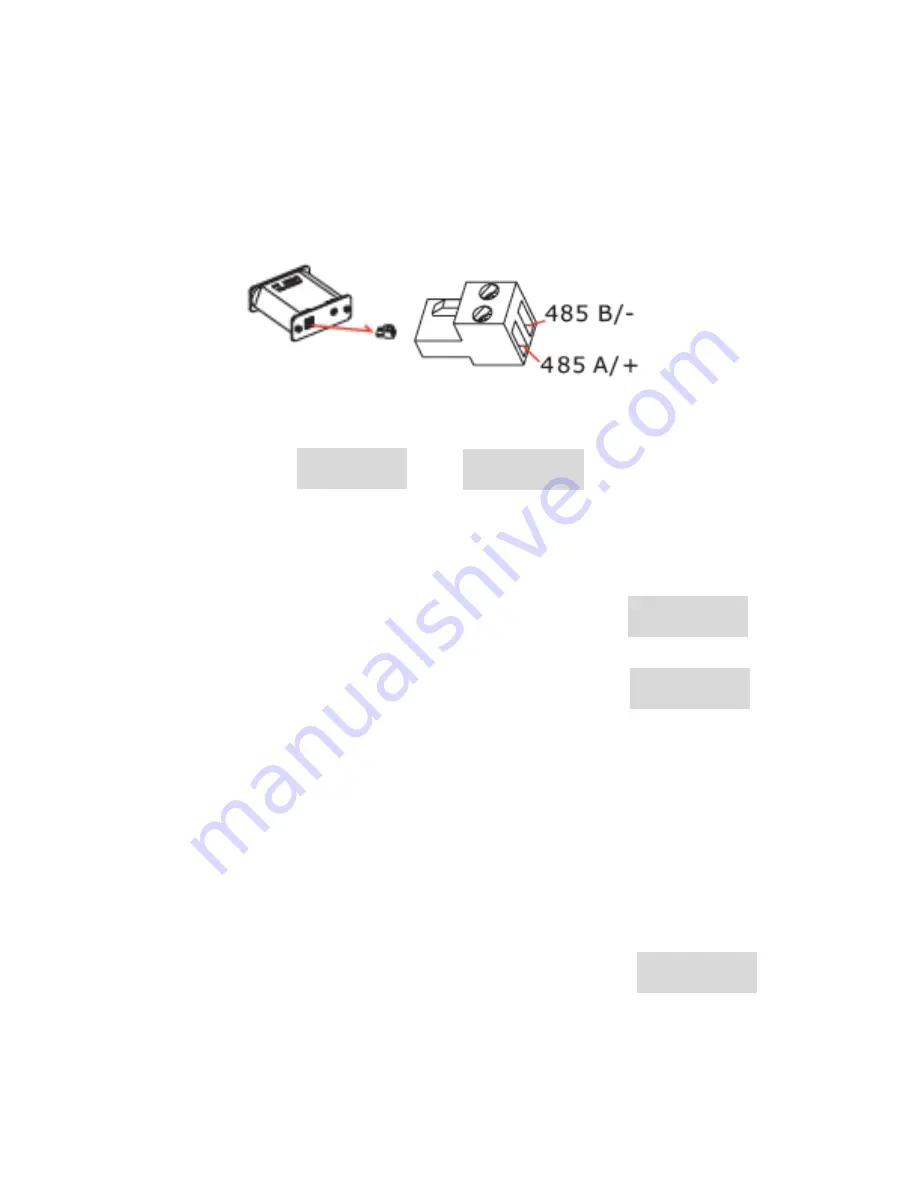
a. Per the diagram below, connect an unshielded twisted pair (UTP) control cable
between the PTZ dome camera and the PT Dome Controller using the PT Dome
Controller’s connection block. Be sure the connection polarities at the camera and the
PT Dome Controller are the same.
b. Connect a 12VDC 1A
power supply to the PT Dome Controller’s power port.
c. After the PT Dome Controller is powered on the unit will display
or
A
refers to “address” so A001 = address 1.
P
refers to “preset point” so P001 = preset 1.
6. SETTINGS and FUNCTIONS
Set Target Camera Protocol and Baud Rate
a. Press the Infrared Remote Controller’s
DISP one time
. The
PT Dome Controller’s screen will display the current
firmware version (in this case version 18).
b. Press the
DISP one more time
and the PT Dome
Controller’s screen will display the current camera protocol
and baud rate. The first letter indicates the protocol where
d
is for PELCO-D and
p
is for PELCO-P. The last two digits indicate the current baud
rate where
12
= 1200BPS,
24
= 2400BPS,
48
= 4800BPS and
96
= 9600BPS.
c. If the settings need to be changed press
SETUP.
The protocol may be changed by
using the Infrared Remote Controller’s
UP/DOWN
buttons and the baud rate via the
LEFT/RIGHT
buttons. Select the desired protocol and/or baud rate then press
ENTER
to save and confirm. The ST-PTZ-RC default protocol and baud rate settings
are PELCO-D at 2400BPS.
Set Target Camera Address
a. Press the Infrared Remote Controller’s
CAM
button to go to the address command
mode. This command will select your target camera.
b. In this mode you can input a number by pressing any Infrared
Remote Controller’s numeric key. For example, pressing key
1 will set the target camera address as
c. If you want to input a number greater than 10, you need to press the
-/--
buttons to
enter a “plus 10” mode. At this point you can input up to 3 numbers. Press the
C
button to backspace. Once you have input the numbers press the
ENTER
button to
confirm.
A001
P001
A001
UO 18
d -24


