


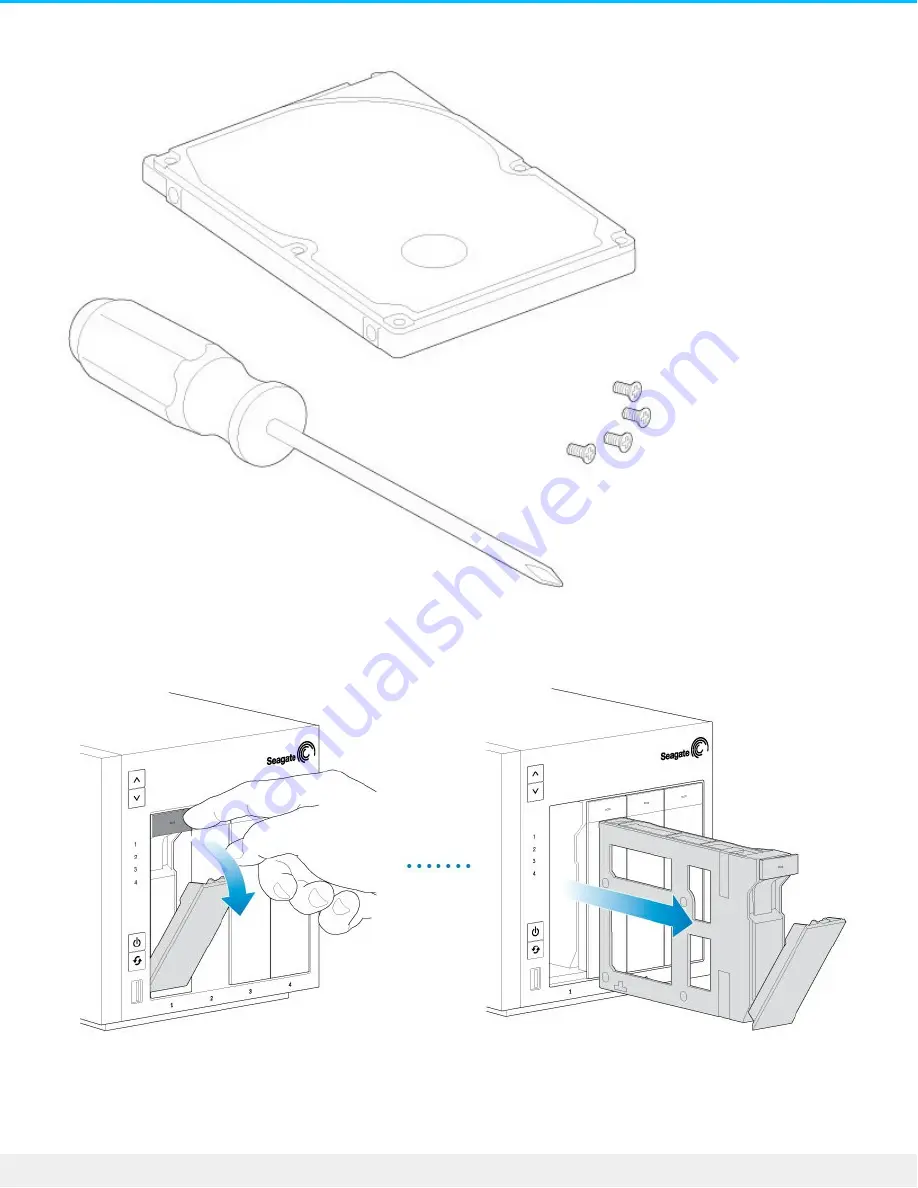
You can add the 2.5-inch hard drive or SSD to an empty hard drive tray or replace an existing disk. Make
certain that the capacity of the 2.5-inch hard drive is equal to or greater than the disk you are replacing.
1. Remove a hard drive tray from the Seagate NAS Pro. It can be empty or filled with a hard drive you want
to replace.
2. If applicable, remove the hard drive by unfastening the four pins and extracting it from the tray
3. The hard drive tray has an SSD adapter switch on the bottom right (Image A). Push it down (Image B).
58
Seagate NAS Pro 2-Bay | 4-Bay | 6-Bay
4/28/15
Содержание NAS Pro 2-Bay
Страница 16: ...16 Seagate NAS Pro 2 Bay 4 Bay 6 Bay 4 28 15 ...
Страница 17: ...NAS Pro 4 Bay 17 Seagate NAS Pro 2 Bay 4 Bay 6 Bay 4 28 15 ...
Страница 18: ...18 Seagate NAS Pro 2 Bay 4 Bay 6 Bay 4 28 15 ...
Страница 19: ...NAS Pro 6 Bay 19 Seagate NAS Pro 2 Bay 4 Bay 6 Bay 4 28 15 ...
Страница 20: ...20 Seagate NAS Pro 2 Bay 4 Bay 6 Bay 4 28 15 ...
Страница 30: ...30 Seagate NAS Pro 2 Bay 4 Bay 6 Bay 4 28 15 ...
Страница 32: ...1 Hard drives 2 Status power button NAS Pro 6 Bay LEDs 32 Seagate NAS Pro 2 Bay 4 Bay 6 Bay 4 28 15 ...
Страница 39: ...Step 3 First login 39 Seagate NAS Pro 2 Bay 4 Bay 6 Bay 4 28 15 ...
Страница 47: ...3 Follow the on screen instructions to complete the installation 47 Seagate NAS Pro 2 Bay 4 Bay 6 Bay 4 28 15 ...
Страница 52: ...52 Seagate NAS Pro 2 Bay 4 Bay 6 Bay 4 28 15 ...
Страница 61: ...6 Insert the hard drive tray into the empty slot 61 Seagate NAS Pro 2 Bay 4 Bay 6 Bay 4 28 15 ...
Страница 67: ...5 Wait for the LED to turn solid 67 Seagate NAS Pro 2 Bay 4 Bay 6 Bay 4 28 15 ...


