background image

12.

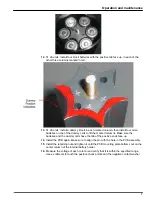
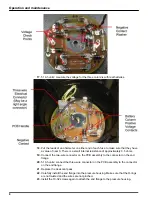
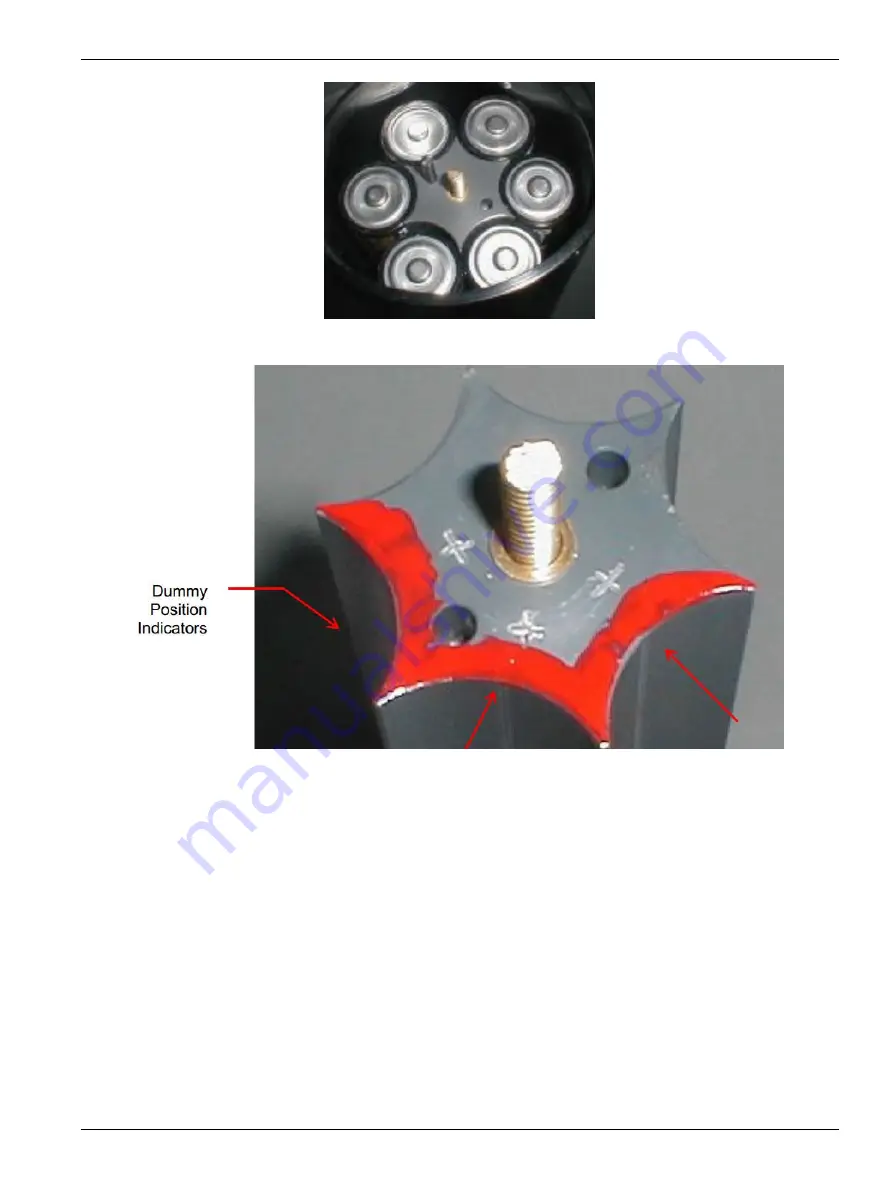
51 Ah units: install four D cell batteries with the positive tab face up, in each of the
other three columns marked in red.

13.

51 Ah units: install a dummy D cell in each marked column, then install four more
batteries on top of the dummy cells to fill the marked columns. Make sure the
batteries and the dummy cells have the tab of the positive ends face up.

14.

Install the PCB again. Make sure to align the pin with the hole in the PCB assembly.

15.

Install the retaining nut and tighten it until the PCB mounting plate bottoms out on the
center column of the internal battery holder.

16.

Measure the voltage of each column and verify that it is within the specified range.
Use a voltmeter to touch the positive check points and the negative contact washer.

Operation and maintenance

7

Содержание SUBMERSIBLEBATTERYPACKS

Страница 1: ...User manual Aluminum Battery Pack Document No BPAl Release Date 2022 11 07 Version 1 541 929 5650 seabird com ...

Страница 2: ......

Страница 3: ...ection 2 Operation and maintenance 5 2 1 Verify operation 5 2 2 Remove and replace end flange and batteries 5 2 3 Regular maintenance 9 Section 3 General information 11 3 1 Warranty 11 3 2 Service and support 11 3 3 China RoHS disclosure table 11 1 ...

Страница 4: ...Table of Contents 2 ...

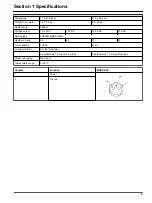
Страница 5: ...e output 13 5 VDC 15 VDC 13 5 VDC 15 VDC Battery type LR20XWA BB Alkaline Number of cells 54 60 27 30 Total capacity 102 Ah 51 Ah Circuit protection 4 A fast blow fuse 6 parallel sets 1 2 A slow blow fuse 3 parallel sets 1 2 A slow blow fuse Pressure housing Aluminum Temperature range 0 35 C Contact Function MCBH2 FS 1 Power 2 Ground 3 ...

Страница 6: ...Specifications 4 ...

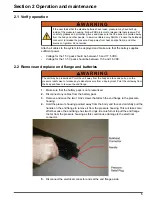
Страница 7: ...be between 13 5 and 16 VDC 2 2 Remove and replace end flange and batteries WA RNING The unit may be pressurized Point the unit away from the body and face and pull up on the pressure relief valve to release any residual pressure from a deployment Point the unit away from the body and face to remove the end flange 1 Make sure that the battery pack is not pressurized 2 Disconnect any cables from the...

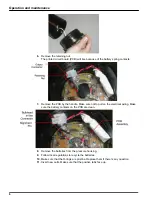
Страница 8: ...o pull on the electrical wiring Make sure the battery contacts on the PCB are clean 8 Remove the batteries from the pressure housing 9 Follow local regulations to recycle the batteries 10 Make sure that the O rings are pristine Replace them if there is any question 11 Insert new cells Make sure that the positive tabs face up Operation and maintenance 6 ...

Страница 9: ...teries and the dummy cells have the tab of the positive ends face up 14 Install the PCB again Make sure to align the pin with the hole in the PCB assembly 15 Install the retaining nut and tighten it until the PCB mounting plate bottoms out on the center column of the internal battery holder 16 Measure the voltage of each column and verify that it is within the specified range Use a voltmeter to to...

Страница 10: ... the two wire connector on the PCB assembly to the connector on the end flange 20 51 Ah units connect the three wire connector on the PCB assembly to the connector on the end flange 21 Replace the desiccant pack 22 Carefully install the end flange into the pressure housing Make sure that the O rings are not twisted and the wires are not pinched 23 Install the 10 32 screws again to attach the end f...

Страница 11: ...rs to extend the life of this unit Make sure that the O rings on the end flange and the pressure relief valve are pristine Use the manufacturer supplied Dow Corning DC 111 to lubricate new O rings Pre deployment maintenance Inspect the pressure housing for any damage Deep cuts or scratches weaken the housing and reduce the depth at which the unit can safely operate In addition make sure that the c...

Страница 12: ...Operation and maintenance 10 ...

Страница 13: ... from the sensor if so equipped 3 Remove all anti fouling treatments and devices Note The manufacturer will not accept sensors that have been treated with anti fouling compounds for service or repair This includes AF 24173 devices tri butyl tin marine anti fouling paint ablative coatings etc 4 Use the sensor s original ruggedized shipping case to send the sensor back to the manufacturer 5 Write th...

Страница 14: ...General information 12 ...

Страница 15: ......

Страница 16: ...WET Labs Inc 620 Applegate Street Philomath OR 97370 U S A Tel 541 929 5650 WET Labs Inc 2022 All rights reserved Printed in U S A BPAl ...

Отзывы: