

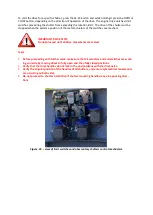


Figure. 58
–
Mounted internal cover of drive units [optional Hygrometer shown].
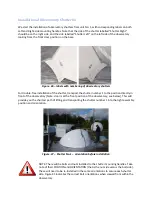
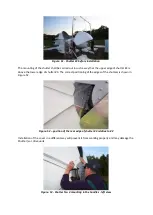
The final stage of the installation of drive unit covers is the installation of the external cover. When
installing it, the observatory should have all the shutters closed. The cover is fixed on the spacer with
the bearing, terminated with M6 and M8 threads attached with the observatory equipment shown in
Figure 59.
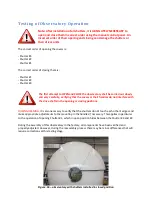
Figure. 59
–
Spacer screws for fixing the covers of external drive units.
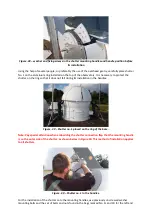
The end of the M6 thread spacer bolt shall be screwed into the hole in the main shaft of the drive
shaft as shown with Figure 60.
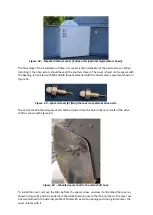
Figure. 60
–
Mounted spacer bolt in the main shaft hole.
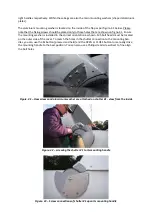
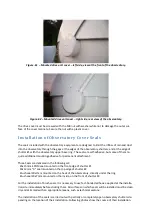
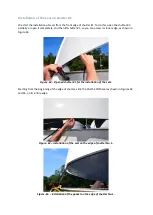
To install the cover, remove the M8 cap from the spacer screw, unscrew it and embed the cover as
shown in Figure 61 and 62. Special care should be taken to ensure that the notches in the cover are
closely attached to the external profile of Shutter #3, as when opening and closing this shutter, the
cover rotates with it.
Содержание Clamshell 3M
Страница 1: ...Assembly and Installation of ScopeDome 3M Clamshell Observatory ...
Страница 40: ......