background image

Page 5

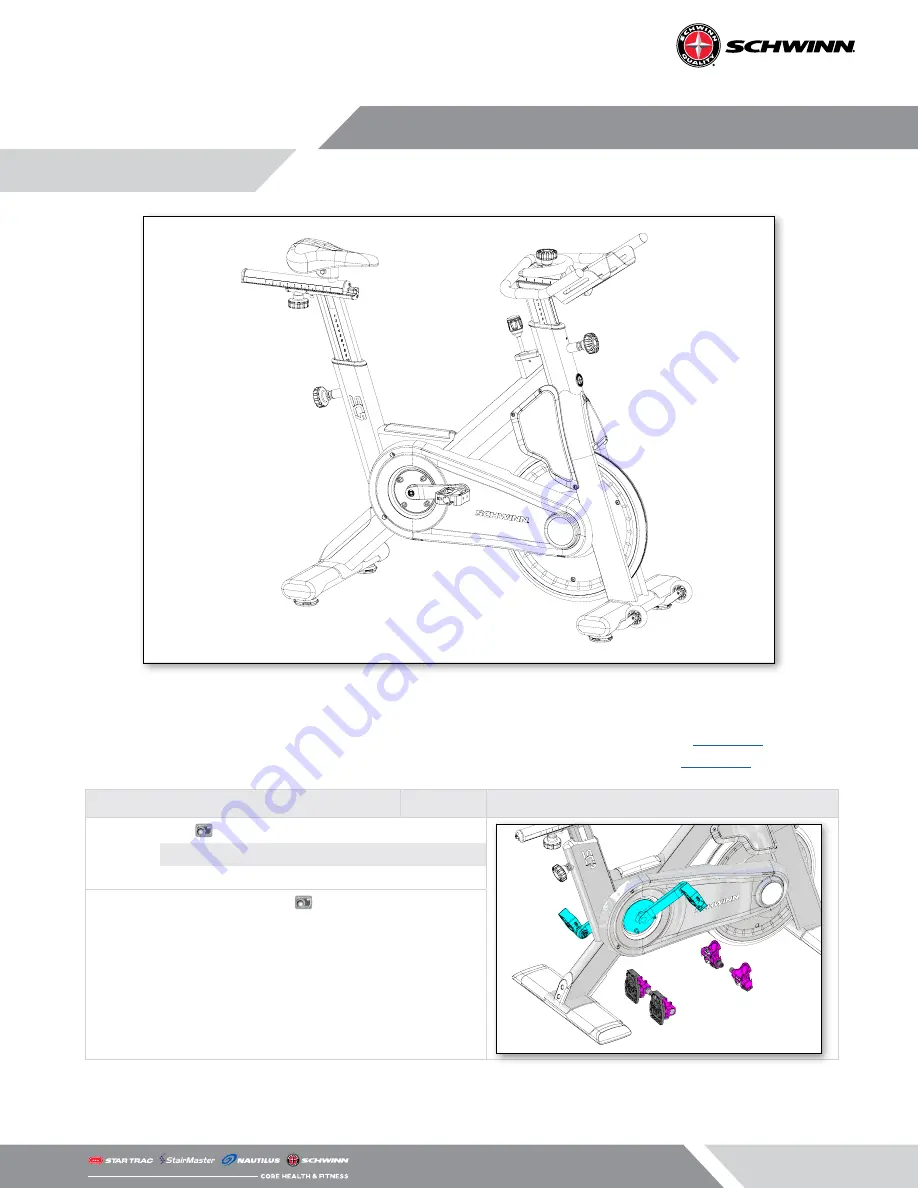
Standard Schwinn pedals have threaded shafts that connect to the crank arms. The right pedal is 

right-hand threaded while the left pedal is reverse threaded, meaning you turn to the left to tight-

en and right to loosen. For pictures of all different Schwinn pedals, see documen

637-4501

 on our 

support site. For a comprehensive list of accessories for Schwinn, see documen

637-8608

.

Cranks & Pedals

SKU

Power

4iiii 

718-5765

KEO

DELTA

MPower

740-8941

Pedals

Standard Double Link 

740-9020

Triple Link MT LOOK Delta-compatible

740-8689

Triple Link MT LOOK Keo-compatible

718-5869

ACCESSORIES

Содержание S.C. 5

Страница 1: ...SERVICE MANUAL Schwinn S C 5 Core Health Fitness...

Страница 2: ...dals 5 REPLACEMENT PROCEDURES 6 Shroud Removal 6 Belt Tension 7 Belt Replacement 8 Pairing Calibrating the 4iiii Crank 18 Bottom Bracket Replacement 19 TROUBLESHOOTING 23 Power Mechanical Issues 23 Co...

Страница 3: ...Height User Weight 134 lbs 61 kg 21 53 cm 55 140 cm 47 119 cm 0 350 lbs 0 159 kgs Product Conformity EN957 1 S H EN957 10 S H ASTM F1250 13 ASTM F2276 10 All products may be covered by US and Foreign...

Страница 4: ...als Install Owner s AC Performance 100175 AC Performance 9 7320 AC Performance Plus AC Sport SC5 SC7 SC Power IC Classic AC Power Related Installation Manuals MYE PVS Brackets Installation Consoles Fo...

Страница 5: ...tight en and right to loosen For pictures of all different Schwinn pedals see document 637 4501 on our support site For a comprehensive list of accessories for Schwinn see document 637 8608 Cranks Pe...

Страница 6: ...Remove the rubber chainguard cap 2 Remove the screws from the user right chainguard inset 3 Use a Phillips screw driver and 5mm hex key to remove the screws securing the user left Chainguard to the b...

Страница 7: ...wise to loosen Be sure to adjust the bolts evenly so that the flywheel is not angled between the forks 6 Fine adjustment to the belt tension can be done using a 13mm open ended wrench to loosen or ti...

Страница 8: ...5 Remove the rubber cap from the user left side 6 Use a 19mm socket to remove the axle bolts and axle spac ers on both sides of the flywheel NOTE The axle spacers are left right specific 7 BEFORE REM...

Страница 9: ...m allen key to remove the screw connecting the idler to the tensioner arm 12 Carefully walk the belt off of the tensioner pulley then walk the belt off of the crank pulley 13 Rotate the flywheel back...

Страница 10: ...ght tensionscrews by turning clockwise to tighten and counter clockwise to loosen Be sure to adjust the bolts evenly so that the flywheel is not angled between the forks 17 Fine adjustment to the belt...

Страница 11: ...nly it is not necessary to remove the crank arm 2 Thread a crank puller tool with the smaller 11mm tip into the crank arm then use the tool to push the pedal out of the crank arm 3 Push the new pedal...

Страница 12: ...level by adjusting all four leveling feet Turn the leveling foot clockwise to lower the bike and counter clockwise to raise the bike When leveled properly the bike should not wobble or lean to any one...

Страница 13: ...Phillips screw driver and 5mm hex key to remove the screws securing the user left Chainguard to the bike 4 Rotate the chainguard downward to remove 5 Use a 13mm open ended wrench to loosen the belt id...

Страница 14: ...mm tip into the crank arm then use the tool to pull the crank arm off the bottom bracket 10 Use a torque wrench coupled with an 8mm allen socket to reinstall the crank bolt and torque to the value bel...

Страница 15: ...er spring on the idler arm 13 Check belt tension using a sonic tension meter in the cen ter of the belt span The belt should measure 84 Hz 14 If you do not have a sonic tension meter you can use a ten...

Страница 16: ...ch coupled with an 8mm allen socket to reinstall the crank bolt and torque to the value below 40 44 ft lb 55 60 Nm 5 Use a small phillips screwdriver to remove the screw securing the battery cover rem...

Страница 17: ...ch and a 8mm allen socket to torque to the pedal bolt according to the specifications below Threaded Pedal 25 30 ft lb 34 40 Nm Morse Taper Pedal 33 37 ft lb 45 50 Nm NOTE The pedal MUST be torqued to...

Страница 18: ...he backlight to enter the ANT ID 5 Once the ANT ID has been entered pedal the bike then select PAIRING SPIN CRANK by pushing the back light button If pairing does not pass check to ensure the ANT ID i...

Страница 19: ...mallet to tap the bottom bracket shaft and one of the bearings from the user right side and out of the left side of the box 3 Remove the bottom bracket shaft and bearings from the frame 4 Apply red lo...

Страница 20: ...from the top cap then pull out the front pop pin blue then pull upwards on the brake top cap yellow to remove it 3 Turn the brake knob clockwise to lower the brake assem bly down onto the flywheel 4 U...

Страница 21: ...en pull out the front pop pin blue then pull upwards on the brake top cap yellow to remove it 3 Turn the brake knob clockwise to lower the brake assembly down onto the flywheel 4 Use a 27mm open ended...

Страница 22: ...brake bracket cover use a 3 hex key to remove the screws securing the brake bracket to the frame yellow 7 Remove the brake assembly from the bike If necessary remove the brake adjustment nut assembly...

Страница 23: ...ing for SC Power cycles 637 8618 Identifying crank arms 637 8526 General Pedal Maintenance 637 4501 Console 4iiii Procedure Link Note Updating the firmware on a 4iiii Powermeter 637 8637 Timing delay...

Страница 24: ...2018 CORE HEALTH FITNESS LLC PART NUMBER 637 8651 REV A...

Отзывы: