


Отзывы:
Нет отзывов
Похожие инструкции для LINDSAY 60 GP
Metris S 31100000
Бренд: Hans Grohe Страницы: 290
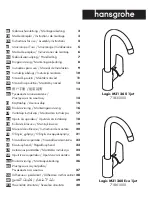
Logis M31 260 1jet 71835000
Бренд: Hans Grohe Страницы: 44
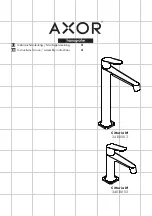
Axor Citterio M 34120003
Бренд: Hans Grohe Страницы: 12
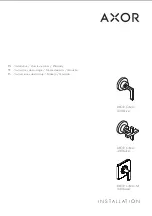
Axor Citterio
Бренд: Hans Grohe Страницы: 20
Talis S
Бренд: Hans Grohe Страницы: 16

PuraVida 15070 1 Series
Бренд: Hans Grohe Страницы: 20
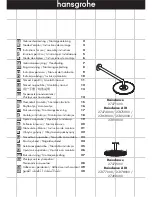
Raindance 27471000
Бренд: Hans Grohe Страницы: 48

Tenet LG49-TNTBG
Бренд: Pfister Страницы: 8

KI-1931
Бренд: baliv Страницы: 40

P24760
Бренд: Kallista Страницы: 9

ClassicLine
Бренд: B-Safety Страницы: 3

Explora E-907
Бренд: Helvex Страницы: 4

FH 8379-631
Бренд: UBERHAUS DESIGN Страницы: 3

AR THBSM C
Бренд: Bristan Страницы: 8

Lura CPT-25401
Бренд: Speakman Страницы: 2

K-17151X
Бренд: Kohler Страницы: 12

Pfirst Series
Бренд: Pfister Страницы: 7

Bramwell SLC-7212-RP Series
Бренд: Symmons Страницы: 12


