II/8
UNM / CPM / ZPM / SEM - OF
GB
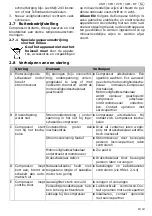
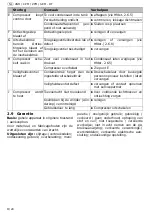
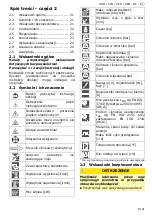
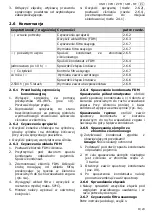
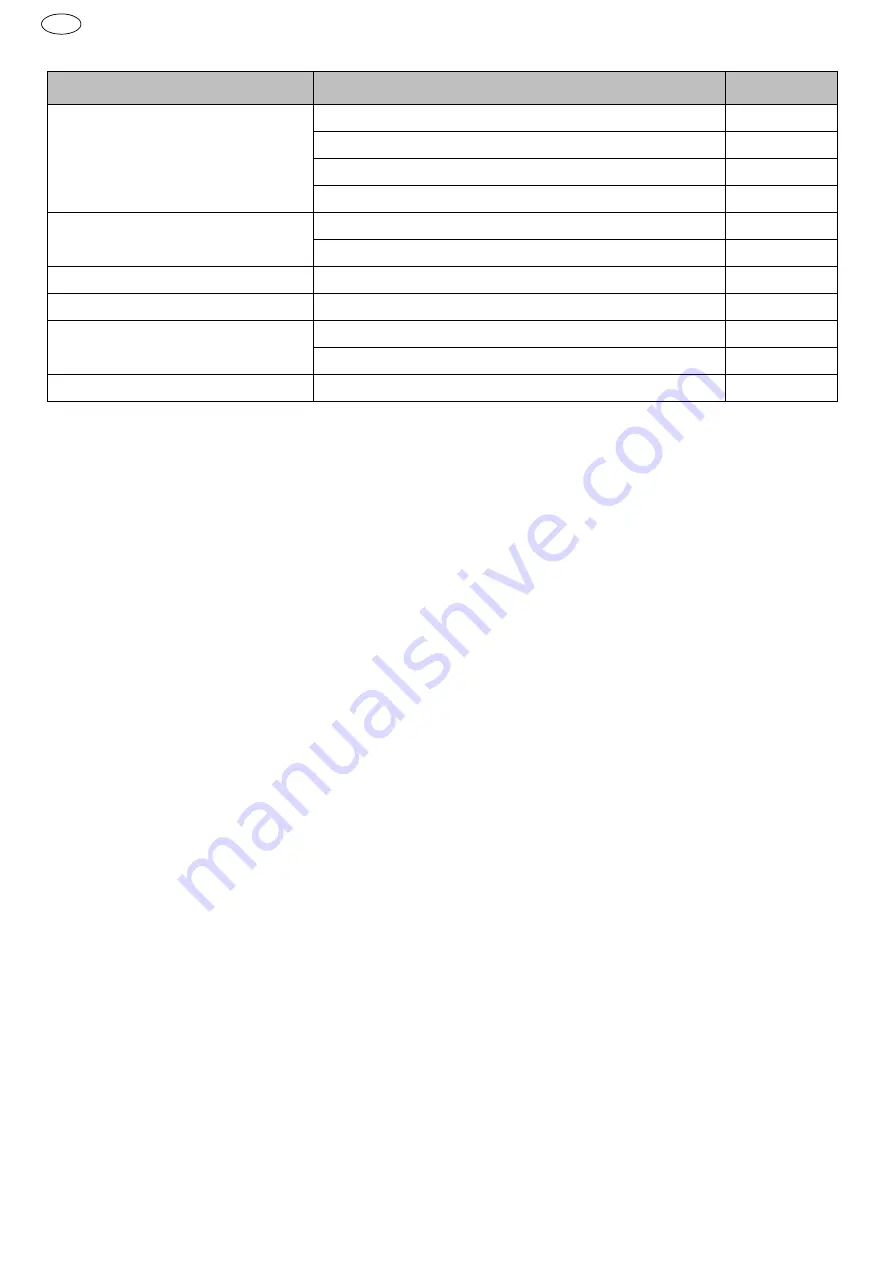
2.6 Maintenance
2.6.1 Before each maintenance task
1. Swtich on the compressor at the ON/OFF
switch (item 10). Disconnect the power
supply.
2. Depressurise the compressor: using the
blow gun, blow out all pressure from the
vessel.
2.6.2 Cleaning the compressor
• Clean the cooling fins on the cylinder, cyl-
inder head and aftercooler using com-
pressed air.
• Clean the fan impeller cover on the motor.
2.6.3 Clean FDM insert
1. Depressurise vessel of FDM.
2. Hold a suitable vessel under the conden-
sate drain. Drain condensate.
3. Disassemble vessel of FDM. Unscrew the
mounting screw of the filter insert by
screwing anticlockwise (Fig. 4a).
4. Remove the filter insert, clean in soapy
water (max. 50 °C).
5. Installation is in reverse order.
2.6.4 Draining condensate from FDM
Draining semi-automatically:
Rotate the
condensate drain valve 1/4 turn anticlock-
wise. Under 1 bar: condensate drains. (Fig-
ure 4a)
Draining manually:
Rotate the condensate
drain valve clockwise and push it up. Con-
densate drains.
2.6.5 Draining condensate from pres-
sure vessel
Dispose of condensate in accordance with
local specifications!
Caution:
Wear safety glasses!
1. Place a suitable vessel under the conden-
sate drain.
2. In order to drain condensate, the vessel
pressure must be 2 - 3 bar.
3. Open condensate drain valve (item 09).
4. Close condensate drain valve again fol-
lowing condensate drainage.
2.6.6 Checking the screw fittings
• Check that all the screw connections are
secure, and retighten them if necessary.
2.6.7 Cleaning the intake filter
See instruction manual, part 1.
Do not purge the intake opening. No for-
eign objects may enter.
Never operate the compressor without an
intake filter.
2.6.8 Cleaning/replacing the check
valve
1. Unscrew the locking screw (Figure 6a).
2. Clean insert, replace in case of damage,
squeezing or hardening.
3. Clean seat, replace complete check valve
if damaged.
2.6.9 Replacing the safety valve
1. Unscrew the safety valve (item 11) anti-
clockwise.
2. Apply medium-strength thread-locking
fluid, e.g. Loctite® 243, to the thread of
the new safety valve or wrap Teflon tape
around the valve.
3. Tightly screw the new safety valve in
clockwise.
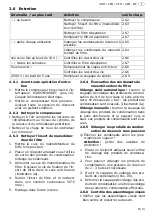
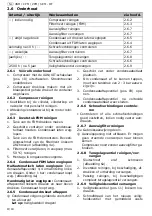
Interval / No later than
Tasks
See chap.
-- / As needed
Clean compressor
Clean filter insert (FDM)
Clean intake filter
Change intake filter
-- / after each use
Drain condensate from pressure vessel
Drain condensate from FDM
Once after 10 h / --
Check screw connections
-- / Weekly
Check intake filter
annually / --
Replacing the check valve
Check screw connections
2,500 h / After 5 years
Change safety valve

