20
ROUTINE CLEANING AND INSPECTION
To ensure the continued efficient and safe operation of
the boiler it is recommended that it is checked and serv-
iced at regular intervals. The frequency of servicing will
depend upon the particular installation conditions and
usage, but in general once a year should be enough.
It is the law that any servicing is carried out by a com-
petent person.
Service Check and Preparation.
• Operate boiler and check for any faults that need to
be put right.
• Isolate boiler from the gas and electrical supplies.
• On completion check all gas carrying parts for sound-
ness with leak detection fluid.
• Remove boiler casing as follows:
Upper front panel
• Remove the two front panel retaining brackets from
the top of the boiler.
• Remove panel by lifting up and forward.
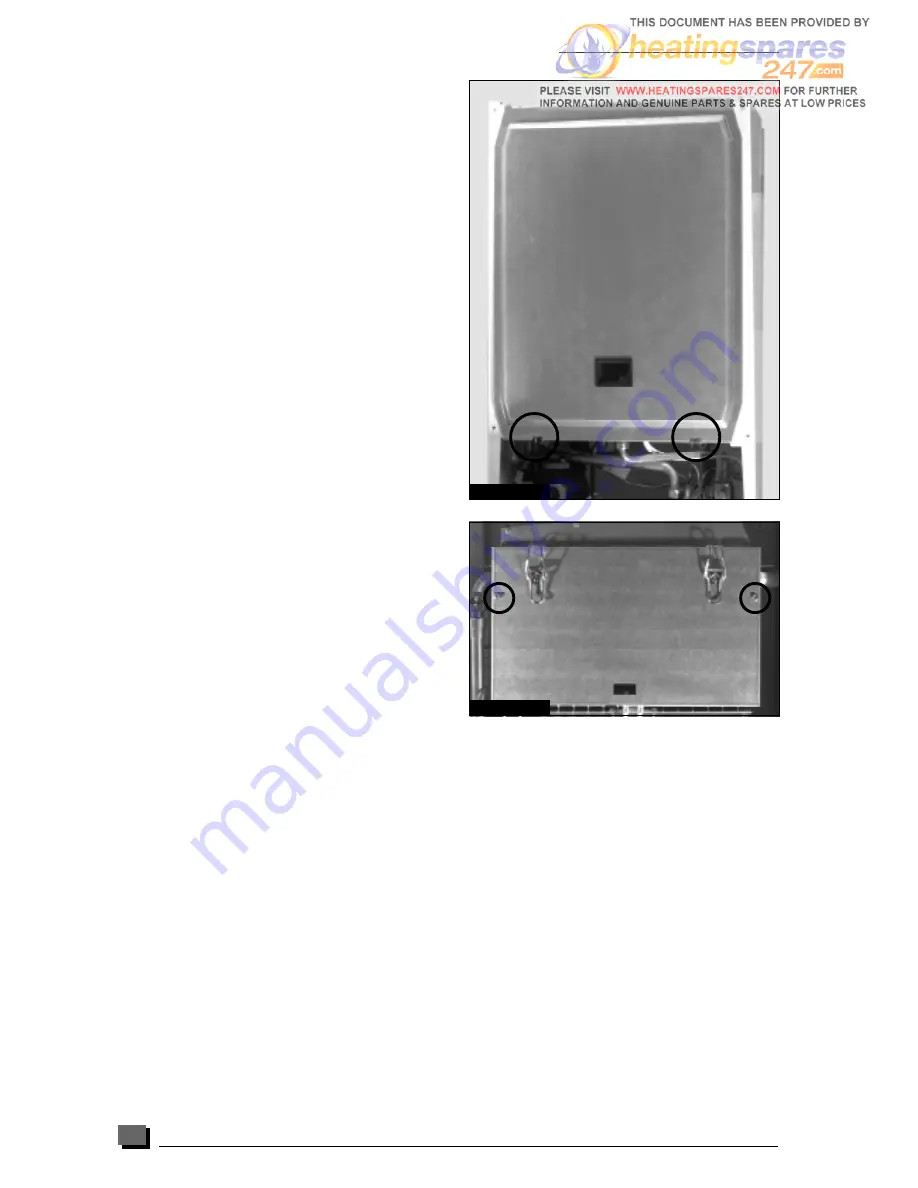
Sealed chamber cover
• Unclip two toggle clips holding the sealed chamber
cover, see diagram. 1.
• Lift cover up and off boiler.
Front control panel
• Lift control panel up and lower forwards to gain ac-
cess to lower part of boiler.
Side panels
• Unscrew and remove the four screws securing lower
grille onto boiler. Unhook grille from rear of boiler and
remove.
• Remove three screws from front of each side panel.
• Unclip the toggle clips securing top of each panel.
Lift each panel up and then forward to remove.
Combustion chamber cover
• Unclip two toggle clips and unscrew two screws se-
curing combustion chamber cover to combustion cham-
ber, see diagram 2.
• Remove combustion chamber cover from boiler.
• Undo, but do not remove, two burner support screws at
rear of burner chamber.
Burner
• Undo main gas supply nut from burner.
• Pull off the ignition and flame sense leads from the gas
valve remove burner from boiler by lifting up and pull-
ing forwards from keyhole slots.
Note:
The washer between main burner and main
burner gas supply must be kept for use on reassembly.
• Remove ignition and flame sense electrodes from
burner.
• Unscrew and remove injector bar retaining screws
and separate injector bar from burner.
• Examine and clean injectors as necessary.
Note:
DO NOT use a wire or sharp instrument on the
holes.
Clean burner by washing in soapy water. Dry thor-
oughly before re-fitting.
Heat exchanger
• Disconnect power supply leads and earth lead from
Diagram 1
Car 025
Diagram 2
Ech 041
fan.
• Unscrew and remove, two fan retaining screws at
front edge of fan mounting plate.
• Remove fan with mounting plate attached by pull-
ing forwards out of boiler.
• Remove air pressure switch sensing tube from sens-
ing probe on flue hood.
• Unscrew and remove screws securing flue hood to
rear panel.
• Withdraw flue hood from boiler.
• Examine heat exchanger for any blockages or build
up of deposits.
• Clean heat exchanger with soft brush or vacuum
cleaner. Do not use any tool likely to damage painted
finish of heat exchanger.
Reassembly of parts removed for servicing
All parts are replaced in reverse order to removal.
➜
➜
Содержание ISOFAST F 28 E
Страница 32: ...32 ...


