


© Satmap Systems Ltd
© Satmap Systems Ltd
50
8.04
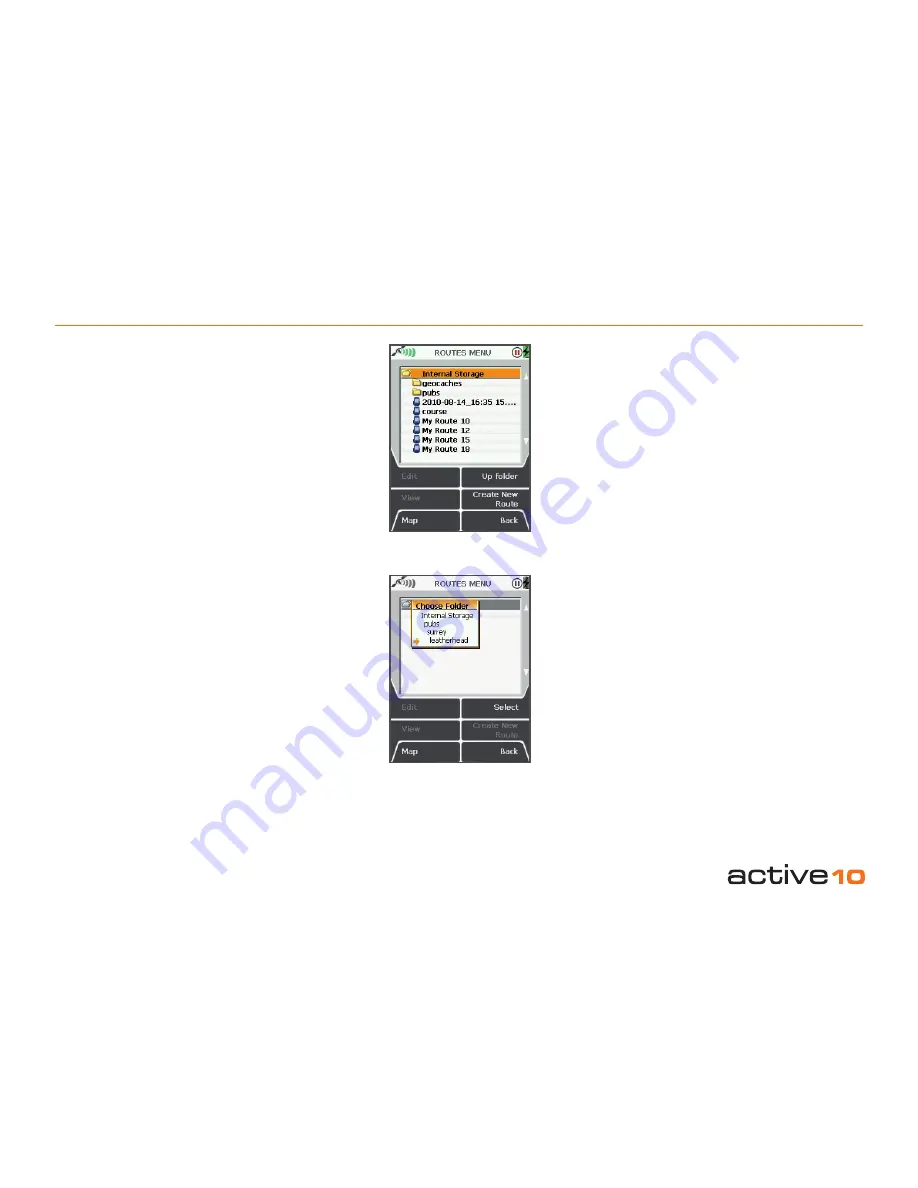
ROUTES MENU:
Routes Folders
8.04 Routes Folders
(GPS MAP → MAIN MENU → ROUTES
MENU)
Routes folders or sub-folders can only be
created via
SatSYNC
(please refer to the
SatSYNC User Guide)
and
only appear on
the unit if they contain at least one route
or one OOI
. These folders consist of groups
of routes and help you manage your files,
by organizing for example, your routes into
different categories, e.g. 'geocaches', 'pubs',
'walks' etc.
If you are in a sub-folder and want to go back
to another folder, you can use the
Up Folder
button to move up to the next folder.
Another way to access other folders is to
center press the joystick on the folder name.
This will reveal a
Choose Folder
drop-down
box with options to select a specific folder.
(This applies to any folder menu).


