SatisGeo
instruments for geophysics & environment
OPERATION
MANUAL
2011
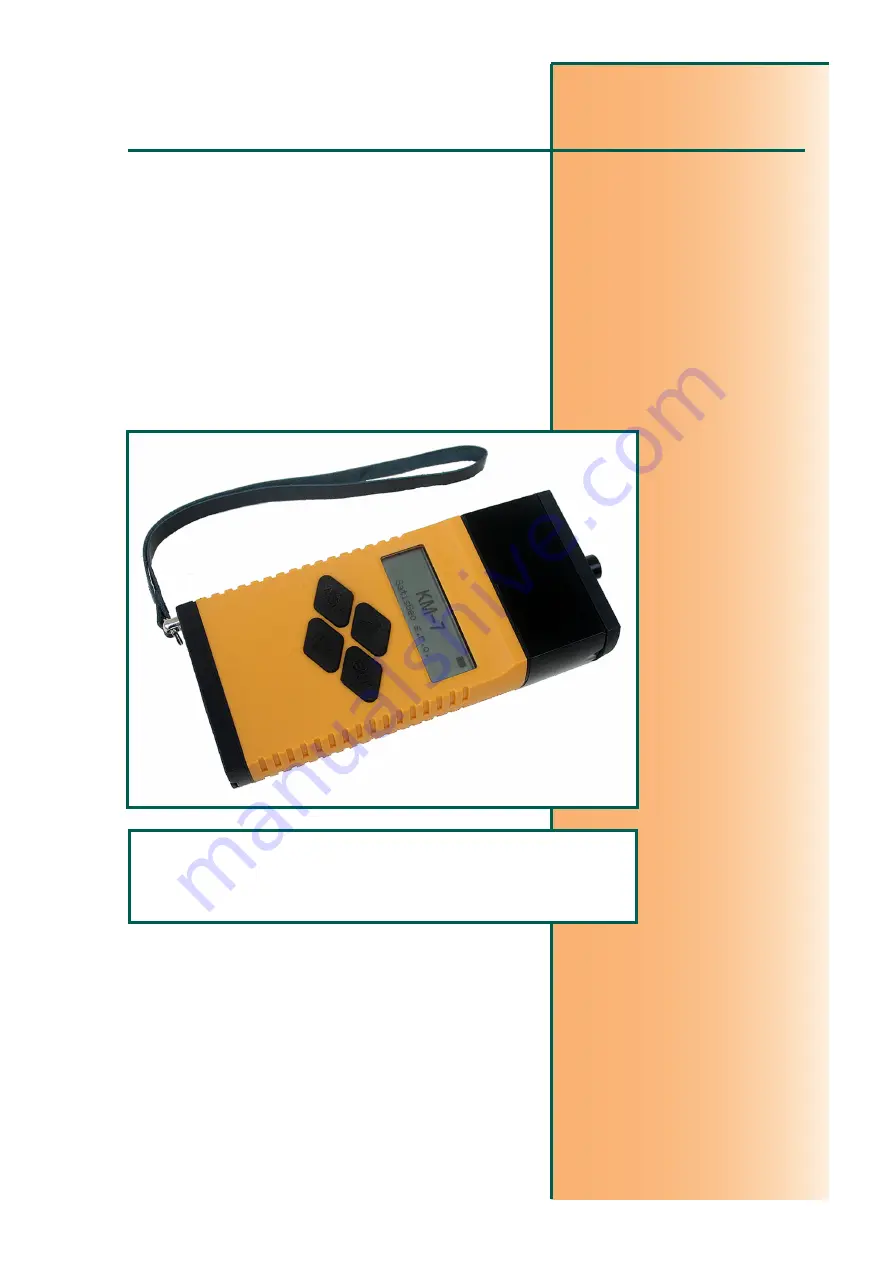
KAPPAMETER KM-7
Pocket Magnetic Susceptibility Meter
Страница 1: ...SatisGeo instruments for geophysics environment OPERATION MANUAL 2011 KAPPAMETER KM 7 Pocket Magnetic Susceptibility Meter...
Страница 2: ...2 6 4 Memory menu 8 2 6 5 Setup menu 8 Sensor setting 9 2 6 5 1 System menu 9 2 6 5 2 BT menu 10 2 6 5 3 2 7 Measurement setting up 10 2 7 1 Measuring in Single mode 10 2 7 2 Measuring in Scan mode 11...
Страница 3: ...ata table 22 5 2 Setup tab 23 5 2 1 Setup Program 23 5 2 2 Setup Communication 24 5 3 Scan Remote tab 24 6 BLUETOOTH CONNECTION 26 6 1 Standard Bluetooth connection 26 6 2 Manual Bluetooth connection...
Страница 4: ...t least 30cm from the rock initial measurement AIR1 then with the coil applied to the rock surface SAMPLE and again with the coils at a distance at least 30cm to achieve good sensitivity From the diff...
Страница 5: ...a 40 seconds of inactivity If the KM 7 is connected to a PC via USB Bluetooth or connection to Bluetooth GPS is active the automatic turn off is disabled 2 3 Control buttons The KM 7 magnetic suscepti...
Страница 6: ...ow located at the left side of a menu shows which item is selected 2 5 Status icons The KM 7 uses several status icons They can be seen on the right side of the display in any of the KM 7 menus and su...
Страница 7: ...se valid and actual GPS data has not been received from GPS and measurement can not be saved with GPS data Figure 2 6 GPS satellite icon 2 6 Menu KM 7 menu has four levels Figure 2 7 KM 7 menu structu...
Страница 8: ...sure its susceptibility In the case the Escape button is pressed the AIR1 notice is displayed again The selected sensor is indicated at the bottom line SAMPLE Sensor PIN Figure 2 9 Ready for measuring...
Страница 9: ...ssing Enter button see Figure 2 12 To go back to the data view Enter button must be pressed again Lat 49 14 31 07 N Long 16 34 42 79 E Alt 315 5m Figure 2 12 Memory list GPS coordinates To walk throug...
Страница 10: ...rface which affects the results considerably The weathering effect can hardly be evaluated therefore measuring on unweathered though less smooth surface is preferred In measuring drill cores it is rec...
Страница 11: ...nd press the Enter button to use the selected device as the default GPS data source or press the Escape button to end without changes The second item of the BT menu allows selection of the connection...
Страница 12: ...de Set sensor Flat Pin Core in Setup menu When using Bluetooth set BT ON in Setup menu and BT PC in BT MENU otherwise connect USB cable Run program KMdata on PC connect to the KM 7 go to Scan remote t...
Страница 13: ...il the search process is completed Select the Bluetooth GPS by name and press Enter 2 9 Error messages Error messages are self explanatory In most cases pressing Escape button solves the problem Somet...
Страница 14: ...ecuted check the battery the cleanness and quality of the contacts that connect the battery with the electronics If both the battery and the contacts are in a good condition and the failure still pers...
Страница 15: ...rocessing 4 1 The KMdata installation Run Setup from the installation CD if it does not start automatically This installation program installs the KMdata program and all components to the PC The USB d...
Страница 16: ...ck on the Next button In the next window installation folder and Windows user account to where KMdata will be installed can be selected The necessary disk space for installation of the KMdata can be s...
Страница 17: ...16 The installation must be confirmed Figure 4 4 Installation confirmation If the installation is confirmed the window with installation progress is displayed Figure 4 5 Installation progress...
Страница 18: ...cation with KM 7 via USB The drivers are installed by KMdata installation program and can be found as well in the program installation folder To successfully install the USB drivers the KM 7 must be c...
Страница 19: ...18 4 2 Repair or Remove After the KMdata is installed the installation program can be run again and remove uninstall or repair the KMdata program Figure 4 8 Repair Remove...
Страница 20: ...s information about program The program window is divided to three main regions except for the Setup tab The command banner is to be found under tabs the status banner at the bottom of the window and...
Страница 21: ...4 Export selected data icon The third button is to print data from the data table Figure 5 5 Print data table icon A standard printer selection menu is displayed the content of data table is previewe...
Страница 22: ...cessible It deletes all of their content e g all its data Figure 5 9 Folder branch context menu The Delete command deletes branch node all its sub folders branches and leafs This action needs addition...
Страница 23: ...used for a measure In the case of CORE sensor the diameter of the core in brackets is displayed Location location of measurement selectable in KM 7 Longitude Latitude Altitude GPS coordinates if used...
Страница 24: ...lected by mouse and combination of Ctrl or Shift buttons Confirmation is needed 5 2 Setup tab The Setup tab incorporates all the KMdata program setups The setup tab has two sub tabs Program and Commun...
Страница 25: ...n the case that Use VCP check box is enabled the KMdata program tries to connect to the KM 7 by using Bluetooth virtual COM port which must be set to an appropriate number If the KMdata is connected t...
Страница 26: ...and on the right side the graph of a measured data Other tabs are disabled until measurement is stopped The graph has the same context menu as described in Chapter 5 1 2 Start and stop of a measureme...
Страница 27: ...assumed that drivers for the Bluetooth adaptor are installed see your Bluetooth adaptor manual To bound the KM 7 with PC the KM 7 must be turned on Bluetooth enabled and connection type to PC set in t...
Страница 28: ...ode is here 0000 four zeros Then click on Next Figure 6 4 Pairing code assign Pairing results appear Figure 6 5 Pairing results After closing this window you can begin to communicate with the KM 7 via...
Страница 29: ...ction The approach to pairing and connecting to the KM 7 depends on your Bluetooth adaptor After successful pairing the process is similar to pairing with Microsoft Bluetooth stack you need to find wh...
Страница 30: ...EN 61000 6 2 2005 Health and safety EN 50371 2002 EN 60950 1 2006 A11 2009 A1 2010 EN 60950 1 2011 01 and or IEC 60950 1 2005 2 Edition nd A1 2009 Medical Electrical Equipment IEC 60601 1 2 2007 2011...