


i-Series
Trademark Acknowledgments
• SATIR
is trademark of SATIR
Europe (Ireland)
LTD.
• Microsoft, Windows and Windows logo is either registered trademarks or
trademarks of Microsoft Corporation in the United States and/or other
countries.
•Other names and products not mentioned above may be registered
trademarks or trademarks of their respective companies.
Version 1.2
Copyright © 2021 SATIR LTD. All rights reserved
.
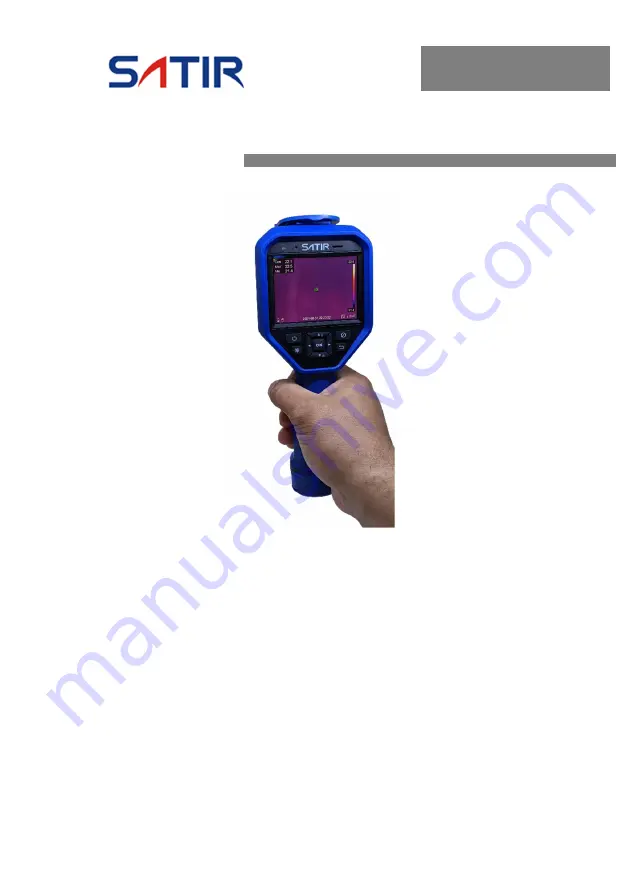
Thermal Camera
User’s manual
Содержание i 160
Страница 10: ...9 Component Guide Front View...
Страница 11: ...10 Side Top View...
Страница 18: ...17 In the observation interface tap the screen or press to show the menu bar Menu Description...
Страница 55: ...54 Contact Us...