http://www.sapido.com.tw
User’s Manual V1.0
133
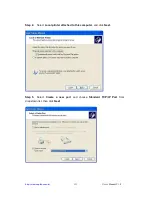
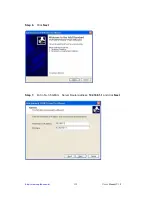
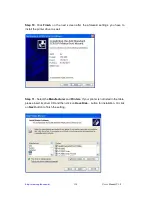
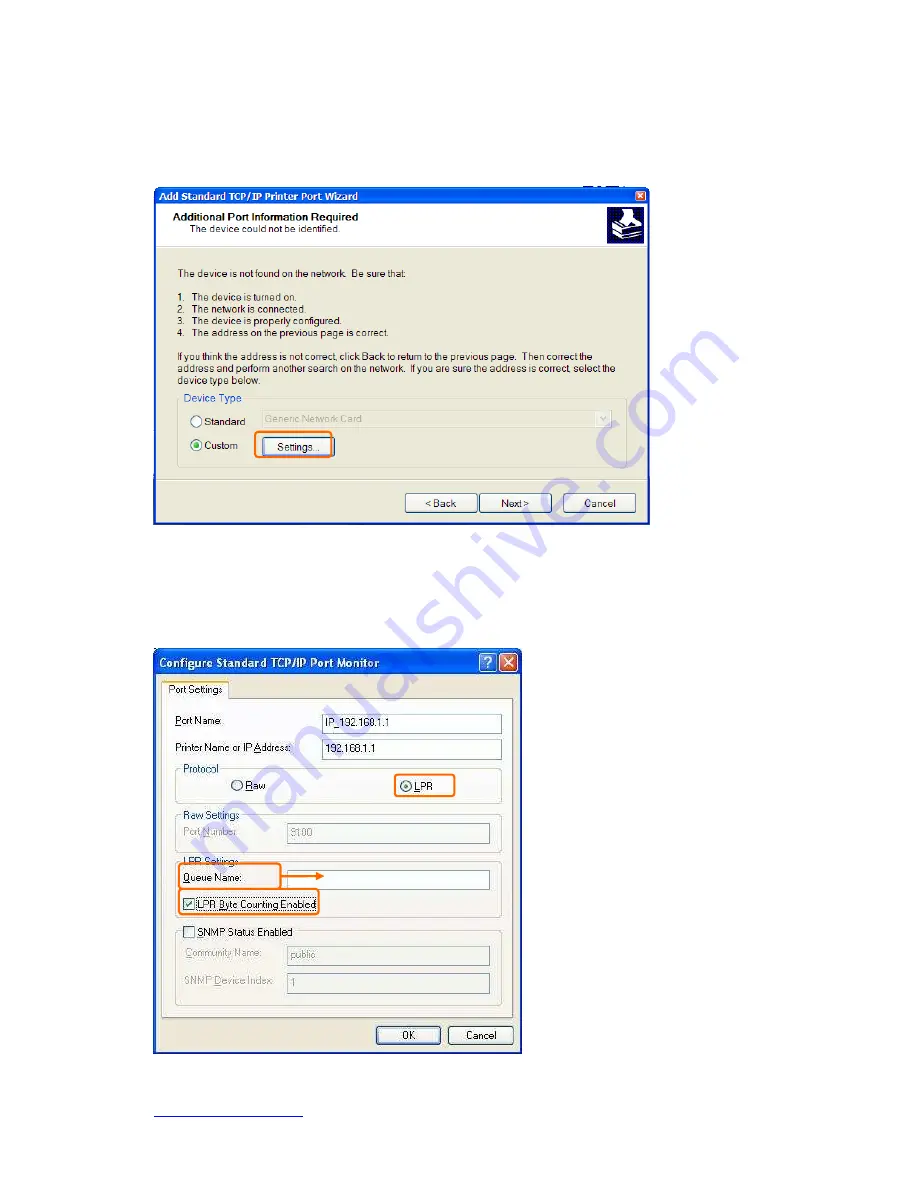
Step 8. Select Custom and click on Settings… button to set the detail setting.
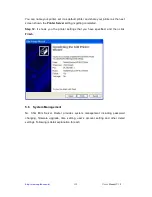
Step 9. Select LPR and give it the same Queue Name as USB Printer Name has
shown, and mark LPR Byte Counting Enabled. Finally, click on Next button.
It has to be the same with the Printer
Name as shown in section 3.5.4 Printer
Server Configuration.
Содержание GR-1102
Страница 1: ...http www sapido com tw User s Manual V1 0 1 ...
Страница 71: ...http www sapido com tw User s Manual V1 0 71 5 1 1 3 WAN Interface Wireless ...
Страница 99: ...http www sapido com tw User s Manual V1 0 99 ...
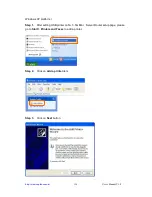
Страница 188: ...http www sapido com tw User s Manual V1 0 188 Step 2 Click on Add a printer item Step 3 Click on Next button ...
Страница 226: ...http www sapido com tw User s Manual V1 0 226 4 When you can see the IP information below the connection is established ...
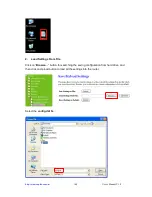
Страница 250: ...http www sapido com tw User s Manual V1 0 250 Select the config dat file Click Upload to retrieve ...
Страница 261: ...http www sapido com tw User s Manual V1 0 261 ...
Страница 264: ...http www sapido com tw User s Manual V1 0 264 Step 9 Your hostname has been created when you see the following page ...

