− 18 −
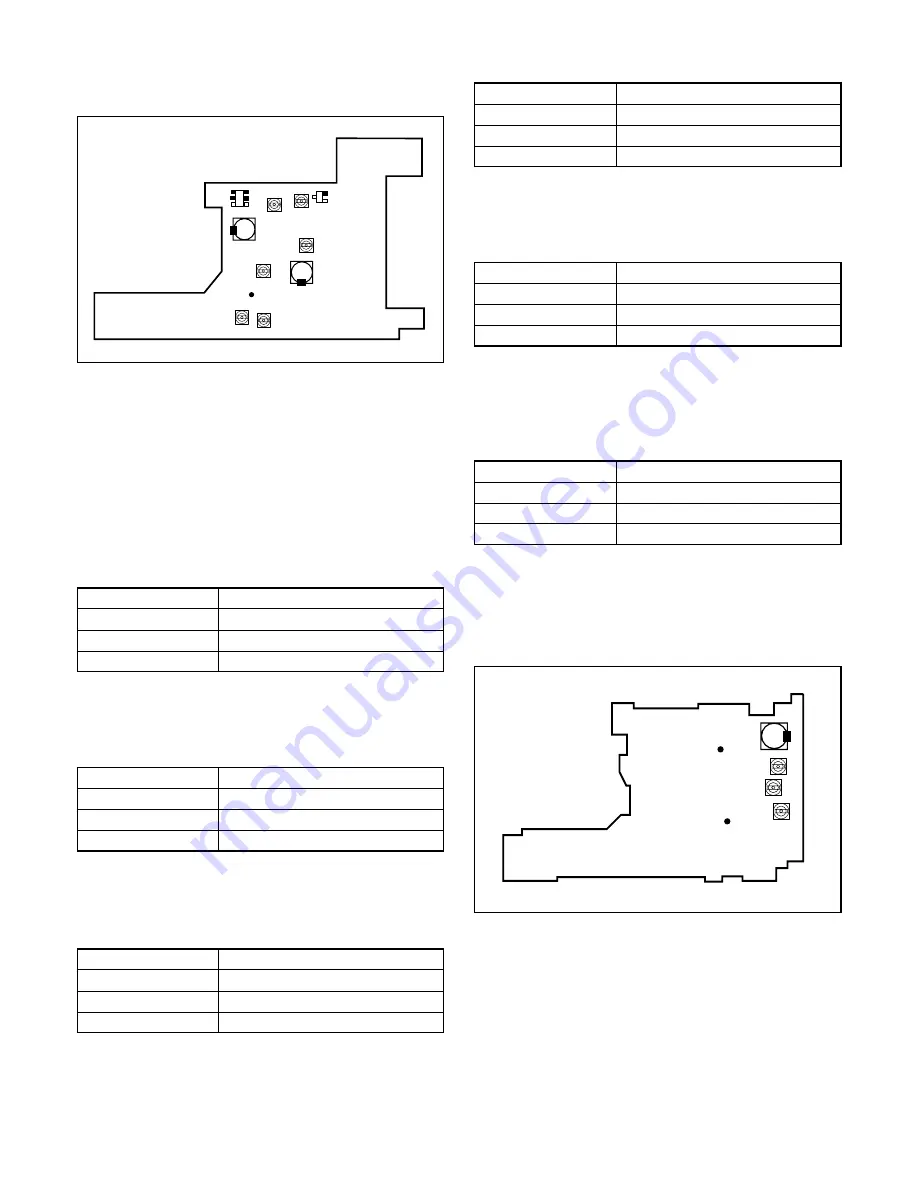
3-6. Adjust Specifications
[PW1 board (Side B)]
Note:
1. Voltage adjustment is necessary to repair in the PW1 board
and replace the parts.
2. Power voltage set about +3.0 V.
Preparation:
1. Connect CN104 on the CA2 board and CN502 on the PW1
board with extension cord.
2. Open the barrier switch.
3. Slide the slide switch to camera, and turn on the LCD.
1. IC501 Oscillation Frequency Adjustment
Adjustment method:
1. Adjust with VR501 to 200
±
1 kHz.
2. 5.0 V (D) Voltage Adjustment
Adjustment method:
1. Adjust with VR505 to 5.10
±
0.05 V.
3. 3.3 V (D) A Voltage Adjustment
Adjustment method:
1.Adjust with VR503 to 3.30
±
0.02 V
4. 3.4 V (D) B Voltage Adjustment
Adjustment method:
1. Adjust with VR504 to 3.40
±
0.03 V.
5. 12.4 V (L) Voltage Adjustment 1
Adjustment method:
1. Set the play mode.
2. Adjust with VR507 to 12.35
±
0.05 V.
6. 12.4 V (L) Voltage Adjustment 2
Adjustment method:
1. Set the view mode, and turn on the LCD.
2. Adjust with VR506 to 12.35
±
0.05 V.
[CA3 board (Side A)]
Note:
1. Voltage adjustment is necessary to repair in the CA3 board
and replace the parts.
2. Power voltage set about +3.0 V.
3. After adjustment, re-connect the flexible cable of the LCD
panel and CN171 as they were before.
Preparation:
1. Remove the sub-chassis to which the LCD panel is attached.
CN512 which is used for backlighting should always be left
still connected.
2. Open the barrier switch.
Measuring Point
ADJ. Location
Measuring Equipment
ADJ. Value
Q5006-1, 2, 3, 4
Frequency counter
VR501
200
±
1 kHz
Measuring Point
ADJ. Location
Measuring Equipment
ADJ. Value
L5016 ST side
Digital voltmeter
VR503
3.30
±
0.02 V
Measuring Point
ADJ. Location
Measuring Equipment
ADJ. Value
L5009 ST side
Digital voltmeter
VR504
3.40
±
0.03 V
Measuring Point
ADJ. Location
Measuring Equipment
ADJ. Value
CL539
Digital voltmeter
VR505
5.10
±
0.05 V
Measuring Point
ADJ. Location
Measuring Equipment
ADJ. Value
D5012-2
Digital voltmeter
VR507
12.35
±
0.05 V
Measuring Point
ADJ. Location
Measuring Equipment
ADJ. Value
D5012-2
Digital voltmeter
VR506
12.35
±
0.05 V
VR501
VR505
VR503
VR507
VR504
VR506
CL539
Q5006-1,2,5,6
D5012-2
L5016 (ST)
L5009 (ST)
L5101 (ST)
CL594
CL595
VR521
VR522
VR511
Содержание VPC-SX500
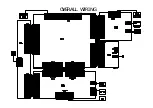
Страница 32: ...OVERALL WIRING ...
Страница 33: ...Nov 99 4 760 MI Printed in Japan SANYO Electric Co Ltd Osaka Japan ...


