11
Instruction Manual for SANUVAIR
®
S100
1-
778-877-3454
www.
blueg
old
labs
.com
Step by Step UV Lamp Continuity Test
Example for a ceiling-mounted unit. The same step by step process applies for a wall-mounted unit.
NOTE:
Its possible to access the lamp while the unit is installed on the ceiling or wall. Another option is to remove the unit from
the ceiling or wall, and then access the lamp with the unit lying on a flat surface with the access doors facing up. Besides, this
option is preferable for a wall unit.
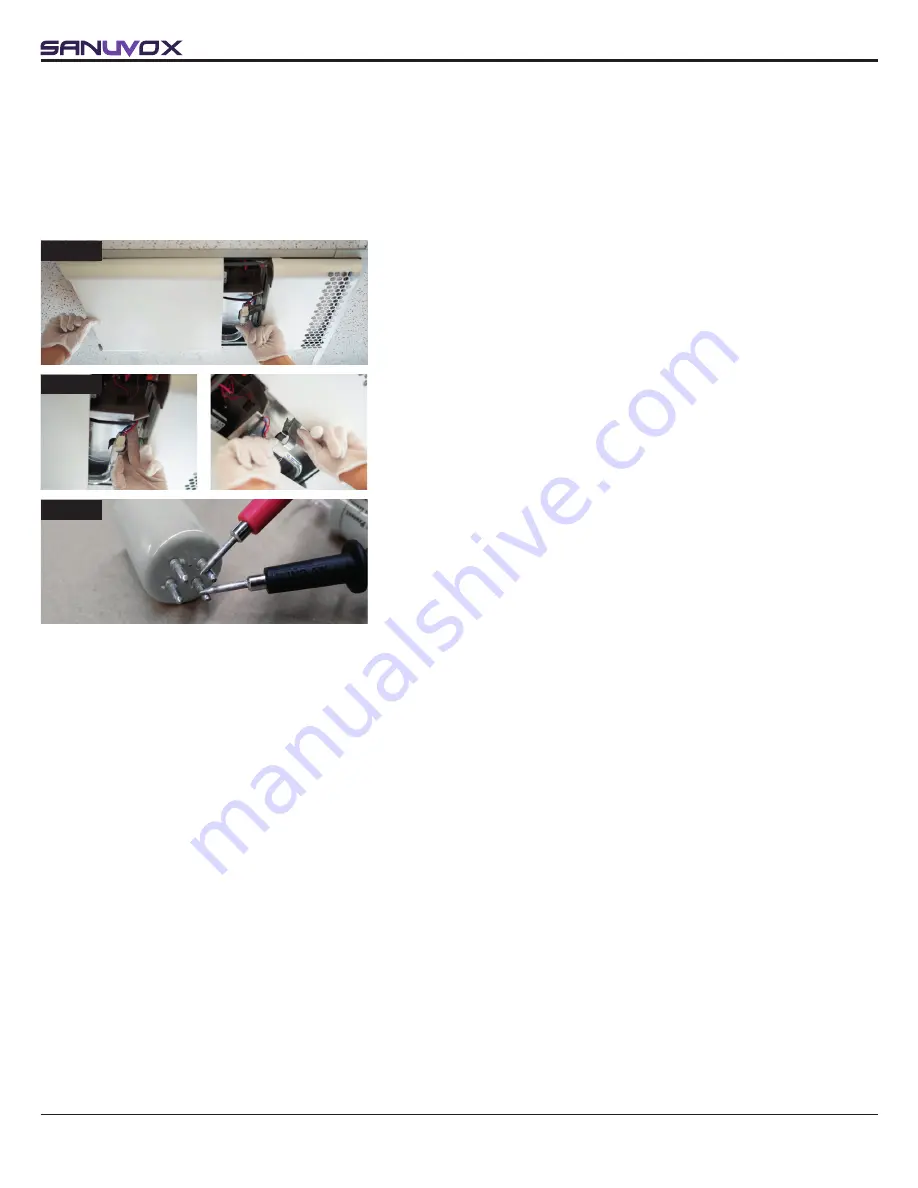
1. Open the unit by sliding down its cover to gain access to the lamp
location.
3. Using an ohmmeter place 1 probe on 1 of the 4 pins and by sensing
the 3 remaining pins, one should have continuity. Make sure the 2
remaining pins also have continuity. When both sets of pins test good
for continuity, it can be assumed that the lamp is good.
STEP 1
STEP 3
2. Open the clamp. Disconnect the old UV lamp from the connector and
remove the lamp from the unit.
NOTE:
Fingerprints on the lamp will negatively impact the UV output of
the lamp. Always use
cotton gloves
to manipulate UV lamps.
STEP 2


