Sanhua VSD2001 Series, Инструкции
Серия продукции Sanhua VSD2001 - это высокотехнологичные устройства для регулирования температуры, предназначенные для различных систем HVAC. Пользователям доступны подробные инструкции по эксплуатации в бесплатном режиме. Скачайте их с manualshive.com и узнайте, как максимально эффективно использовать этот продукт для достижения желаемого комфорта в помещении.
Поделиться
Скачать


Отзывы:
Нет отзывов
Похожие инструкции для VSD2001 Series

LOD-EXTED-M20W
Бренд: LEDone Страницы: 3

Penta Power KBRG-255
Бренд: KB Electronics Страницы: 20

Allen-Bradley Kinetix 3 2071-A10
Бренд: Rockwell Automation Страницы: 134
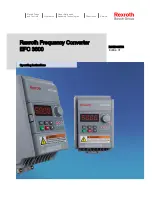
Rexroth EFC 3600
Бренд: Bosch Страницы: 238
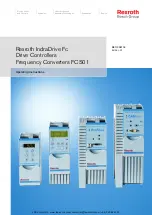
Rexroth IndraDrive FC Series
Бренд: Bosch Страницы: 72

Rexroth Hagglunds DOb
Бренд: Bosch Страницы: 80
REXROTH IndraDrive
Бренд: Bosch Страницы: 437
Rexroth EcoDrive Cs DKC-004 Series
Бренд: Bosch Страницы: 45

Rexroth MS2S
Бренд: Bosch Страницы: 50

Rexroth EC302
Бренд: Bosch Страницы: 66

rexroth Servodyn-D
Бренд: Bosch Страницы: 72

MSK030B NSNN Series
Бренд: Bosch Страницы: 178

MSK030B-0900-NN
Бренд: Bosch Страницы: 282

PADVW010U
Бренд: Targus Страницы: 13

DCS810
Бренд: Leadshine Technology Страницы: 13

FL-20-C Series
Бренд: Parker Страницы: 310

TRADFRI ICPSHC24-10EU-IL-1
Бренд: IKEA Страницы: 36

Backpack
Бренд: Micro Solutions Страницы: 29


