background image

Saf

et

y W

ar

nings

66

GB

Standby 
•  The 

 button on the remote control does not switch 

off the unit completely. The unit will continue to draw 
electricity from the mains supply while in standby. In 
the interests of safety and to avoid unnecessary energy 
consumption, never leave the unit in standby while 
unattended for long periods of time, e.g. overnight, 
while on holiday or while out of the house. Disconnect 
the mains plug from the mains socket.

Batteries
•  Batteries used in the remote control for this unit 

are easily swallowed by young children and this is 
dangerous. 

•  Keep loose batteries away from young children and 

make sure that the battery holder tray is secure in the 
remote control. Seek medical advice if you believe a 
cell has been swallowed.

•  Please dispose of batteries correctly by following the 

guidance in this manual.

•  The batteries shall not be exposed to excessive heat 

such as sunshine, fire or the like.

Supervision
•  Children should be supervised to ensure that they do 

not play with the unit and the remote control.

•  Never let anyone especially children push anything 

into the holes, slots or any other openings in the case - 
this could result in a fatal electric shock.

DVD
•  Class 1 Laser Product

This unit utilises a laser. Use 

of controls, adjustments or 
performance of procedures other 
than those specified herein may 
result in hazardous radiation 
exposure.

•  Before moving the unit, ensure the disc tray is empty.
•  Always remove the disc when the unit is not in use.
•  Failure to do so will risk severely damaging the disc 

and the unit.

•  Do not stack devices, heat from other devices may 

affect the performance of the unit.
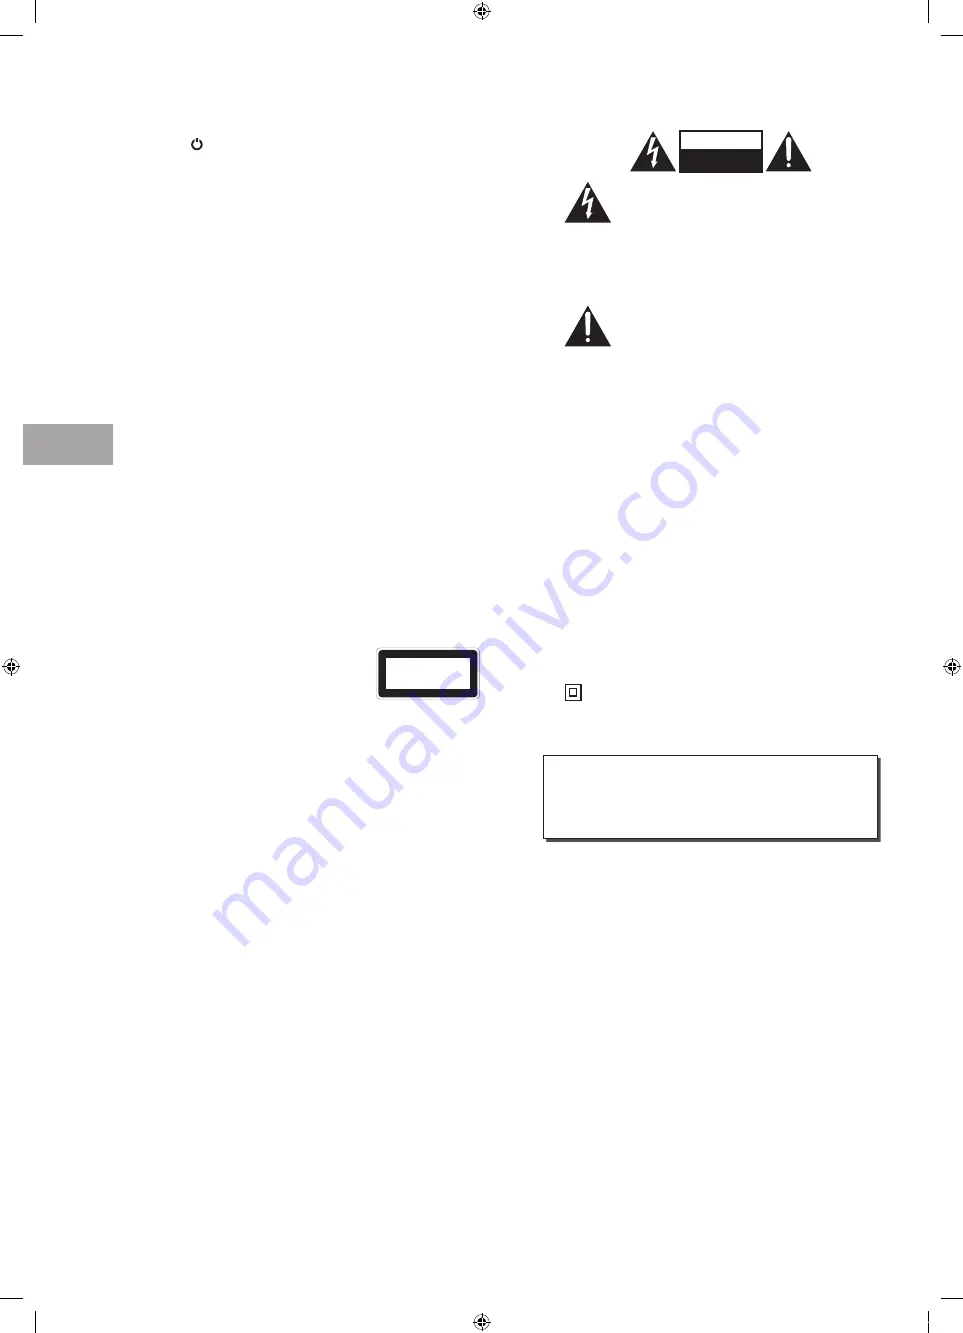
CLASS 1 

LASER PRODUCT

CAUTION

RISK OF ELECTRIC SHOCK

DO NOT OPEN

The lightning flash with arrowhead symbol, 

within an equilateral triangle, is intended to 
alert the user to the presence of uninsulated 
“dangerous voltage” within the unit’s 
enclosure that may be of sufficient 
magnitude to constitute a risk of electric 
shock.

The exclamation point within an equilateral 

triangle is intended to alert the user to the 
presence of important operating and 
maintenance (servicing) instructions in the 
manual accompanying the unit.

Service
•  To reduce the risk of electric shock, do not remove 

screws. The unit does not contain any user-serviceable 
parts. Please leave all maintenance work to qualified 
personnel.

•  Do not open any fixed covers as this may expose 

dangerous voltages.

Maintenance
•  Ensure to unplug the unit from the mains socket before 

cleaning.

•  Do not use any type of abrasive pad or abrasive 

cleaning solutions as these may damage the unit’s 
surface.

•  Do not use liquids to clean the unit.
•  The wall socket plug is used as a disconnect device, the 

disconnect device should be readily accessible.

• 

 This equipment is a Class II or double insulated 

electrical appliance. It has been designed in such a 
way that it does not require a safety connection to 
electrical earth.

To prevent the spread of fire, keep 

candles or other open flames away 

from this product at all times.

S32FED12_IB_120731_Annie.indd   66

12年7月31日   下午4:25

Содержание S32FED12

Страница 1: ...Instruction Manual 32 Full HD LED TV with DVD Player S32FED12 S32FED12_IB_120731_Annie indd 1 12 7 31 4 23...

Страница 2: ...S32FED12_IB_120731_Annie indd 2 12 7 31 4 23...

Страница 3: ...tor 18 Selecting the Input Source 18 Channel Selection 19 Display Channel Information 19 Volume Adjustment 19 Customising TV Settings 20 Channel Setting DTV TV or Radio Mode 20 Auto Tuning 20 DTV Manu...

Страница 4: ...es 52 Supported Formats 52 Region Code 52 Basic DVD Playback Functions 53 Playing the DVD 53 Menu Playback for DVD 53 Stopping Playback 53 Previous Next for DVD CD Multimedia discs 53 Forward Backward...

Страница 5: ...tchcover Addendum P N 4031C241307 Thank youfor purchasing your new Sandstr m 32 Full HD LED TV with DVD player Your new TV has many features and incorporates the latest technology to enhance your view...

Страница 6: ...ing kit Due to space restrictions we recommend that you make all connections refer to page 13 16 and page 44 for details before mounting on to the wall Installing Removing the Base Stand 200 mm 100 mm...

Страница 7: ...f the TV 12 cm discs only Don t insert 8 cm discs 4 Press to eject disc DVD mode 5 Press to start playback or pause DVD mode 6 INPUT Press to select among different input signal sources DTV ATV SCART...

Страница 8: ...l Connects to the aerial socket on the wall with the RF coaxial cable 6 PC IN PC AUDIO Connects to a computer or other devices with a VGA interface 7 COMMON INTERFACE Allows the insertion of a Common...

Страница 9: ...y type indicated in this manual When the batteries are exhausted the remote will not function Replace both batteries at the same time with new ones Do not install new batteries with used ones and do n...

Страница 10: ...sound mode Standard Music Movie Sports User 11 ASPECT Watch the screen in various formats Auto 4 3 16 9 Zoom Subtitle Smart Zoom Full 12 GUIDE Displays the EPG Electronic Programme Guide DTV mode TIT...

Страница 11: ...V mode MENU Display the DVD menu DVD mode 24 S Subtitle Display subtitles which are broadcast with the programme DTV mode Display subtitles on the DVD DVD mode 25 REC Record the current programme DTV...

Страница 12: ...e SUBPAGE Display the subpage on the teletext screen ATV mode 34 Advance playback rapidly DVD USB mode INDEX Select the page number of the index from teletext ATV mode 35 Coloured buttons Access the T...

Страница 13: ...el of the TV or on the remote control to turn on your TV 4 Press the button on the right side panel of the TV or the INPUT button on the remote control to display the Source List Use the buttons to se...

Страница 14: ...put socket 2 Plug the connected devices into the mains socket before switching on the POWER ON OFF switch which is located at the front right side under the frame 3 Press the button on the right side...

Страница 15: ...io Left white and Audio Right red 2 Plug the connected devices into the mains socket before switching on the POWER ON OFF switch which is located at the front right side under the frame 3 Press the bu...

Страница 16: ...ly increase the volume until you reach a comfortable listening level Rear Right Side View of TV USB HDMI2 HDMI1 PC IN RF COMMON INTERFACE CI HEADPHONE PC AUDIO Earphones Cable not included Long term e...

Страница 17: ...turn the TV on The red LED indicator will turn green To the mains socket On Off 5 The first time you turn the TV on it will go straight into the First Time Installation menu Please ensure the aerial i...

Страница 18: ...service that you require Press the buttons to adjust each option s setting and then press the OK button to confirm Country Code This will be shown as GBR for the UK Primary Region This will show the r...

Страница 19: ...for details on Block Channel Press the FAV button to view the Favourite List Then use the buttons to highlight and select the channel Press the OK button to view the selected channel refer to page 22...

Страница 20: ...V ATV Press the button and then press the buttons to select the country where you will operate the TV Press the OK button to confirm 2 Press the buttons to select Auto Tuning and then press the OK but...

Страница 21: ...e CHANNEL menu and then press the OK button CHANNEL PICTURE SOUND TIME OPTION LOCK EXIT EXIT Auto Tuning DTV Manual Tuning ATV Manual Tuning Signal Information CI Information Software Update OAD Softw...

Страница 22: ...e OK button ATV Manual Tuning Storage To 1 Sound System I Current CH 1 Search Fine Tune Frequency 255 25 MHz Save MENU a Delete Press the RED button to delete the selected channel b Rename ATV channel...

Страница 23: ...to return to the main menu 4 Press the EXIT button to exit the menu Signal Information DTV Mode Allows you to view the signal information 1 Press the MENU button and then press the buttons to select t...

Страница 24: ...tons to select the CHANNEL menu and then press the OK button 2 Press the buttons to select CI Information and then press the OK button CI Common Interface DTV Mode The common interface allows the use...

Страница 25: ...ion Software Update OAD Off Software Update USB Channel Edit Yes No New FW is available for upgrading TV Version V0 01 Stream Version v0 03 Yes to upgrade No to ignore this upgrade EXIT Download 20 So...

Страница 26: ...ess 50 Colour 50 Sharpness 50 Tint 50 BACK MENU EXIT Brightness Increases or decreases the amount of white in the picture for User mode Colour Controls the colour intensity for User mode Sharpness Adj...

Страница 27: ...screen This selection will allow you to zoom in the picture without any alternation while showing subtitles at the bottom of the screen Smart Zoom This selection is similar to 16 9 mode but the pictur...

Страница 28: ...loped by SRS Labs that provides an enhanced listening experience unlike any other technology that has been offered for a two speaker playback environment TruSurround HD builds upon its predecessor the...

Страница 29: ...uages dual language you can switch to NICAM DUAL I NICAM DUAL II NICAM DUAL I II or MONO by pressing the AD button repeatedly NICAM DUAL I Sends the primary broadcast language to the loudspeakers NICA...

Страница 30: ...e press the SLEEP button repeatedly until Off appears Auto Standby The unit will automatically switch to standby mode 4 hours after the last time the remote control was used A reminder screen will pop...

Страница 31: ...l channels if multiple audio languages are broadcast 1 Press the MENU button and then press the buttons to select the OPTION menu and then press the OK button CHANNEL PICTURE SOUND TIME OPTION LOCK EX...

Страница 32: ...Impaired Shows information for the hearing impaired in some programmes For DTV channels only if available 1 Press the MENU button and then press the buttons to select the OPTION menu and then press t...

Страница 33: ...ory Default OSD Language Audio Language Country Subtitle Language 2 Press the buttons to select PVR File System and then press the OK button 3 Press the buttons to select the following PVR File System...

Страница 34: ...f the TV remote controls e g controlling a TV set set top box and DVD player using only the remote control of the TV CEC also allows individual CEC enabled devices to command and control each other wi...

Страница 35: ...p you to reduce power consumption and thus save money by reducing electricity bills Backlight Allows you to adjust the backlight setting of your TV This controls the brightness and display performance...

Страница 36: ...must be set to On for this function to operate If the Lock System is set to On a valid password must be entered when you access Auto Tuning Manual Tuning Restore Factory Default 1 Press the MENU butt...

Страница 37: ...the MENU button to return to the main menu 6 Press the EXIT button to exit the menu Set Password 1 Press the MENU button and then press the buttons to select the LOCK menu and then press the OK button...

Страница 38: ...ase enter old password The default password is 6666 If you change the password be sure to remember the new password If you forget the new password enter the master password 9527 The default password i...

Страница 39: ...g to information from the broadcasting station therefore if the signal has incorrect information this function will not operate This allows you to set up blocking schemes to block specific channels an...

Страница 40: ...urn to the previous menu or press the MENU button to return to the main menu 7 Press the EXIT button to exit the menu 4 Press the buttons to select Parental Guidance and then press the OK button Lock...

Страница 41: ...tons to select the desired programme Press the OK button to confirm Button Functions in a 7 Days Guide Remote Control Button Function RED Record Timer Programming See page 50 for details on Timer Prog...

Страница 42: ...ading the text on the TV you can double the height of the text Press the SIZE button The top half of the page will be displayed in double height text Press the SIZE button again The bottom half of the...

Страница 43: ...ist Press the buttons and then press the OK button to select the teletext channel Press the LIST button to exit the Channel List and the teletext page will be displayed after a few seconds Alternative...

Страница 44: ...ear Right Side View of TV USB HDMI2 HDMI1 PC IN RF COMMON INTERFACE CI HEADPHONE PC AUDIO USB Cable not included Adapter Portable hard Disk USB Hub USB Some versions of portable hard disk may require...

Страница 45: ...ect the specified photos press the buttons to select the picture file and then press the OK button A tick box will be displayed If you want to delete the file press the RED button to enter the Sub Men...

Страница 46: ...fo Aspect Ratio 3 Press the buttons to select your storage device and then press the OK button Viewing Movies 1 Press the button on the right side panel of the TV or the INPUT button on the remote con...

Страница 47: ...s the OK button to select the function Prev page Next page Prev Next Stop Music Playlist Info 3 Press the buttons to select your storage device and then press the OK button My Text 1 Press the button...

Страница 48: ...ss Bar 1 Indicates the status of the currently displayed video 2 Indicates the time lagging behind the live broadcast DVR reviewing 3 Indicates the available recording time on your USB storage device...

Страница 49: ...bar will disappear 3 Press the Stop button to stop recording If you want to turn off your TV during recording press the button on the right side panel of the TV or on the remote control A dialogue wil...

Страница 50: ...This function is used to perform scheduled recording The recording from timer programme or direct recording may have a little bit of delay when it starts to record the broadcast programme Please make...

Страница 51: ...on 4 Press the buttons to select the MY PVR folder and then press the OK button 5 Press the buttons to select your recorded programme and then press the OK button A tick box will be displayed If you w...

Страница 52: ...eWritable AUDIO VIDEO JPEG DVD R DVD Recordable Audio Video format or JPEG files DVD R AUDIO VIDEO JPEG CD R CD Recordable Audio Video format or JPEG files AUDIO VIDEO JPEG CD RW CD Rewritable Audio V...

Страница 53: ...move it from the disc slot When not using the DVD function in stand by mode or using others modes for a long period of time please take out the disc to protect the DVD loader and the disc Previous Nex...

Страница 54: ...9 buttons or input the playback time After editing press the OK button to start If the input is invalid it will not function Repeat A B for DVD CD When playing DVD CD disc press the A B button to rep...

Страница 55: ...To leave the Edit mode press the OK button on the remote control again to cancel the highlight 3 Press the button on the remote control to skip to the left screen Press the buttons on the remote cont...

Страница 56: ...iew to Program view 2 Press the buttons on the remote control to select Edit mode then press the OK button on the remote control to leave the Edit mode Picture CD Playback When you insert a PICTURE CD...

Страница 57: ...t the Video menu and then press the button to enter the sub menu Press the buttons to select the menu options Press the SETUP button to exit the menu Aspect Ratio TV System Language Video Rating Misc...

Страница 58: ...rol Press the buttons to select the Misc menu and then press the button to enter the sub menu Press the buttons to select the menu options Press the SETUP button to exit the menu Using the DVD Rating...

Страница 59: ...o not use any type of solvent such as thinner benzine commercially available cleaners or antistatic spray They may damage the disc Storing Discs Do not store discs in places subjected to direct sunlig...

Страница 60: ...TV startup process Please contact your service centre if the picture has not appeared after five minutes No or poor colour or poor picture Adjust the settings in the PICTURE menu Try another channel...

Страница 61: ...hy do I get blocking on my digital picture In most cases blocking is caused by a reception problem either the signal is too weak or there is some kind of interference Talk to your retailer or contact...

Страница 62: ...check the display settings of your computer before connecting to the TV If the display setting of your computer does not match the TV there may be no video Resolution Vertical Frequency Hz Aspect Rati...

Страница 63: ...nsumption In HOME STANDBY mode 39 3 W Average Annual Energy Consumption 57 kWh Standby Power Consumption 0 35 W Operating Temperature 0 C 40 C Operating Humidity 10 80 Mercury Content mg X Presence of...

Страница 64: ...Maintenance Hints and Tips Specification 64 GB A B C D E F G ENERG Y IE IJA IA 2010 1062 2011 57 kWh annum 39 3 Watt 80 cm 31 5 inch S32FED12 A S32FED12_IB_120731_Annie indd 64 12 7 31 4 25...

Страница 65: ...moving the unit Unplug the unit from the mains socket during a lightning storm Mains Cable Make sure the unit or unit stand is not resting on top of the mains cable as the weight of the unit may dama...

Страница 66: ...ty Always remove the disc when the unit is not in use Failure to do so will risk severely damaging the disc and the unit Do not stack devices heat from other devices may affect the performance of the...

Страница 67: ...poration and Macrovision are protected by trademarks HDMI the HDMI logo and High Definition Multimedia Interface are trademarks or registered trademarks of HDMI Licensing LLC The FREEVIEW word and log...

Страница 68: ...S32FED12_IB_120731_Annie indd 68 12 7 31 4 25...

Страница 69: ...S32FED12_IB_120731_Annie indd 69 12 7 31 4 25...

Страница 70: ...S32FED12_IB_120731_Annie indd 70 12 7 31 4 25...

Страница 71: ...S32FED12_IB_120731_Annie indd 71 12 7 31 4 25...

Страница 72: ...S32FED12_IB_120731_Annie indd 72 12 7 31 4 25...

Отзывы: