Disassembly and Reassembly
Samsung Electronics
1-5
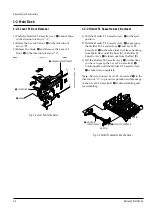
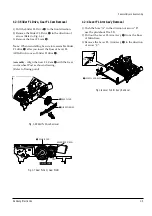
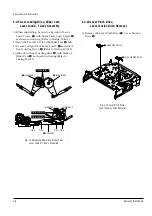
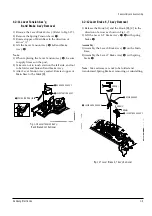
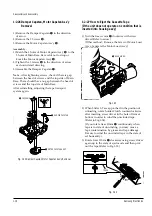
1-2-4 Lever FL Arm Ass’y Removal
1) Push the hole “A” in the direction of arrow “B”
use the pin.(about Dia. 2.5)
2) Pull out the Lever FL Arm Ass'y
Œ
from the Boss
of Main Base.
3) Remove the Lever FL Arm Ass'y
Œ
in the direction
of arrow “C”.
Œ
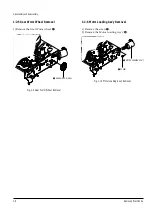
GEAR FL CAM
GEAR WORM WHEEL
POST
TIMING POINT
Fig. 1-7 Gear FL Cam, Gear Worm
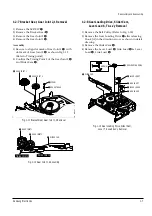
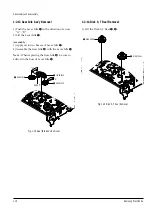
1-2-3 Slider FL Drive, Gear FL Cam Removal
1) Pull the Slider FL Drive
Œ
to the front direction.
2) Remove the Slider FL Drive
Œ
in the direction of
arrow. (Refer to Fig. 1-6)
3) Remove the Gear FL cam
´
.
Note
: When reinstalling be sure to reassemble Slider
FL drive
Œ
after you insert the Boss of Lever FL
ARM-R in Groove of Slider Fl drive
Œ
.
Assembly
: Align the Gear FL Cam
Œ
with the Gear
worm wheel Post as shown drawing.
(Refer to Timing point)
Œ
SLIDER FL DRIVE
´
GEAR FL CAM
Fig. 1-6 Slider FL Drive Removal
Œ
LEVER FL ARM ASS`Y
"C"
"B"
PIN
HOLE "A"
Fig. 1-8 Lever FL Arm Ass’y Removal
Содержание VR5140C
Страница 10: ...2 6 Alignment and Adjustment Samsung Electronics MEMO ...
Страница 18: ...Exploded View and Parts List 3 8 Samsung Electronics MEMO ...
Страница 28: ...4 10 Samsung Electronics Electrical Parts List MEMO ...
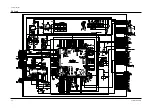
Страница 32: ...Schematic Diagrams 5 4 Samsung Electronics 5 2 Logic Ø ˆ Œ ˇ ...
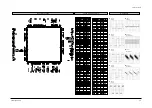
Страница 34: ...Schematic Diagrams 5 6 Samsung Electronics 5 3 Audio Video ˇ ˆ Ø Œ ...
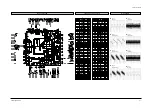
Страница 36: ...Schematic Diagrams 5 8 Samsung Electronics 5 4 Hi Fi Option Œ ˇ ...
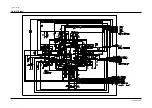
Страница 40: ...Schematic Diagrams 5 12 Samsung Electronics 5 7 Display LED Lamp VR8140C 5140C ...
Страница 59: ...1 18 Samsung Electronics Disassembly and Reassembly MEMO ...

