


10
Before Using the Product
Before Using the Product
Safety Precautions
Electricity and Safety
The following images are for reference only. Real-life situations may differ from what is shown in the
images.
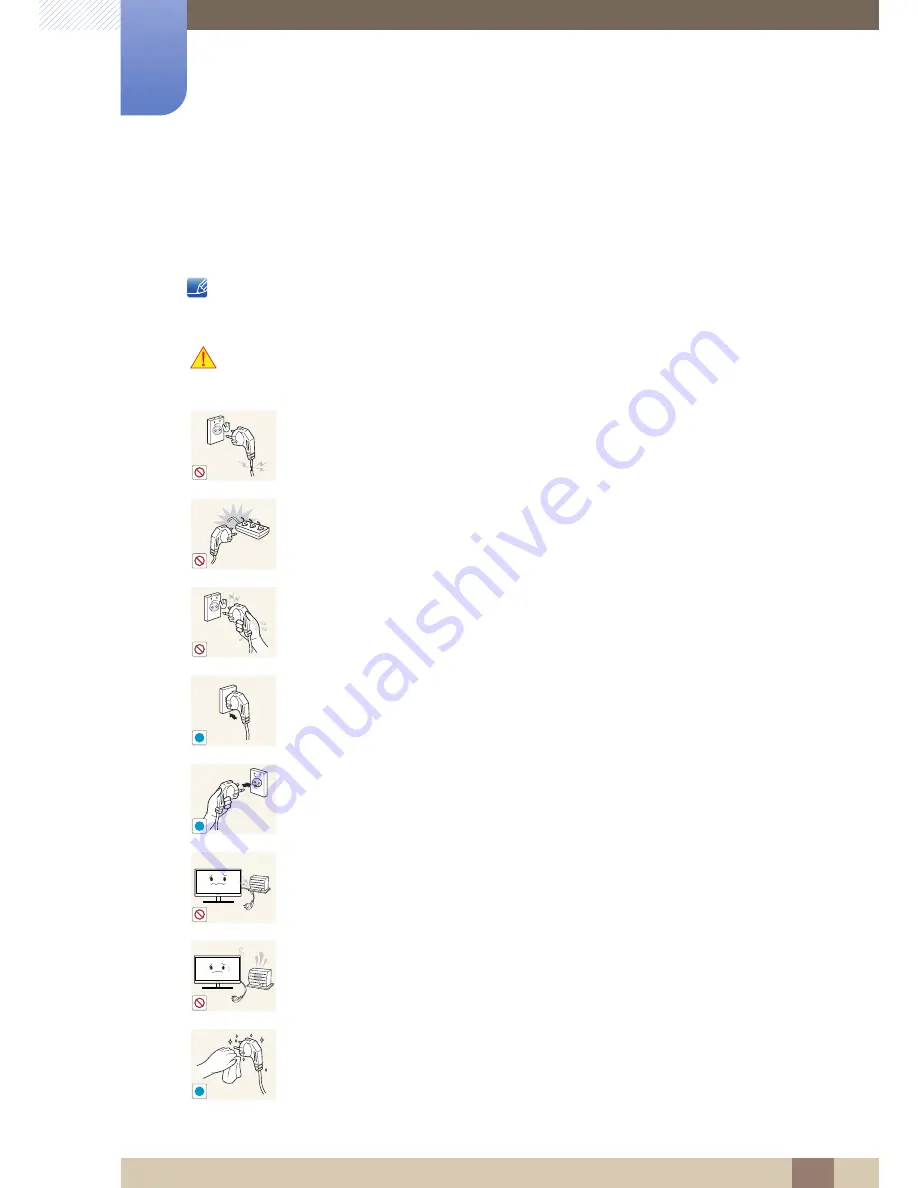
Warning
Do not use a damaged power cord or plug, or a loose power socket.
z
An electric shock or fire may result.
Do not plug many products into the same power socket.
z
Otherwise, the socket may overheat and cause a fire.
Do not touch the power plug with wet hands.
z
Otherwise, an electric shock may result.
Insert the power plug all the way in so it is not loose.
z
An unstable connection may cause a fire.
Ensure you connect the power plug to a grounded power socket. (type 1
insulated devices only).
z
An electric shock or injury may result.
Do not bend or pull the power cord with force. Do not weigh the power cord
down with a heavy object.
z
A damaged power cord may cause an electric shock or fire.
Do not place the power cord or product near heat sources.
z
An electric shock or fire may result.
Remove foreign substances such as dust around the plug pins and power socket
with a dry cloth.
z
Otherwise, a fire may result.
!
!
!


