background image

GB

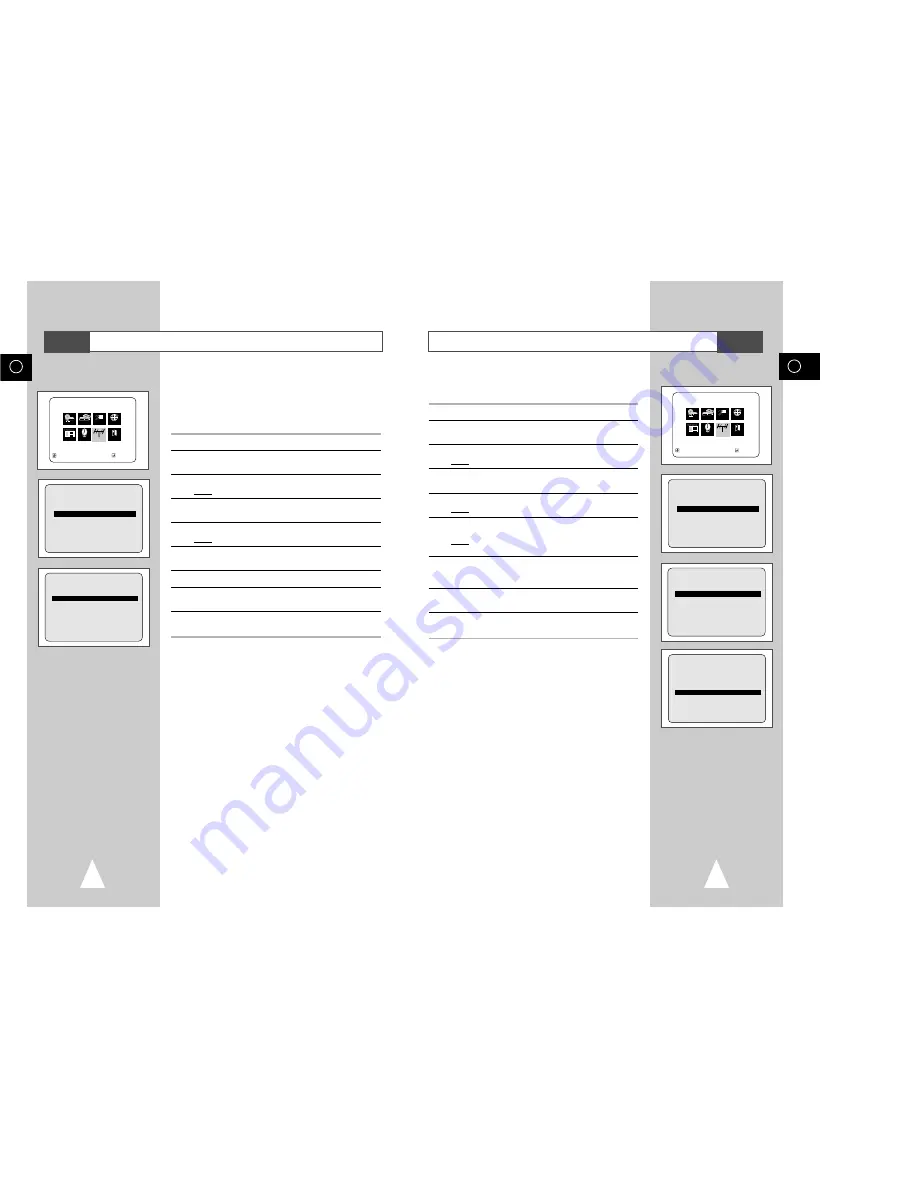
Changing the Preset Station Table

23

You can rearrange the Station Table and give different programme
numbers to the stations listed according to your own preferences.

1

Press the SETUP button on the remote control.

2

Press the corresponding 

"

,

or 

buttons to select the

INSTALLATION

option.

3

Press the ENTER button to select this option.
Result:

The 

INSTALLATION

menu is displayed.

4

Press the corresponding 

"

or

buttons, until the  

MANUAL SET

UP

option is selected.

5

Press the ENTER button to select this option.
Result:

The 

TV STATION TABLE

menu is displayed.

6

Press the corresponding 

"

or

buttons, until the required preset

TV programme is selected.
Result:

The selected station is displayed at the same time on
the television screen.

7

To change the programme number assigned to a station press the
ENTER button on the remote control (For example; To move a TV
station in programme 1 to programme 3).

8

You can modify this station by repeating the same procedure from
Step 

onwards.

9

On completion, press the RETUTN button three times to exit the
menu.

TV STATION TABLE

PR    CH   NAME   DEC

1   003

2
3
4
5

"

❿!!!!!!!!!!!!!!!!!!!!!!!!!!!!!!!!!!!

SWAPPING:ENTER

RETURN                    

DELETE:CLEAR

TV STATION TABLE

PR    CH   NAME   DEC

1   
2

3   003

4

4
5

"

❿!!!!!!!!!!!!!!!!!!!!!!!!!!!!!!!!!!!

SWAPPING:ENTER

RETURN                    

DELETE:CLEAR

MAIN MENU

INSTALLATION

RETURN          

"❷!!

➛!!!❿

ENTER

Program       Clock         Install           Exit

DVD           VCR         Option      Language

    Install     

INSTALLATION

AUTO SET UP

MANUAL SET UP

TV SYSTEM      :G
VCR OUTPUT CH  :CH36

RETURN                       

"❷!!!

ENTER

Clearing a Preset Station

GB

22

If you have stored a TV station:

That you do not require

At the wrong programme position

you can cancel it.

1

Press the SETUP button on the remote control.

2

Press the corresponding 

"

,

or 

buttons to select the

INSTALLATION 

option.

3

Press the ENTER button to select this option.
Result:

The 

INSTALLATION

menu is displayed.

4

Press the corresponding 

"

or

buttons, until the  

MANUAL SET

UP

option is selected.

5

Press the ENTER button to select this option.
Result:

The 

TV STATION TABLE

menu is displayed.

6

Press the corresponding 

"

or

buttons, until the  required preset

TV station is selected. (

PR

)

7

Press the CLEAR button.

8

Repeat the same procedure from Step 

onwards until all the

required stations have been cleared.

9

On completion, press the RETURN button three times to exit the 
menu.

MAIN MENU

INSTALLATION

RETURN          

"❷!!

➛!!!❿

ENTER

Program       Clock         Install           Exit

DVD           VCR         Option      Language

    Install     

INSTALLATION

AUTO SET UP

MANUAL SET UP

TV SYSTEM      :G
VCR OUTPUT CH  :CH36

RETURN                    

"❷!!!

ENTER

TV STATION TABLE

PR    CH   NAME   DEC

1   003

2
3
4
5

"

❿!!!!!!!!!!!!!!!!!!!!!!!!!!!!!!!!!!!

SWAPPING:ENTER

RETURN                    

DELETE:CLEAR

VCR

VCR

Содержание SV-DVD3E

Страница 1: ...N CLOSE L AUDIO R VIDEO AUX 2 3 4 5 6 7 8 9 0 SHUTTLE STANDBY ON OPEN CLOSE AUDIO 3D SOUND SCREEN FIT CLEAR DVD VCR INPUT SEL ZOOM VIEW TRK PROG DISPLAY REC DISC MENU F ADV STEP SETUP ENTER RETURN TITLE SUBTITLE MARK A DUB SPEED TIMER INDEX MODE REPEAT DIGEST SVHS TV VCR CLOCK COUNTER ANGLE A TRK PAL ...

Страница 2: ...d Scene 62 Clearing a Mark 62 Using the Zoom DVD VCD 63 3D Sound Function 63 MP3 Play 64 MP3 Play CD R MP3 disc requirements 65 FOREWORD Disc Type and Characteristics 6 DVD VCR OVERVIEWS Front View of the DVD VCR 7 Rear View of the DVD VCR 7 Infrared Remote Control 8 Display Indicators 9 Accessories 9 CONNECTING YOUR DVD VCR Deciding How to Connect DVD VCR 10 Connecting DVD VCR to the TV using the...

Страница 3: ...me remove the batteries and store it in a cool dry place SOLVING PROBLEMS Technical Specifications 66 Problems and Solutions VCR 67 Troubleshooting Guide DVD 68 This manuel is divided into two sections one describing the VCR the other the DVD Prior to undertaking anything please verify in which section you actually are by checking either the or symbols or the header of the chapter This product inc...

Страница 4: ...layback Region Number PAL colour system in U K France Germany etc Dolby Digital disc Digital Audio disc Stereo disc DTS disc Disc Markings Both the DVD player and the discs are coded by region These regional codes must match in order for the disc to play If the codes do not match the disc will not play The Region Number for this player is described on the rear panel of the player Playback Region N...

Страница 5: ...d is active 9 A DVD with a DTS soundtrack is loaded 10 The number to the right of the CHAP symbol is the current chapter number 11 The Hi Fi track of a VHS tape is playing The current TV show or video is broadcast in Stereo 12 A Timer Recording is programmed or in progress If blinking there is an error 13 DVD to VHS copy is in progress 2 3 4 5 6 7 8 9 0 SHUTTLE STANDBY ON OPEN CLOSE AUDIO 3D SOUND...

Страница 6: ...he coaxial cable supplied Otherwise no picture will be visible on the screen when the DVD VCR is switched off Make sure that both the television and the DVD VCR are switched off before connecting the cables 1 Connect the coaxial cable as indicated in the above section 2 Connect one end of the SCART cable to the AV1 EURO AV socket on the rear of the DVD VCR 3 Plug the other end into the appropriate...

Страница 7: ...pment chosen The following illustrations give a few examples of the connection possibilities Satellite Receiver or other Equipment 1 AV1 EURO AV By means of 21 pin Scart Cable Plug the SCART Cable with satellite receiver or other equipment into the AV1 EURO AV socket on the rear of the DVD VCR After making this connection select the source by pressing the INPUT SEL button for the AV1 input sources...

Страница 8: ...RK PROG DISPLAY F ADV STEP DIGEST SVHS A TRK SELECT COPY ROG REC EJECT AUX 2 3 4 You must tune your television for the DVD VCR only if you are not using a Scart cable To view pictures from your DVD VCR when a Scart cable is used the television must be set to the audio video mode AV 1 Switch on the television 2 Switch on the DVD VCR by pressing STANDBY ON on the front of the DVD VCR or STANDBY ON o...

Страница 9: ...VD SETUP MENU see page 51 If Quasi PAL is On the copy process can not active The copy is only active PAL tape system STANDBY ON SELECT COPY PROG REC EJECT OPEN CLOSE L AUDIO R VIDEO AUX STANDBY ON SELECT COPY PROG REC EJECT OPEN CLOSE L AUDIO R VIDEO AUX SELECT COPY REC EJECT AUDIO VIDEO AUX 0 DVD VCR INPUT SEL VIEW TRK PROG DISPLAY REC DISC MENU F ADV STEP DIGEST 1 2 3 4 4 The following buttons a...

Страница 10: ...on the remote control Result The programming menu is displayed 2 Press the corresponding or buttons to select the CLOCK SET option 3 Press the ENTER button to select this option Result The CLOCK SET menu is displayed 4 Press or to select the hour minutes day month and year Result The option selected flashes 5 Press the or buttons to increase or decrease the value Result The day of the week is disp...

Страница 11: ...atically Manually see page 21 You can store up to 80 stations 1 Press the SETUP button on the remote control Result The MAIN MENU is displayed 2 Press the corresponding or buttons to select the INSTALLATION option 3 Press the ENTER button to select this option Result The INSTALLATION menu is displayed 4 Press the corresponding or buttons until the AUTO SET UP option is selected And then press the ...

Страница 12: ...TATION TABLE PR CH NAME DEC 1 2 3 003 4 4 5 SWAPPING ENTER RETURN DELETE CLEAR MAIN MENU INSTALLATION RETURN ENTER Program Clock Install Exit DVD VCR Option Language Install INSTALLATION AUTO SET UP MANUAL SET UP TV SYSTEM G VCR OUTPUT CH CH36 RETURN ENTER Clearing a Preset Station GB 22 If you have stored a TV station That you do not require At the wrong programme position you can cancel it 1 Pre...

Страница 13: ... On completion press RETURN twice to exit the menu MAIN MENU USER SET RETURN ENTER Program Clock Install Exit DVD VCR Option Language Option USER SET COLOUR SYSTEM AUTO NICAM ON IPC ON AUTO POWER OFF OFF SHOWVIEW EXTEND OFF RETURN MAIN MENU USER SET RETURN ENTER Program Clock Install Exit DVD VCR Option Language Option AUTO PAL MESECAM B W USER SET COLOUR SYSTEM AUTO NICAM ON IPC ON AUTO POWER OFF...

Страница 14: ...tons until the IPC option is selected 5 Press the button to select the IPC intelligent picture control option When intelligent picture control mode is ON the sharpness of the image is adjusted automatically 6 To adjust the sharpness manually press the button to turn the IPC mode OFF 7 Press the or buttons until the picture is displayed according to your preferences If you do not press a button wit...

Страница 15: ...pe continuously from beginning to end 1 Press SETUP on the remote control Result The MAIN MENU is displayed 2 Press the corresponding or buttons to select the VCR FUNCTION SETUP option 3 Press the ENTER button to select this option Result The VCR FUNCTION SETUP menu is displayed 4 Press the corresponding or buttons until the Repeat Play option is selected 5 To Press or until Repeat play ON is disp...

Страница 16: ... break off the tab using a small screwdriver 2 To re record over a protected cassette safety tab broken cover the hole with adhesive tape TRK PROG REC DISC MENU F ADV STEP SETUP ENTER 7 REC DISC MENU SETUP ENTER RETURN TITLE SUBTITLE MARK A DUB SPEED TIMER INDEX DVD VCR INPUT SEL VIEW TRK PROG DISPLAY REC DISC MENU F ADV STEP DIGEST 6 4 4 1 5 Before recording a programme you must have preset the c...

Страница 17: ...RK A DUB SPEED TIMER INDEX 2 3 4 5 6 7 8 9 SHUTTLE STANDBY ON OPEN CLOSE AUDIO MODE REPEAT TV VCR CLOCK COUNTER 5 SHOWVIEW CODE CODE 0 9 CORRECT RETURN ENTER 1 JAN TUE 12 09 PR DAY START STOP V P SET RETURN DELETE CLEAR 1 TIMER METHOD STANDARD SHOWVIEW RETURN ENTER If you wish to correct the programme displayed or modify certain elements such as the recording speed you can do so before you press S...

Страница 18: ...s when selecting the recording start time 13 Press to select the recording speed 14 Press the or buttons to select the SP Standard Play LP Long Play AUTO Auto Tape Speed Select recording speeds 15 Press the or buttons to toggle between the VPS or PDC mode marked ON and the non VPS PDC mode marked 16 When you have finished press the RETURN button 17 Press the STANDBY ON button to activate the timer...

Страница 19: ...AUX 4 5 6 7 8 9 0 3D SOUND SCREEN FIT CLEAR DVD VCR INPUT SEL ZOOM VIEW TRK PROG DISPLAY MODE REPEAT DIGEST SVHS CLOCK COUNTER ANGLE A TRK 3 2 3 DVD VCR INPUT SEL VIEW TRK PROG DISPLAY REC DISC MENU F ADV STEP DIGEST The Picture Alignment feature enables you to optimize the tape position automatically to obtain the best possible picture When noise bars or streaks appear during playback adjust pict...

Страница 20: ...quired option is displayed You can play a cassette in slow motion No sound is heard when playing back a cassette in slow motion 1 Press ll to start playing the cassette ll button one more time to make STILL mode to start SLOW mode or button as many times as required to decrease or increase the speed respectively To return to the normal speed press the ll button twice 2 When playing back in slow mo...

Страница 21: ...following illustration 2 3 4 5 6 7 8 9 0 SHUTTLE AUDIO 3D SOUND SCREEN FIT CLEAR DVD VCR INPUT SEL ZOOM VIEW MODE REPEAT SVHS TV VCR CLOCK COUNTER ANGLE A TRK 1 1 REVERSE REVERSE REVERSE SLOW SLOW PLAY PLAY PLAY PLAY PLAY PLAY STILL MOTION MOTION PLAY X3 X5 X9 X9 X5 X3 X1 10 X1 5 TRK PROG DISPLAY REC DISC MENU F ADV STEP SETUP ENTER DIGEST 2 2 ENTER RETURN TITLE SUBTITLE MARK A DUB SPEED TIMER IND...

Страница 22: ...s the elapsed time in the play and record modes hours minutes and seconds Is reset when a cassette is inserted in the DVD VCR Allows you to find the beginning of a sequence easily If the remaining time is to be calculated correctly you must indicate the type of cassette being used 1 Insert a cassette in your DVD VCR 2 To set the tape counter to zero at the beginning of a sequence Press DISPLAY twi...

Страница 23: ...rt a new recording at a specific position on the cassette while maintaining a very smooth scene change 1 Insert the cassette to be edited in your DVD VCR 2 Press the ll button to start playback 3 When you reach the position from which you wish to start the new recording press the ll button 4 Press the F ADV STEP button again as often as necessary to advance frame by frame until the exact recording...

Страница 24: ...S 4 5 6 7 8 9 0 SHUTTLE 3D SOUND SCREEN FIT CLEAR DVD VCR INPUT SEL ZOOM VIEW DISPLAY MODE REPEAT DIGEST SVHS CLOCK COUNTER ANGLE A TRK 3 The following show examples of connections commonly used to connect the DVD VCR with a TV and other components It is only available for DVD The VCR out can not watch by this connection OPTICAL COAXIAL DIGITAL AUDIO OUT OPTICAL COAXIAL S VIDEO OUT DVD VCR or Tele...

Страница 25: ... the or buttons on the remote to access the different features 5 Press the ENTER button to access the sub features To make the setup screen disappear after setting up press the SETUP button again Depending on the disc some Setup Menu selections may not work DVD SETUP Disc Menu English Audio English Subtitle Automatic Parental Unlocked Audio Options Display Options RETURN ENTER MAIN MENU DVD SETUP ...

Страница 26: ...ubtitle Automatic Parental Unlocked Audio Options Display Options RETURN ENTER Using the Audio Language 1 With the unit in Stop mode press the SETUP button on the remote Result The MAIN MENU is displayed 2 Press the corresponding or buttons to select the DVD option 3 Press the ENTER button to select this option Result The DVD SETUP menu is displayed 4 Press the or buttons to move to Audio 5 Press ...

Страница 27: ... option 3 Press the ENTER button to select this option Result The DVD SETUP menu is displayed 4 Use the or buttons to select Audio Options Then press the ENTER button 5 Use the or buttons to select the desired item Then press the or buttons Dolby Digital Out PCM Converts to PCM 2CH audio Select PCM when using the Analog Audio Outputs Bitstream Converts to Dolby Digital Bitstream 5 1CH Select Bitst...

Страница 28: ...tion at variable speeds Each press increases the slow motion speed playback to 1 8 1 4 or 1 2 normal speed Audio is muted during slow motion playback Front Panel Slow Motion Buttons Press and hold the Forward buttons on the front panel to activate slow motion playback Press the ll Play Still button to resume normal playback 5 Stop Resume Press the Stop button once to stop playback To resume the DV...

Страница 29: ...acks on an audio CD What is a Title A DVD may contain several different titles For example if a disc contains four different movies each might be considered a title When Playing a DVD When Playing a CD VCD Repeat the current track chapter title a chosen section A B or all of the disc 1 Press the REPEAT button on the remote Repeat screen appears 2 Select Chapter Title or A B using the or buttons Re...

Страница 30: ...o the program Press the ENTER button The selection numbers appear in the Program Order box 4 Press the PLAY STILL button The disc will be played in programmed order 1 Press the MODE button 2 Use the or buttons to select RANDOM Press the ENTER button The disc will be played in random order Depending on the disc the Program and Random Play function may not work When in VCD 2 0 mode MENU ON mode thes...

Страница 31: ...ress the TITLE button 2 Press the or buttons to select TRACK VIEW Press the ENTER button 3 Select the desired view by pressing or buttons Press the SKIP button for the next 9 tracks if the movie has more than 9 4 Press the ENTER button Displays the equally divided 9 views of the current playing track 1 During play press the TITLE button 2 Press or buttons to select INDEX VIEW Press the ENTER butto...

Страница 32: ...nd may not work with all DVDs A DVD disc can contain up to 32 subtitle languages How to have the same subtitle language come up whenever you play a DVD Refer to Setting Up the Language Features on page 48 A A Selecting the Audio Language Using the Audio button You can select a desired language quickly and easily with the AUDIO button 1 Press the AUDIO button 2 Use the or buttons to select the desi...

Страница 33: ... function may not work Using the Bookmark Function DVD VCD The Bookmark function lets you select parts of a DVD or VCD MENU OFF mode so that you can quickly find the section at a later time 1 During play press the MARK button on the remote The Bookmark icons will be displayed 2 Use the or buttons to move to the desired bookmark icon 3 When you reach the scene you want to mark press the ENTER butto...

Страница 34: ...rade mark of Microsoft Inc and SDMITM registered trade mark of The SDMI Foundation You cannot copy such files Your DVD player only accepts one level of file directory Consequently you must choose either to save all your MP3 recording files at the root of the disc and or create folders in the directory for each artist or music type e g classical rock jazz etc Important The above recommendations can...

Страница 35: ...ttern when found suffers 2 Carry out the instructions Tuning Your Television for the DVD from interference it may be due to the VCR see page 14 DVD VCR output channel clashing with 3 Carry out the instructions Setting the DVD VCR output the normal TV transmissions in your area Channel see page 24 move the channel number To prevent this you will need to change the several channels down from the ori...

Страница 36: ...for guarantee service otherwise your guarantee may be affected WARRANTY CARD GUARANTEE GARANZIA GARANTI GARANTÍA GARANTIE GARANTIA ΕΓΓΥΗΣΗ TAKUU MODEL NAME Modelnavn Nombre de modelo Nombre del modelo Nome de modelo Modellbezeichnung Modelnaam Nom du modèle II nome di modello Montev l o proi o v n toı Asiakkaan puh nro Modelnaven Modell SERIAL NO Serienummer No de serie Número serial Seriennummer ...

Страница 37: ...luv p tei apozhmiwv s eiı giaÚ a Belov n eı kai kefaleı pik ap b kefalev ı video kai kasetofwv n wn g kefalev ı camcordor d gennhv t rieı aktiv n wn laser sta compact disk e thleceiristhv r ia st lucniv e ı fouv r nwn mikrokumav t wn z prosarmogev ı metatropeı hv ruqmiv s eiı hv prospav q eieı proı touv t o anexav r thta tou eav n hv n an epituceiı hv anepituceiv ı ouv t e opoiadhv p ote zhmiv a p...

Страница 38: ...THIS APPLIANCE IS DISTRIBUTED BY www samsung com AC68 01886N ELECTRONICS ...

Отзывы: