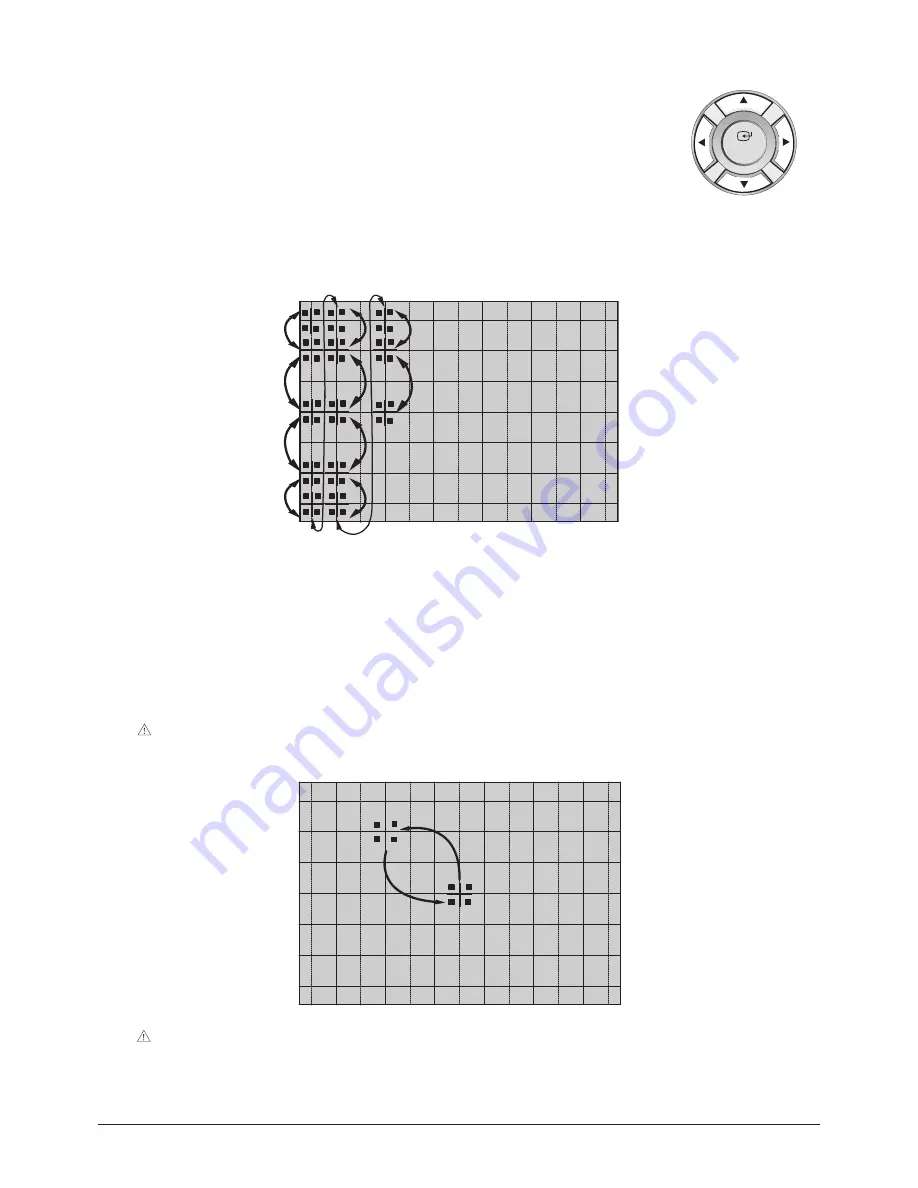
9. For general adjustment, press "4" key to exit the line moving. Perform the general adjustment using
up (
▲
)/down (
▼
)/ left (
◀
)/right (
▶
) button, channel
▲
,
▼
button, and the , - buttons.
10. After completing Green Color Convergence, save the data by pressing the "ADD/DEL" key.
11. Adjust the Red Color based on the Green Color.
Press the "7" button to release the Red Color from mute and select the Red Color by pressing the "+100" key.
12. Perform steps 5 ~ 10 to adjust the Red Color Convergence.
13. Adjust the Blue Color based on the Green Color. Press the "+100" button to mute the Red Color again.
Release the Blue Color from mute by pressing "PRE-CH" key and select the Blue Color by pressing the "9" key.
14. Adjust the Blue Color Convergence by performing steps 5 ~ 10 and 13.
15. After adjusting all the colors, fill the screen with R, G and B color to validate. Adjust again if required, by selecting the corre
sponding color key.
16. Save the data by using the "ADD/DEL" key after the Red and Blue Color Convergence adjustment has been completed.
Caution : The Cursor will move to the center and blink two times before it automatically moves back to its original
position.
Alignment & Adjustment
2-24
Samsung Electronics
ENTER
Caution : After completing and saving the R, G and B Convergence Adjustment , the data should be saved by pressing
the "SELF FOCUS" button before exiting Convergence Mode.
Содержание SP43Q5HL1 Series
Страница 4: ...1 2 Samsung Electronics MEMO ...
Страница 38: ...3 8 Samsung Electronics MEMO ...
Страница 57: ...Samsung Electronics 5 18 MEMO ...
Страница 58: ...6 PCB Diagram Samsung Electronics PCB Diagram 6 1 6 1 MAIN PCB ...
Страница 59: ...PCB Diagram 6 2 Samsung Electronics 6 2 SUB PCB ...


