


0_
network connection and setup
network connection and setup
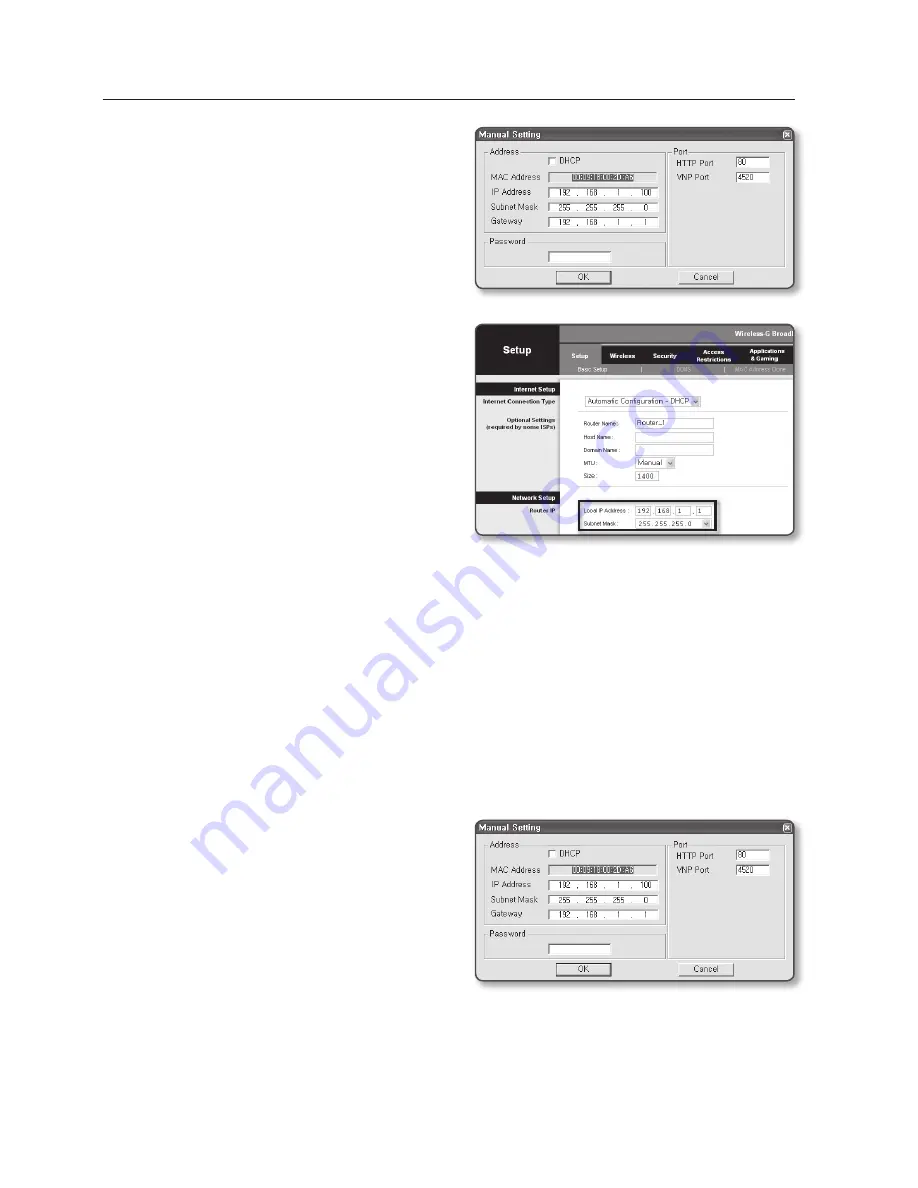
In the <
Address
> pane, provide the
necessary information.
MAC (Ethernet) Address : The MAC
(Ethernet) address of the applicable
camera will be set automatically so you
don't need to input it manually.
if using an ip router
IP Address : Enter an address falling in
the IP range provided by the IP router.
ex) 192.168.1.2~254,
192.168.0.2~254,
192.168.XXX.2~254
Subnet Mask : The <
Subnet mask
> of
the IP router will be the <
Subnet mask
>
of the camera.
Gateway : The <
Local ip Address
> of
the IP router will be the <
Gateway
> of the camera.
The settings may differ depending on the connected IP router model.
For more information, refer to the user manual of the applicable router.
Refer to the “
Port Range Forward (Port Mapping) Setup
” section of the IP Router’s
documentation. (Page 53)
if not using an ip router
For setting <
ip Address
>, <
Subnet mask
>, and <
Gateway
>, contact your network
administrator.
In the <
port
> pane, provide
necessary information.
HTTP Port : Used to access the
camera using the Internet browser,
defaulted to 80. Use the spin button
to change the HTTP Port value.
VNP Port : Used to control the video
signal transfer, defaulted to 4520.
Enter the password.
This is the login password for the “
admin
” user who accesses the camera.
The default password is “
4321
”.
3.
M
4.
5.


