28
29
CAMERA MENU Organization
E
E
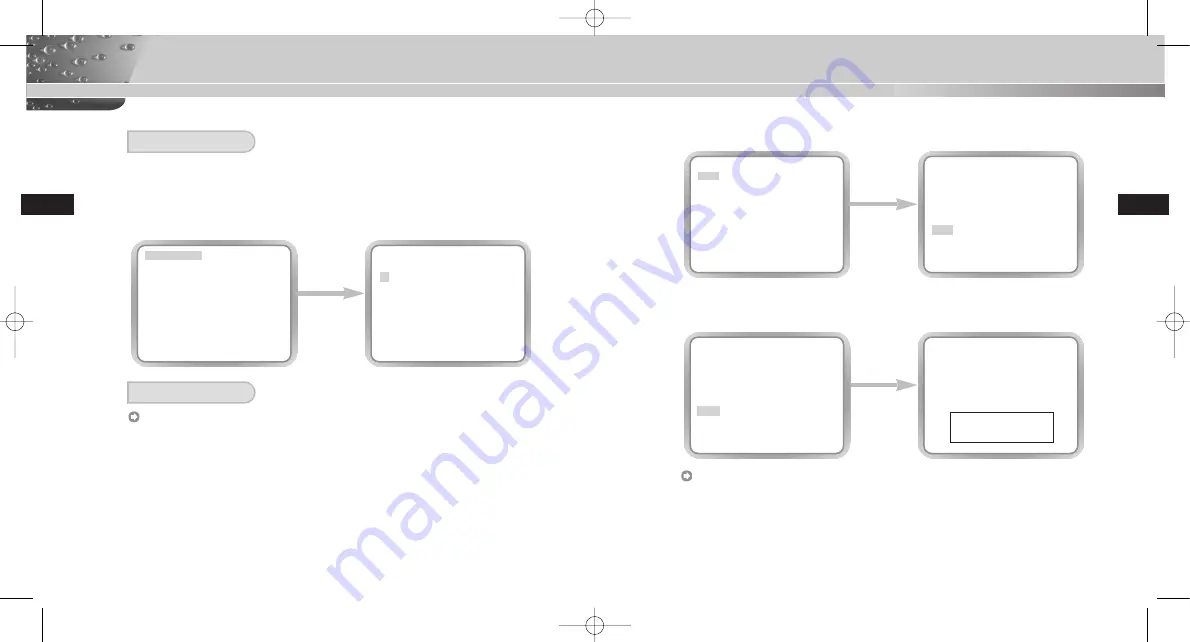
CAMERA ID
In the CAMERA ID menu, you may designate the CAMERA ID to be displayed in the monitor
connected to a camera. Set the CAMERA ID menu to ON... and press [ENTER] and the
CAMERA ID setup submenu will appear.The CAMERA ID may be created by up to 20 digits by
using alphabets, numbers, and some special texts served by the submenu screen. You may
locate the designated CAMERA ID on your own by using the LOCATION... submenu.
ALC
Select ALC... from the IRIS menu and press [ENTER] and the BLC(Back Light
Compensation) setup submenu will appear. If you use a general camera to photograph a
subject under backlight or bright illumination, the subject will be shown dark on the monitor
due to the backlight. BLC(Back Light Compensation) is used to prevent such a backlight
problem to secure distinct images under bright illumination. Using the [Left, Right] keys, you
can set up BOTTOM…, TOP…, LEFT…, RIGHT…, CENTER… 5 preset areas and the
USER…function that can directly set the areas. For example, for the items in the BLC
menu, you can confirm the preset BOTTOM area by pressing [ENTER] key in the
BOTTOM… status.
PRESS THE
ENTER
BUTTON.
CAMERA ID
ON...
IRIS
ALC...
SHUTTER
OFF
AGC
LOW
WHITE BAL
ATW1
FOCUS MODE
ONEAF
ALARM SET
...
COLOR/BW
COLOR...
PRIVACY
ON...
SPECIAL
...
PRESET
...
EXIT
QUIT
(CAMERA)
A B C D E F G H I J K L
M N O P Q R S T U V W X
Y Z 0 1 2 3 4 5 6 7 8 9
: ! - + * ( ) /
SP
❿❿➛➛
SP
LOCATION...
RET
WDR.ZOOM.CAMERA.....
IRIS
BLC
For items in the BLC menu, the user can set the size and location of the BLC area by
pressing [ENTER] key after put the cursor on USER… using the [Left, Right] key. For SIZE
items, you can use the [Up, Down, Left, Right] key to designate the SIZE, and then press
the [ENTER] key.You can set the location for areas using the [Up, Down, Left, Right] key in
the LOCATION.
PRESS THE
ENTER
BUTTON.
CAMERA ID
ON...
IRIS ALC...
SHUTTER OFF
AGC LOW
WHITE BAL
ATW1
FOCUS MODE
ONEAF
ALARM SET
...
COLOR/BW
COLOR...
PRIVACY
ON...
SPECIAL
...
PRESET
...
EXIT
QUIT
(IRIS/ALC)
BLC OFF
LEVEL
(0) ----I----
RET
PRESS THE
ENTER
BUTTON.
(IRIS/ALC)
BLC BOTTOM...
LEVEL
(0)
----I----
RET
00578A-SCC-C9302(F)P-E 5/18/06 9:51 AM Page 28
Содержание SCC-C9302P
Страница 26: ...51 E 50 E Unit mm Unit mm SCC C9302P SCC C9302 F P 00578A SCC C9302 F P E 5 18 06 9 51 AM Page 50 ...
Страница 29: ...ELECTRONICS Part No AB68 00578A 00 00578A SCC C9302 F P E 5 18 06 9 51 AM Page 56 ...
Страница 30: ...D Anti Vandalismus Dome Kamera SCC C9302 F P Bedienungsanleitung 00578A SCC C9302 F P G 5 18 06 9 54 AM Page 1 ...
Страница 54: ...49 D 48 D Einheit mm Einheit mm SCC C9302P SCC C9302 F P 00578A SCC C9302 F P G 5 18 06 9 54 AM Page 48 ...
Страница 57: ...ELECTRONICS Part No AB68 00578A 00 00578A SCC C9302 F P G 5 18 06 9 54 AM Page 54 ...
Страница 82: ...49 F 48 F Unité mm Unité mm SCC C9302P SCC C9302 F P 00578A SCC C9302 F P F 5 18 06 9 53 AM Page 48 ...
Страница 85: ...ELECTRONICS Part No AB68 00578A 00 00578A SCC C9302 F P F 5 18 06 9 53 AM Page 54 ...
Страница 86: ...Es CÁMARAAVTIVANDÁLICATIPODOME SCC C9302 F P Guía del Usuario 00578A SCC C9302 F P S 5 18 06 9 59 AM Page 1 ...
Страница 110: ...49 Es 48 Es Unidad mm Unidad mm SCC C9302P SCC C9302 F P 00578A SCC C9302 F P S 5 18 06 9 59 AM Page 48 ...
Страница 113: ...ELECTRONICS Part No AB68 00578A 00 00578A SCC C9302 F P S 5 18 06 9 59 AM Page 54 ...
Страница 114: ...I TELECAMERA PANORAMICAANTI VANDALISMO SCC C9302 F P Manuale d uso 00578A SCC C9302 F P I 5 18 06 9 54 AM Page 1 ...
Страница 138: ...49 I 48 I Unità mm Unità mm SCC C9302P SCC C9302 F P 00578A SCC C9302 F P I 5 18 06 9 55 AM Page 48 ...
Страница 141: ...ELECTRONICS Part No AB68 00578A 00 00578A SCC C9302 F P I 5 18 06 9 55 AM Page 54 ...


