ENGLISH
140
140
Miscellaneous Information
✤
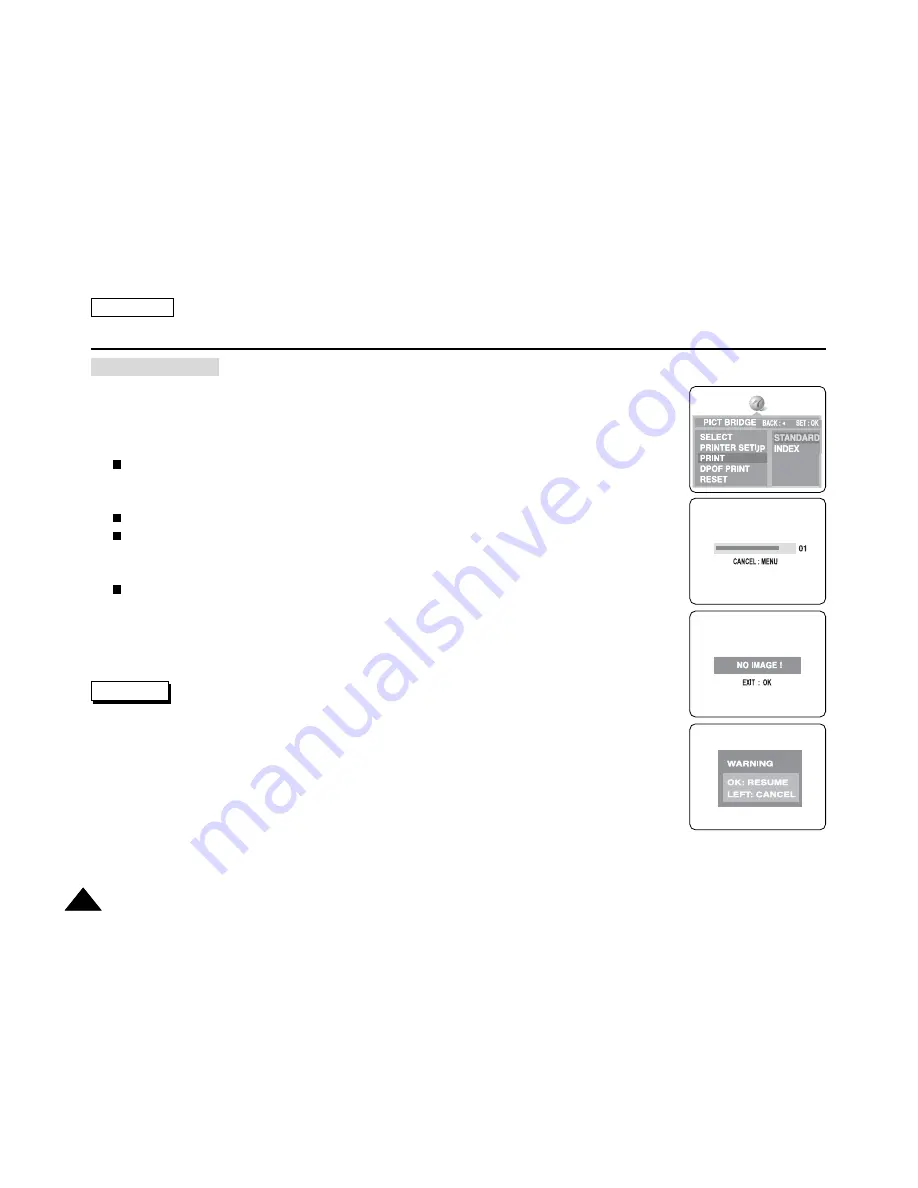
After selecting images and the PRINTER SETUP settings, print your pictures by choosing the
PRINT menu.
1. In the PictBridge settings menu, press the DOWN button to select PRINT .
The available options are listed: STANDARD and INDEX.
2. Press the RIGHT button.
3. Select an option using the DOWN or UP button, then press the OK button.
If STANDARD is selected, standard image printing will start.
If INDEX is selected, index printing on all the selected images will start.
4. Progress Bar will be displayed.
5. To cancel the printing, press the MENU button.
If there is no selected image, NO IMAGE message will be displayed. In that case, to go back
to the PictBridge main menu page, press the OK button.
6. After successfully printing pictures, the PictBridge settings menu will be displayed.
✤
If there is no selected image to print, the NO IMAGE message appears on the LCD monitor.
✤
If there is an error in the image, the FILE ERROR message appears on the LCD monitor.
✤
If an unrecoverable error occurred during printing, ERROR is displayed. Press the MENU button
to return to the PictBridge main menu.
✤
If a recoverable error occurs during printing, a WARNING message will be displayed with the
RESUME and CANCEL options. Press the OK button to select RESUME, then printing continues.
Press the LEFT button to select CANCEL, which stops the printing.
Printing Images
Notes


