


English - 0
Listening through a Receiver
Air28
Move
Enter
Exit
View TV
Select Device
Record
Menu on Device
Device Operation
Receiver
:Off
Setup
You can listen to sound through a receiver instead of the
TV speaker.
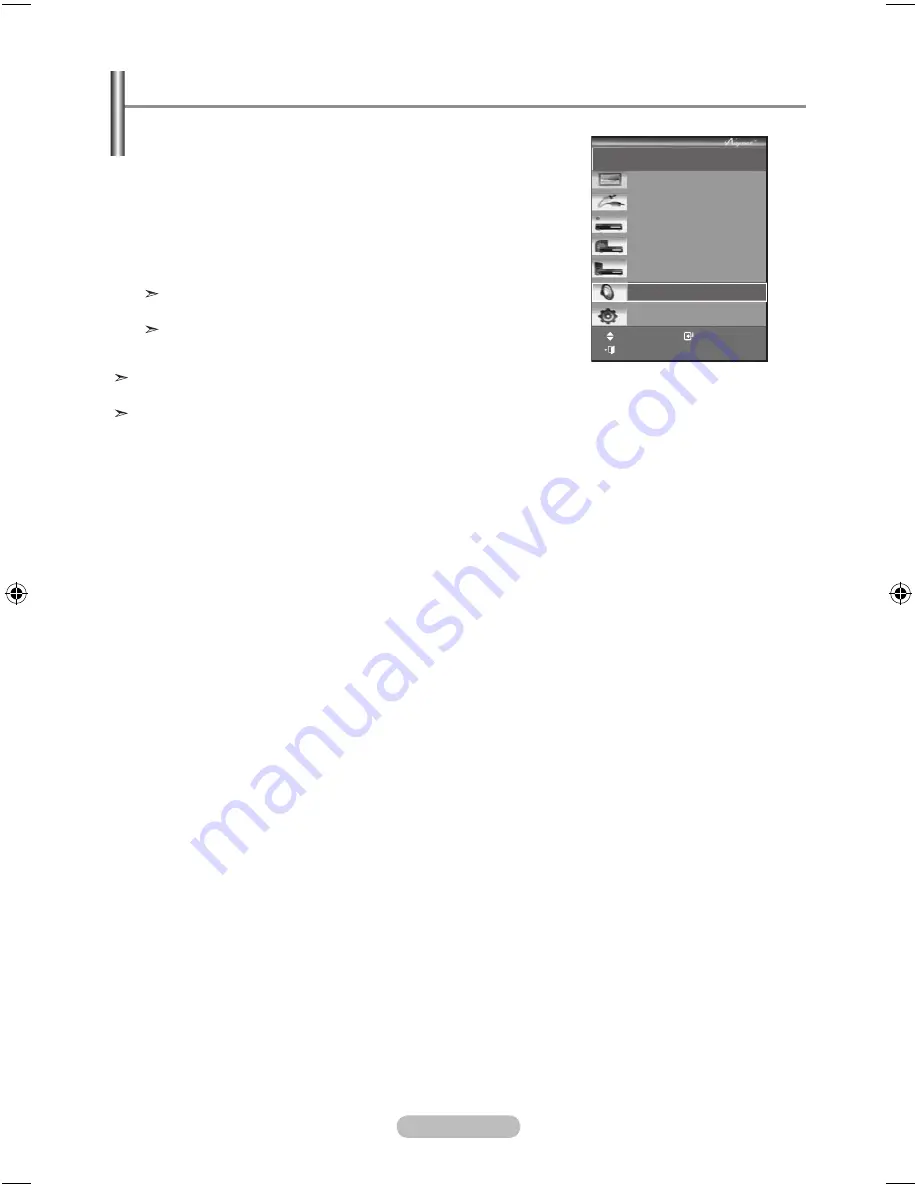
1.
Press the
button.
Press the ▲ or ▼ button to select
Receiver
, then press the
ENTER/OK
button.
2.
Press the ◄ or ► button to select to
On
, then press the
ENTER/OK
button.
Now you can listen to sound through the receiver.
.
Press the
EXIT
button to exit.
When the receiver is set to On, you can listen to the TV
sound through the 2-channel receiver.
If the receiver is exclusively for a Home Theatre only
(supporting audio only), it may not appear in the device list.
Only when you have connected the optical jack of the TV and the
receiver properly, does Receiver work.
In case of a content with copyright problem, listening through the receiver may not properly operate.
When listening through the receiver, there are restrictions for using the PIP and audio-related menu.
BN68-01181A-X6_Eng-0321.indd 60
Содержание PS-42C91HD
Страница 66: ...This page is intentionally left blank ...


