Media and tray
41
2. Menu Overview and Basic Setup
3
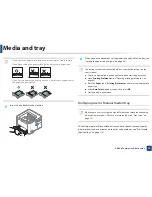
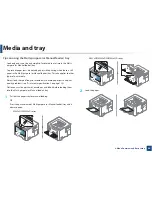
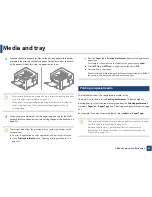
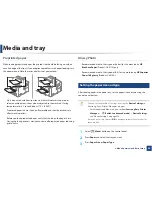
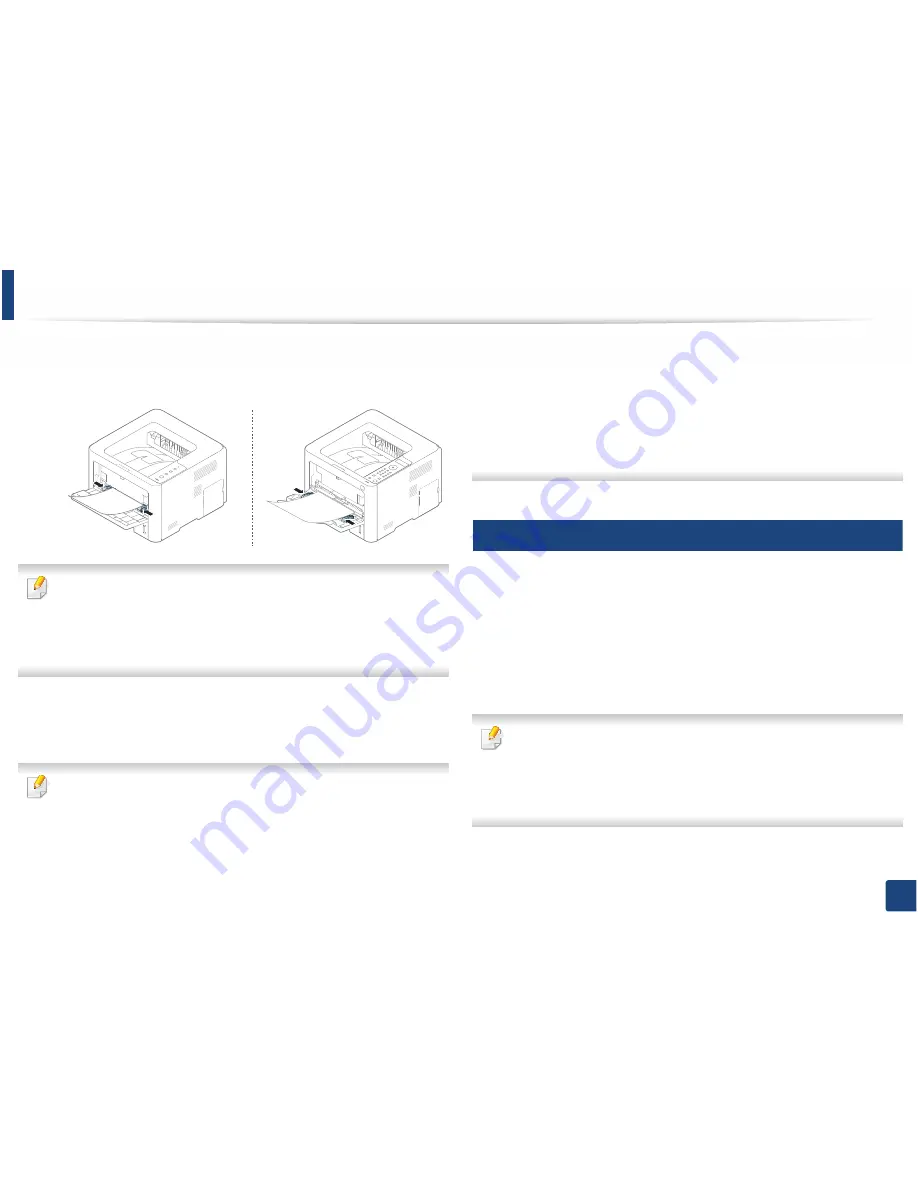
Squeeze the Multi-purpose (or Manual feeder) tray paper width guides
and adjust them to the width of the paper. Do not force them too much,
or the paper will bent resulting in a paper jam or skew.
•
When printing the special media, you must follow the loading guideline
(See "Printing on special media" on page 41).
•
When papers overlap when printing using Multi-purpose (or Manual
feeder) tray, open tray 1 and remove overlapping papers then try
printing again.
4
When you print a document, set the paper type and size for the Multi-
purpose (or Manual feeder) tray
G
(see "Setting the paper size and type" on
page 45).
The settings made from the machine driver override the settings on the
control panel.
a
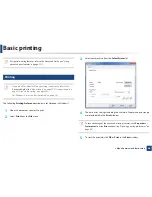
To print in application, open an application and start the print menu.
b
Open
Printing Preferences
(See "Opening printing preferences" on
page 49).
c
Press the
Paper
tab in
Printing Preferences
, and select an appropriate
paper type.
For example, if you want to use a label, set the paper type to
Label
.
d
Select
MP Tray
(or
MP Tray
) in paper source, then press
OK
.
e
Start printing in application.
If your machine has Multi-purpose (or Manual feeder) tray,
G
press
OK
on
the control panel each time you load a sheet of paper.
4
Printing on special media
The table below shows the special media usable in tray.
The media is also shown in the
Printing Preferences
. To get the highest
printing quality, select the proper media type from the
Printing preferences
window >
Paper
tab >
Paper Type
(see "Opening printing preferences" on page
49).
For example, if you want to print on labels, select
Labels
for
Paper Type
.
•
When using special media, we recommend you feed one sheet at a time
(see "Print media specifications" on page 110).
•
Illustrations on this user’s guide may differ from your machine
depending on its options or models. Check your machine type (see
"Front view" on page 20).

