


91
Shooting Functions >
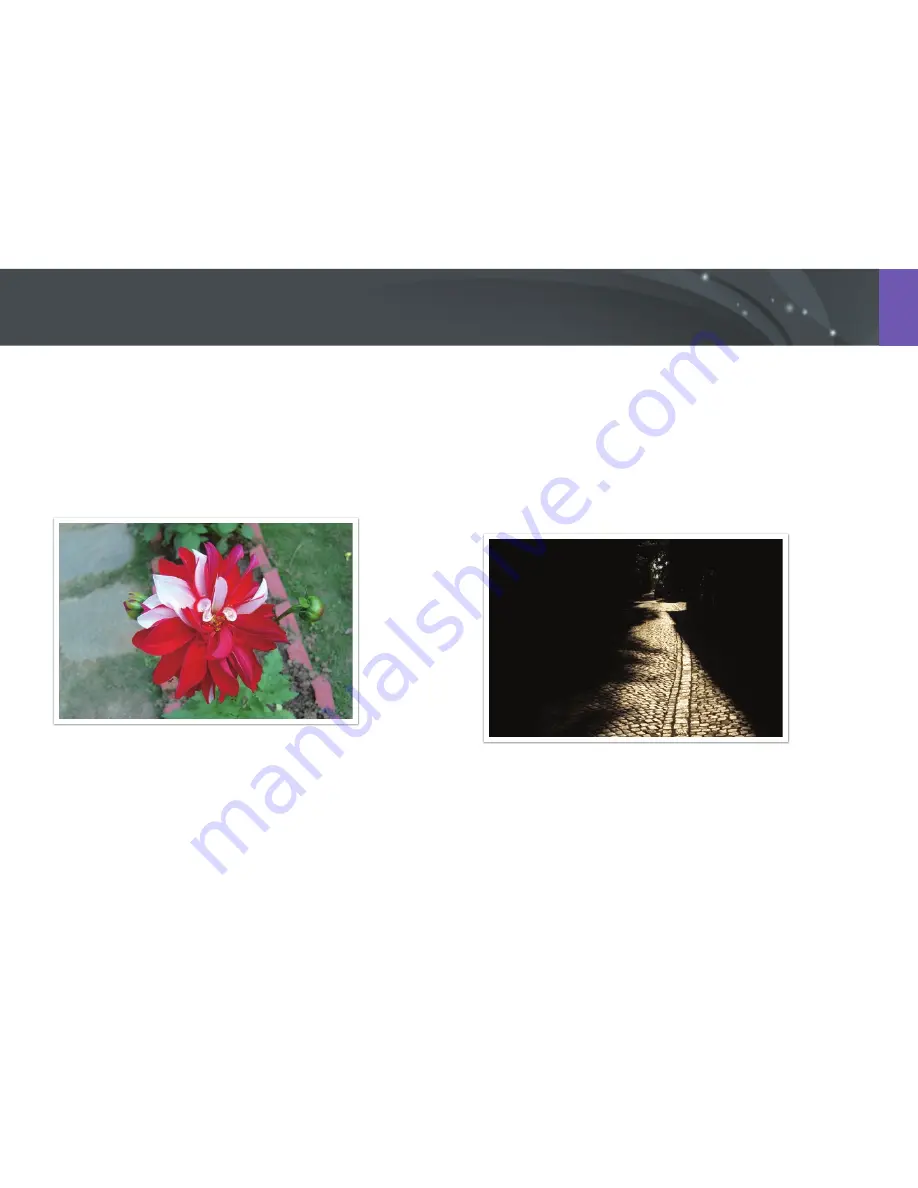
Metering
Center-weighted
The Center-weighted mode calculates a broader area than the Spot mode
does. It sums up the amount of light in the center portion of the shot
(60–80 %) and that of the rest of the shot (20–40 %). It is recommended
for situations where there is a slight difference in brightness between a
subject and a background or an area of the subject is large compared to
the overall composition of the photo.
Spot
The Spot mode calculates the amount of light in the center. When you
capture a photo in conditions where there is a strong backlight behind a
subject, the camera adjusts the exposure so as to shoot a subject correctly.
For example, when you select the Multi mode in a strong backlight
condition, the camera calculates that the overall amount of light is
abundant, which results in a darker photo. The Spot mode can prevent this
situation as it calculates the amount of light in a designated area.
The subject is in bright color while the background is dark. The Spot mode
is recommended for a situation like this where a huge difference in the
exposure exists between a subject and a background.


