46 English
O
v
en (L
o
w
er O
v
en)
Oven (Lower Oven)
2.
Insert the temp probe plug into the socket on the top side wall of the oven as
far as it will go.
3.
Turn the lower oven Mode knob to select the desired cooking mode (Bake,
Convection Bake or Convection Roast). Set the cooking temperature. (See
pages
22
.)
4.
Tap
Temp Probe
to set the desired internal temperature.
5.
Set the desired internal temperature using the numeric pad.
Available temperatures
100 °F to 200 °F
6.
If you want to use the Cook time or Delay start, set each function.
7.
Tap
START
.
8.
When the desired internal temperature is reached, the function automatically
stops and an alarm sounds.
CAUTION
To protect the Temp probe’s tip, be careful not to insert the probe so that the tip
protrudes through the surface of the meat. Make sure that the tip is in or near the
center of the meat.
CAUTION
•
Do not store the probe in the oven.
•
Do not leave the probe inside the oven during a self-cleaing or broiling cycle.
You can permanently damage the probe and it will no longer work.
•
To avoid breaking the probe’s tip, defrost your food completely.
•
Do not use tongs when inserting or removing the probe. Tongs can damage
the probe.
•
Use the Temp probe for Temp Probe function cooking only. Do not use the
Temp probe for any other purpose.
NOTE
•
If you remove the Temp probe while the Temp Probe function is operating
or insert the Temp probe while baking or cooking normally, cooking will stop
after 1 minute.
•
If you use the probe to cook frozen food, there are times when probe cannot
be detected by the oven. (The probe icon won't appear in the display.)
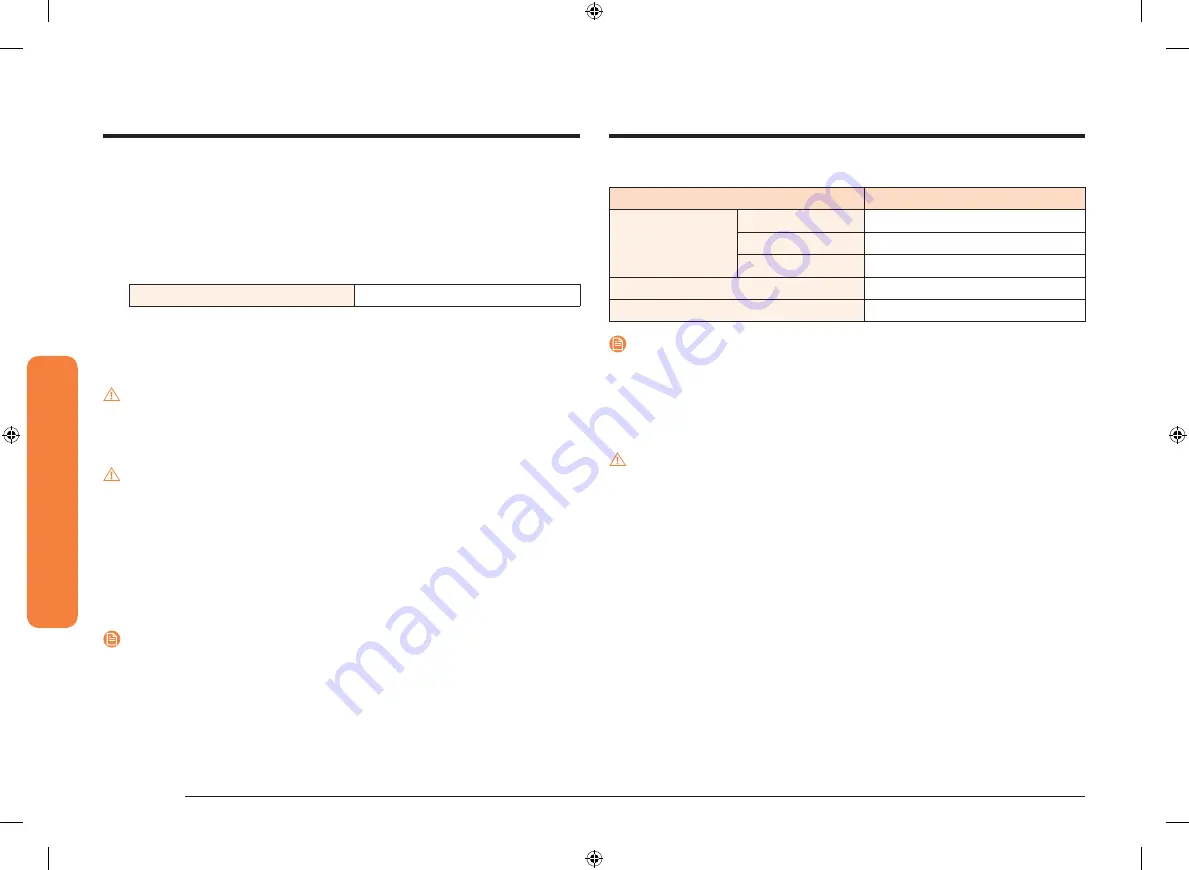
Temp probe table
Type of Food
Internal temperature
Beef / Lamb
Rare
140 °F
Medium
160 °F
Well done
170 °F
Pork
170 °F
Poultry
180-185 °F
NOTE
If you cover the meat with aluminum foil and allow it to stand for 10 minutes after
cooking, the Internal temperature will rise 5-10 degrees.
Removing the temp probe
Remove the temp probe plug from the socket.
CAUTION
After cooking, the Temp probe is hot enough to cause burns. Let it cool sufficiently
before attempting to remove it.
NQ70M7770D_AA_DE68-04447A-00_EN.indd 46
1/19/2017 12:00:58 PM
Содержание NQ70M7770D
Страница 87: ...English 87 Memo NQ70M7770D_AA_DE68 04447A 00_EN indd 87 1 19 2017 12 01 20 PM ...
Страница 175: ...Español 87 Notas NQ70M7770D_AA_DE68 04447A 00_MES indd 87 1 19 2017 12 07 33 PM ...
Страница 263: ...Français 87 Notes NQ70M7770D_AA_DE68 04447A 00_CFR indd 87 1 19 2017 12 04 57 PM ...


