Basic faxing
65
2. Menu Overview and Basic Setup
3
Touch
(
Options
) > select the option you want using arrows >
(back) >
Next
on the touch screen (see "Adjusting the document
4
Select a speed dial number or select a group dial number.
5
Touch
Send
on the touch screen.
The machine begins sending the fax to the numbers you entered in the
order in which you entered them.
21
Receiving a fax
Your machine is preset Fax mode at the factory. When you receive a fax, the
machine answers the call on a specified number of rings and automatically
receives the fax.
22
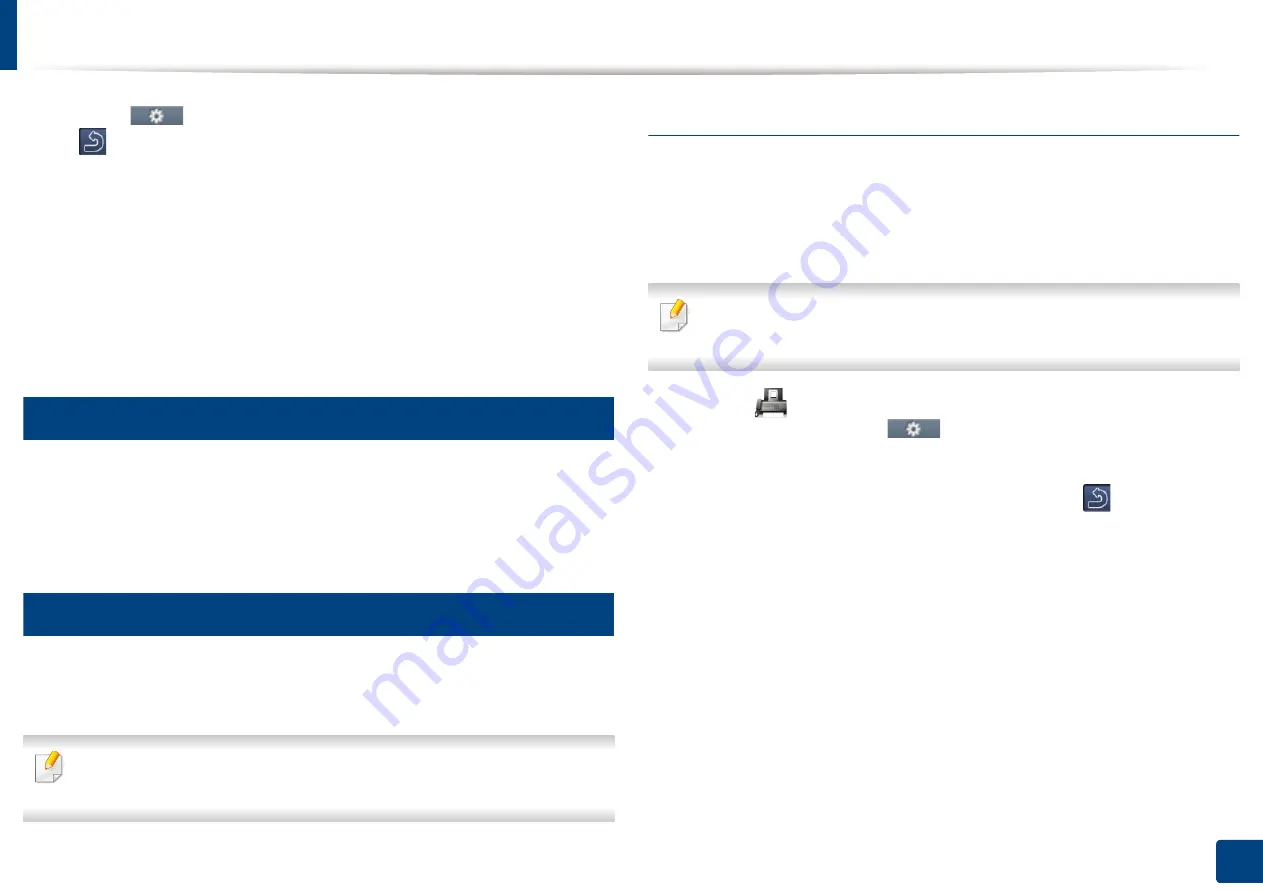
Adjusting the document settings
Before starting a fax, change the following settings according to your original’s
status to get the best quality.
Accessing menus may differ from model to model (see "Menu overview" on
page 31 or "Control panel overview" on page 24).
Resolution
The default document settings produce good results when using typical text-
based originals. However, if you send originals that are of poor quality, or
contain photographs, you can adjust the resolution to produce a higher quality
fax.
The resolution setting is applied to the current fax job. To change the
default setting, see "Fax" on page 212.
1
Select (
Fax
) > select an item such as
Memory Send
,
On Hook Dial
,
Delayed Send
, or etc. >
(
Options
) >
Resolution
on the touch
screen.
2
Select the resolution you want using arrows. Touch
(back) to go back
to the previous screen.
•
Standard
: Originals with normal sized characters.
•
Fine
: Originals containing small characters or thin lines or originals
printed using a dot-matrix printer.
•
Super Fine
: Originals containing extremely fine detail.
Super Fine
mode is enabled only if the machine with which you are
communicating also supports the Super Fine resolution.
Содержание Multifunction ProXpress C267 Series
Страница 80: ...Redistributing toner 80 3 Maintenance ...
Страница 82: ...Replacing the toner cartridge 82 3 Maintenance ...
Страница 83: ...Replacing the toner cartridge 83 3 Maintenance ...
Страница 85: ...Replacing the waste toner container 85 3 Maintenance 1 2 1 2 1 2 ...
Страница 89: ...Installing accessories 89 3 Maintenance 1 2 1 2 ...
Страница 94: ...Cleaning the machine 94 3 Maintenance ...
Страница 107: ...Clearing paper jams 107 4 Troubleshooting 6 In optional tray Click this link to open an animation about clearing a jam ...
Страница 108: ...Clearing paper jams 108 4 Troubleshooting If you do not see the paper in this area stop and go to next step ...
Страница 110: ...Clearing paper jams 110 4 Troubleshooting If you do not see the paper in this area stop and go to next step 1 2 3 ...
Страница 113: ...Clearing paper jams 113 4 Troubleshooting If you do not see the paper in this area stop and go to next step ...
Страница 145: ...Regulatory information 145 5 Appendix 26 China only ...


