


34
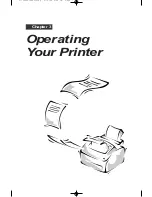
Operating Your Printer
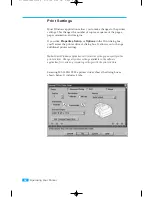
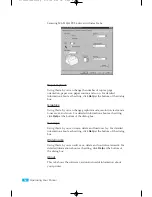
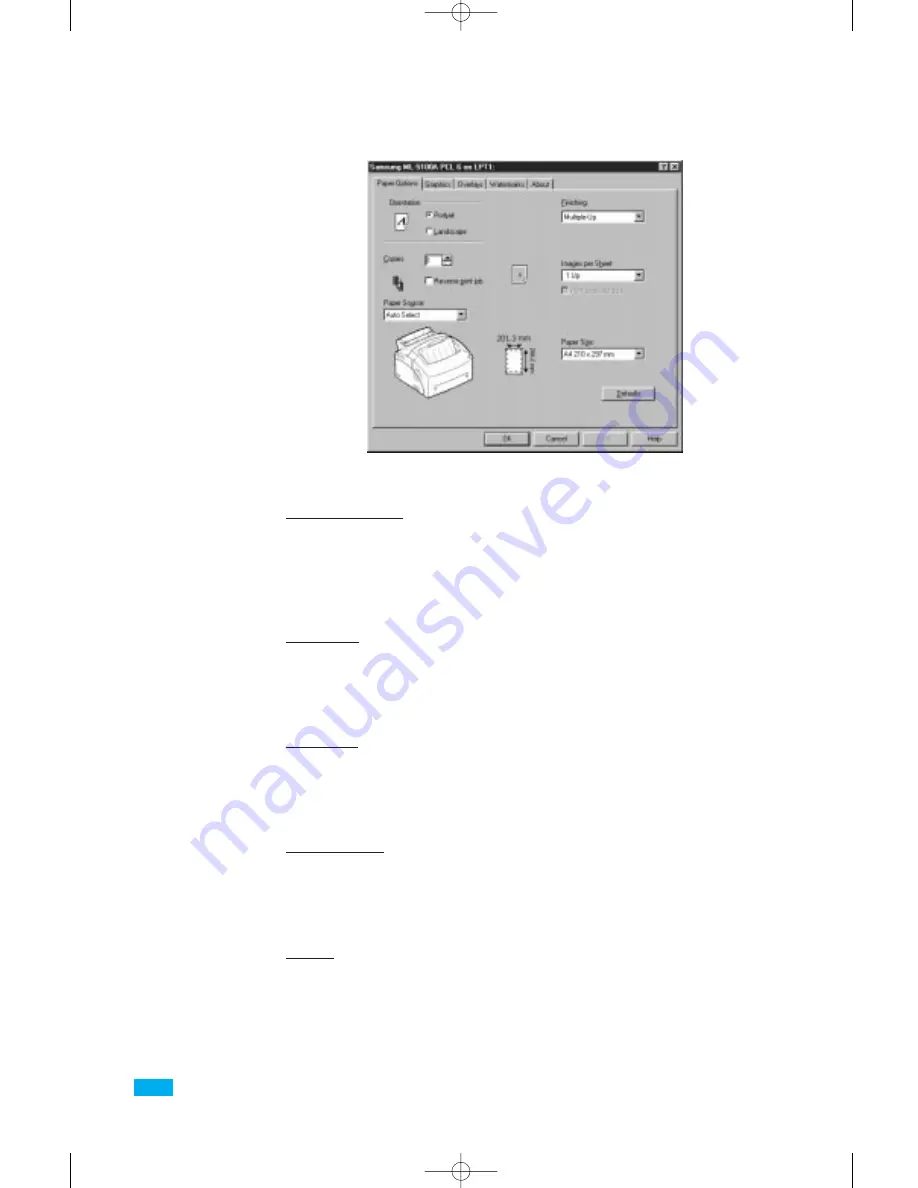
Samsung ML-5100A PCL 6 driver includes 5 tabs.
Paper Options
Using this tab, you can change the number of copies, page
orientation, paper siz
e, paper source, an
d so on. For detailed
information about each setting, click
Help
at the bottom of the dialog
box.
Graphics
Using this tab, you can change graphics mode, resolution, text mode,
toner saver, and so on. For detailed information about each setting,
click
Help
at the bottom of the dialog box.
Overlays
Using this tab, you can create, delete and load over lay. For detailed
information about each setting, click
Help
at the bottom of the dialog
box.
Watermarks
Using this tab, you can edit, save, delete and control watermartk. For
detailed information about each setting, click
Help
at the bottom of
the dialog box.
About
This tab shows the software version and useful information about
your printer.
03-Troubleshooting 5/10/99 4:04 PM Page 8
Содержание ML-5100A
Страница 1: ...LASER PRINTER ML 5100A User s Manual 00 Cover Contents 5 10 99 4 35 PM Page 1 ...
Страница 6: ...Setting Up Your Printer Chapter 1 01 Setup 5 10 99 4 28 PM Page 1 ...
Страница 22: ...Paper Handling Chapter 2 02 Printing 5 13 99 10 34 AM Page 1 ...
Страница 31: ...26 Paper Handling MEMO 02 Printing 5 13 99 10 34 AM Page 10 ...
Страница 32: ...Operating Your Printer Chapter 3 03 Troubleshooting 5 10 99 4 04 PM Page 1 ...
Страница 44: ...Troubleshooting and Maintenance Chapter 4 04 Supplies 5 10 99 4 00 PM Page 1 ...
Страница 55: ...50 Troubleshooting and Maintenance MEMO 04 Supplies 5 10 99 4 00 PM Page 12 ...
Страница 56: ...Printer Options Chapter 5 05 Options 5 10 99 2 01 PM Page 1 ...
Страница 60: ...Appendix 06 Appendix 5 10 99 1 58 PM Page 1 ...


