


S
ETTING
U
P
Y
OUR
P
RINTER
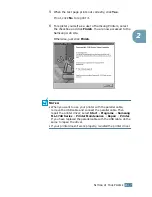
2.
6
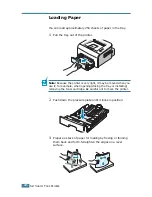
Loading Paper
You can load approximately 250 sheets of paper in the tray.
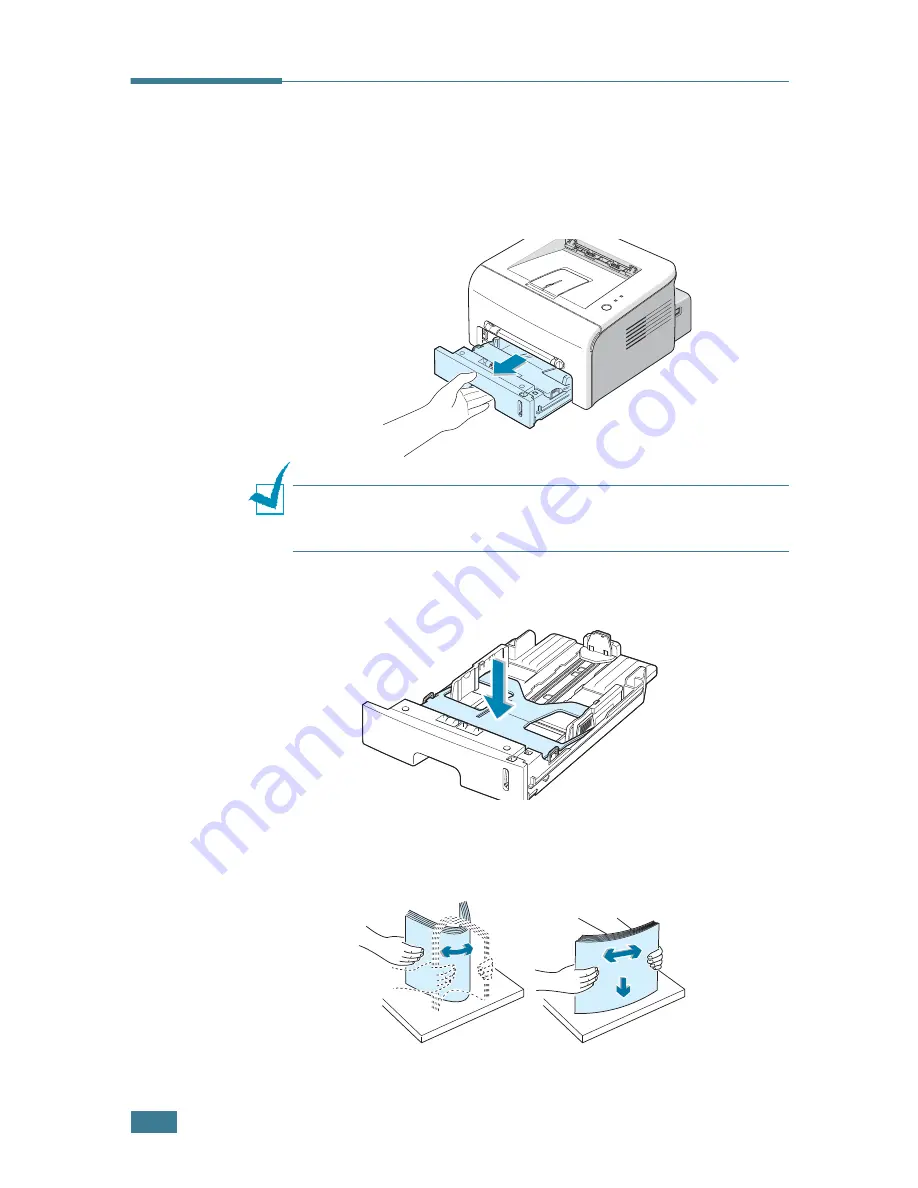
1
Pull the tray out of the printer.
Note:
Because the printer is very light, it may be moved when you
use it; for example, when opening/closing the tray or installing/
removing the toner cartridge. Be careful not to move the printer.
2
Push down the pressure plate until it locks in position.
3
Prepare a stack of paper for loading by flexing or fanning
them back and forth. Straighten the edges on a level
surface.
Содержание ML 1740 - B/W Laser Printer
Страница 1: ......
Страница 17: ...INTRODUCTION 1 8 NOTE...
Страница 55: ...USING PRINT MATERIALS 3 18 NOTE...
Страница 117: ...SOLVING PROBLEMS 6 24 NOTE...
Страница 147: ...APPENDIX 7 30 NOTE...
Страница 150: ...Home Visit us at www samsungprinter com Rev 1 00...


