background image

51

52

Timer Function

The timer enables you to switch the system on or off at specific times.

If you no longer want the system to be switched on or off automatically, you must cancel the timer.

Before setting the timer, check that the current time is correct.

For each step, you have a few seconds to set the required options. 
If you exceed this time, you must start again.

Example:

You wish to wake up to music every morning.

Canceling the Timer

ON TIME

is displayed (instead

of the equalizer symbols) for a
few seconds, followed by any
switch-on time already set; you
can set the timer switch-on time.

The source to be selected is
displayed.

2

1

3

Switch the system
on by pressing

STANDBY/ON

.

Press

TIMER/CLOCK

until 

TIMER

is

displayed.

Press the 

ENTER

button.

is displayed to the top right of

the time, indicating that the timer
has been set. 

• 

The system will switch on and off
automatically at the required
times.

8

7

9

Press     or     button
to select the source to
be played when the
system switches on.

Press 

ENTER

to

confirm the timer.

Press

STANDBY/ON 

to

set the system to
standby mode.

5

4

a

. Set the hour by pressing      or

button.

b.

Press 

ENTER 

.

The minutes flash.

c.

Set the minutes by pressing      or
button.

d.

Press 

ENTER

.

OFF TIME

is displayed (instead

of the equalizer symbols) for a few
seconds, followed by any switch-
off time already set; you can now
set the timer switch-off time.

TAPE (cassette) : Insert a cassette

tape.

TUNER (radio) : 

a

Press 

ENTER

.

b

Select a preset
station by pressing

or      .

CD (compact disc) : Load a compact

disc.

a

. Set the hour by pressing      or

button.

b.

Press 

ENTER

.

The minutes flash.

c.

Set the minutes by pressing      or
button.

d.

Press 

ENTER

.

VOL 10

is displayed, where 10

corresponds to the volume
already set.

Set the timer
switch-off time.

6

Press     or     button
to adjust the volume
level and press

ENTER

.

Set the timer
switch-on time.

Note

If the timer switch on and off times are identical, the word 

ERROR

is displayed.

Note

You can cancel the timer while the power is on or while the player is in standby.

After having set the timer, it will start automatically as shown by the TIMER indication on the display.
If you no longer wish to use the timer, you must cancel it.
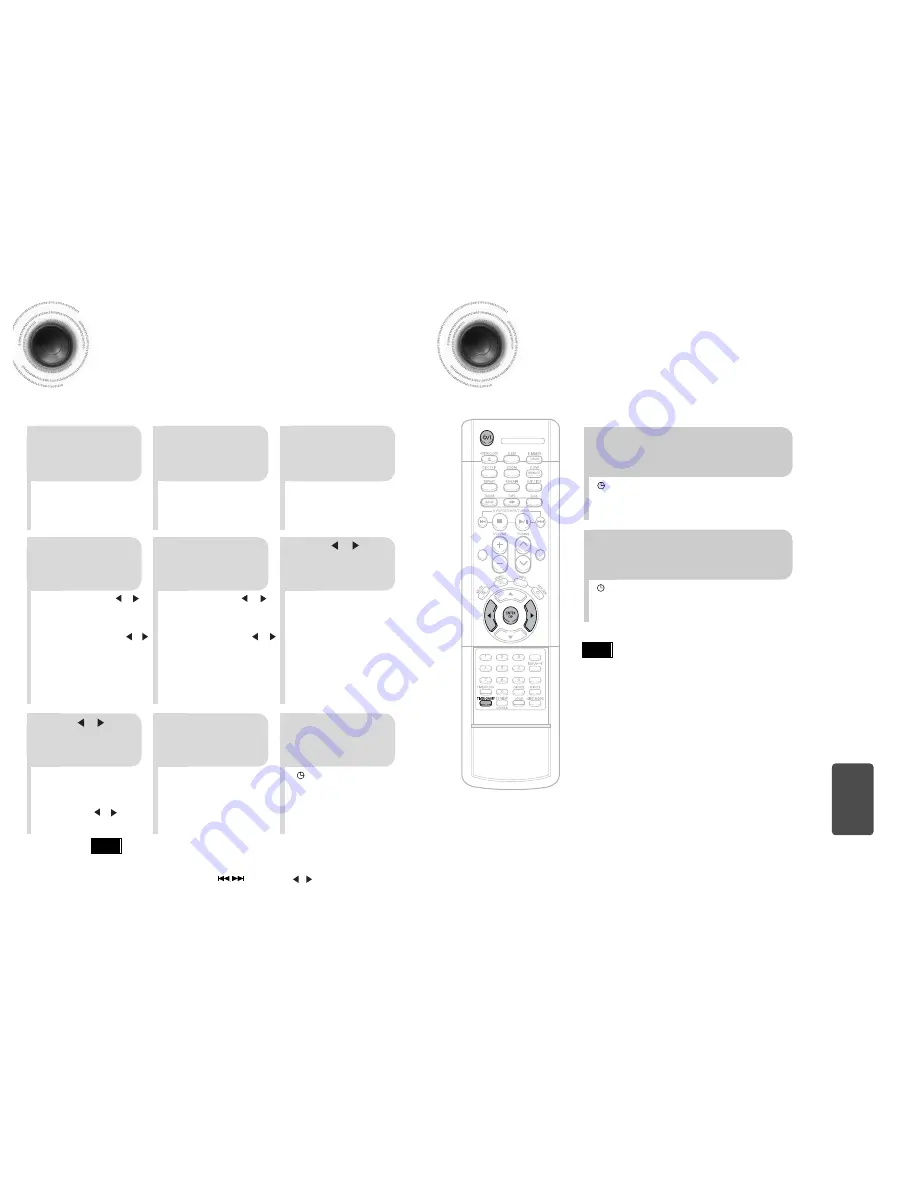
SOUND

MODE

AUDIO

STEP

TUNER

MEMORY

P.SCAN

• 

is no longer displayed.

To cancel the timer, press 

TIMER ON/OFF

once.

• 

is displayed again.

To resume the timer, press 

TIMER ON/OFF

again.

MISCELLANEOUS

You can also use RETURN button on the front panel to instead ENTER button on the remote control in step   

3,4,5,6,7,8.

You can also use Multi Jog or                 button to instead      ,      button on the remote control in step 4,5,6,7.   

Содержание MAX-DJ650

Страница 1: ...nstruction Manual AH68 01420B THIS APPLIANCE IS MANUFACTURED BY OPEN CLOSE DISC SKIP ZOOM SLOW REPEAT REMAIN SUB TITLE TUNER VOLUME MU TE MENU INFO RET URN SOUND MODE ENTER AUDIO TIMER CLOCK TIMERON OFF LOGO SLIDEMODE EZ VIEW NTSC PAL CANCEL DIGEST STEP TUNNER MEMORY P SCAN TUNING TAPE AUX DECK 1 2 BAND SLEEP DIMMER AV SYNC SAS0 ...

Страница 2: ...the unit has reached room temperature before using Phones During thunderstorms disconnect AC main plug from the wall outlet Voltage peaks due to lightning could damage the unit Do not expose the unit to direct sunlight or other heat sources This could lead to overheating and malfunction of the unit The battery used with this product contain chemicals that are harmful to the environment Do not disp...

Страница 3: ...le player Power Saving Function The MAX DJ650 automatically shuts itself off after 20 minutes in the stop mode TV Screen Saver Function The MAX DJ650 automatically brightens and darkens the brightness of the TV screen after 3 minutes in the stop mode The MAX DJ650 automatically switches itself into the power saving mode after 20 minutes in the screen saver mode Customized TV Screen Display The MAX...

Страница 4: ...UND 29 CD Open Close 30 DISC CHANGE 31 DISC SELECTION BUTTONS 32 WINDOW DISPLAY 33 REC PAUSE 34 DECK 1 2 Display Window 1 SW Antenna Connector Option 2 AM Antenna Connectors 3 FM Antenna Connector 4 Video Output Connector Connect the TV s video input jacks VIDEO IN to the VIDEO OUT connector 5 Component Video Output Connectors Connect a TV with component vide input jacks to these jacks 6 S Video O...

Страница 5: ...they match the polarity to and to Use the correct type of batteries Batteries that look similar may differ in voltage Always replace both batteries at the same time Do not expose batteries to heat or flame Remote Control 7 Description Caution SOUND MODE button VOLUME button MENU button POWER STANDBY ON button OPEN CLOSE button TUNER button TAPE PLAY button REPEAT button MUTE button Number 0 9 butt...

Страница 6: ...e TV to S VIDEO 2 Connect the connecting jacks 2 to the back of mini compact system Make sure the polarities and are correct Connecting the Speakers Before moving or installing the product be sure to turn off the power and disconnect the power cord Speakers Place these speakers in front of your listening position facing inwards about 45 toward you Place the speakers so that their tweeters will be ...

Страница 7: ...one time as opposed to the interlaced scanning process by which a video image is drawn in a series of passes The progressive scanning method is desirable for dealing with moving objects Progressive Scan FULL FRAME What is Progressive or Non Interlaced Scanning This function works only on TVs equipped with component video inputs Y Pr Pb that support Progressive Video It does not work on TVs with co...

Страница 8: ...es are covered with a newspaper or cloth heat may build up inside the unit and fire may result Cooling Fan FM antenna connection AM MW LW antenna connection 1 Connect the FM antenna supplied to the FM 75Ω COAXIAL terminal as a temporary measure 2 Slowly move the antenna wire around until you find a location where reception is good then fasten it to a wall or other rigid surface If reception is poo...

Страница 9: ...is time you must start again You can display the time even when you are using another function by pressing TIMER CLOCK once CLOCK is displayed 2 Press TIMER CLOCK twice 1 Switch the system on by pressing STANDBY ON button TIMER appears in the display The current time is now set 5 When the correct time is displayed press ENTER Increase the minutes Decrease the minutes 4 When the correct hour is dis...

Страница 10: ...mode press the button select the desired subtitle from the TV screen and then press the ENTER button Each time you press the button your selection will toggle between SUBTITLE ON and SUBTITLE OFF If the disc has only one subtitle file it will be played automatically Up to 8 subtitle languages are supported If the disc has more than one subtitle file If the disc has more than one subtitle file the ...

Страница 11: ... for good Love of my life More than words DVDRECEIVER SMARTNAVI MP3 JPEG What is a Title A movie contained in a DVD disc What is a Chapter Each title on a DVD disc is divided into several smaller sections called chapters appears on the TV screen If this symbol appears on the TV screen while buttons are being operated that operation is not possible with the disc currently being played What is a Tra...

Страница 12: ...s DVD VCD MP3 DVD DVD VCD MP3 Briefly press Each time the button is pressed briefly during playback the previous or next chapter track or directory file will be played But you cannot skip chapters consecutively The picture moves forward one frame each time the button is pressed during playback Playing Frame by Frame Press STEP button When watching a VCD with a track longer than 15 minutes each tim...

Страница 13: ...nce Repeat Playback Repeat playback allows you to repeatedly play a chapter title track song or directory MP3 file Press REPEAT button Each time the button is pressed during playback the repeat playback mode changes as follows DVD VCD CD MP3 JPEG Repeat playback operation is not possible with version 2 0 VCD discs if PBC is turned on To use Repeat Playback on a VCD with PBC you should set the PBC ...

Страница 14: ...mera angle format Black bars may not disappear because some DVD discs have a built in horizontal to vertical ratio Note EZ VIEW OFF EZ VIEW SCREEN FIT OFF SELECT ZOOM POSITION A B Repeat Playback OPEN CLOSE DISC SKIP ZOOM SLOW REPEAT REMAIN SUB TITLE TUNER VOLUME M U T E MENU INFO R E T U R N SOUND MODE AUDIO TIMER CLOCK TIMERON OFF LOGO SLIDEMODE NTSC PAL CANCEL DIGEST STEP TUNER MEMORY P SCAN TU...

Страница 15: ...ending on the disc you may not be able to move to the selected title or time Something like you Back for good Love of my life More than words I need you My love Uptown girl DVDRECEIVER SMARTNAVI SELECT 03 Move Select Stop Note Selecting Audio Subtitle Language Depending on the number of languages on a DVD disc a different audio language ENGLISH SPAIN JAPANESE etc is selected each time the button i...

Страница 16: ...yer Slide Mode JPEG DISC SKIP ZOOM SLOW REPEAT REMAIN SUB TITLE TUNER VOLUME M U T E MENU INFO R E T U R N SOUND MODE AUDIO TIMER CLOCK TIMERON OFF LOGO SLIDEMODE NTSC PAL CANCEL DIGEST STEP TUNER MEMORY P SCAN TUNING TAPE AUX BAND SLEEP DIMMER DECK 1 2 MONO ST Place the JPEG disc on the disc tray Each time the button is pressed the slide moves backward or forward Press to skip to the next slide 1...

Страница 17: ...UNER MEMORY P SCAN TUNING TAPE AUX BAND SLEEP DIMMER DECK 1 2 MONO ST 2 When playing a VCD version 2 0 this toggles between PBC ON and OFF When you select the disc menu that is not supported by the disc the This menu is not supported message appears on the screen 1Press MENU button Press Cursor buttons to move to DISC MENU and then press ENTER button 4 Press ENTER button 3 Press Cursor buttons to ...

Страница 18: ...AND SLEEP DIMMER MONO ST SOUND MODE AUDIO STEP TUNER MEMORY P SCAN 2 1Press MENU button Press Cursor button to move to Setup and then press ENTER button 4 Once the setup is complete if the language was set to English OSD will be displayed in English 3 Selecting the Subtitle Language recorded on the disc Selecting the Disc Menu Language recorded on the disc Press ENTER button 5 Press Cursor button ...

Страница 19: ... called the aspect ratio When playing DVDs recorded in different screen size you should adjust the aspect ratio to fit your TV or monitor For a standard TV select either 4 3LB or 4 3PS option according to personal preference Select 16 9 if you have a wide screen TV Select this to view a 16 9 picture in the full screen mode on your wide screen TV You can enjoy the wide screen aspect Select this to ...

Страница 20: ...d Level 6 you cannot view DVDs with Level 7 or higher The higher the level the closer the content is to violent or adult material 3 5 Press Cursor button to move to PARENTAL and then press ENTER button Press Cursor button to select the desired rating level and then press ENTER button Enter the password and then press ENTER button Note 2 1 Press MENU button Press Cursor button to move to Setup and ...

Страница 21: ...utton Press Cursor button to move to Setup and then press ENTER button Press Cursor button to move to LOGO and then press ENTER button To Change the Wallpaper 5 4 Press MENU button to exit the setup screen Press to select the desired USER and then press ENTER Select this to set the Samsung Logo image as your wallpaper Select this to set the desired image as your wallpaper Press RETURN button to re...

Страница 22: ...ore times the Cursor button is pressed the greater the effect and the more times Cursor button is pressed the smaller the effect Press RETURN button to return to the previous level AV SYNC Setup Press RETURN button to return to the previous level Press MENU button to exit the setup screen Audio menu appears 2 1 Setup menu appears AV SYNC screen appears 3 Press Cursor buttons to move to Audio and t...

Страница 23: ... MONO for a clear interference free broadcast Press MONO ST button to listen in Mono Stereo This applies only when listening to an FM station To tune in to a preset station press on the remote control to select a channel Refer to Step 2 on page 41 to automatically or manually tune in to a station 2 1 Each time the button is pressed the band switches between FM MW LW SW1 2 PROGRAM flashes in the di...

Страница 24: ...ss TAPE on the player to select the Tape function Switch the system on by pressing STANDBY ON Rewind the cassette DOWN button Fast forward the cassette UP button 5 4 Side A Tape button once Side B Tape button twice Deck 2 only Press DECK 1 2 button to select the cassette to be played Press the PUSH EJECT of the cassette deck to open the cassette door and insert a cassette Press the button if neces...

Страница 25: ...nables you to synchronize the start of the recording with the start of the disc or track of your choice Press the OPEN CLOSE button to open the CD door Insert a CD and press the OPEN CLOSE button to close the CD door Press the PUSH EJECT button to open the cassette door insert a cassette and then close the cassette door Insert the cassette with the safety tabs 2 1 3 Insert a blank cassette in Deck...

Страница 26: ...e the CD selection buttons to select the desired song Load a compact disc Press REC PAUSE button Press the DVD CD button Direct recording The cassette tape you want to record on must have the safety tabs intact Note Recording a Radio Program You can record a radio program of your choice You do not need to adjust the volume as it has no effect on the recording 2 1 3 Insert a blank cassette in Deck ...

Страница 27: ...ng or button d Press ENTER OFF TIME is displayed instead of the equalizer symbols for a few seconds followed by any switch off time already set you can now set the timer switch off time TAPE cassette Insert a cassette tape TUNER radio a Press ENTER b Select a preset station by pressing or CD compact disc Load a compact disc a Set the hour by pressing or button b Press ENTER The minutes flash c Set...

Страница 28: ...nction P SOUND SURROUND Function To obtain a Select Normal balance linear PASS Balance suitable for pop music POP Balance suitable for rock music ROCK Balance suitable for classic music CLASSIC Balance suitable for hall HALL Balance suitable for live LIVE Balance suitable for cinema CINEMA Balance suitable for voice USER EQ Turn SOUND MODE on the front panel or Press SOUND MODE on the remote contr...

Страница 29: ...f high tones you desire 2 The various functions available are listed in turn on the display All these functions are described in detail in this booklet For instructions on how to use them refer to the appropriate sections DEMO Function You can view the various functions available on your system To cancel this function press DEMO DIMMER again Press DEMO DIMMER button Each time the button is press t...

Страница 30: ...pper edge of the cassette To record a cassette where the tab has been broken simply cover the opening with adhesive tape When you have finished playing a cassette always put it back in its case Store your cassettes in a clean place out of direct sunlight where they will not be exposed to high temperatures Avoid using 120 minute cassettes as they place unnecessary strain on the tape mechanism Preca...

Страница 31: ...c jacket and then select the appropriate function Aspect ratio cannot be changed Before Calling for Service Refer to the chart below when this unit does not function properly If the problem you are experiencing is not listed below or if the instruction below does not help turn off the unit disconnect the power cord and contact the nearest authorized dealer or Samsung Electronics Service Center Is ...

Страница 32: ...e playable If possible do not use CD RW Rewritable media as they may not be playable Only the CD Rs that are properly closed can be fully played If the session is closed but the disc is left open you may not be able to fully play the disc CD R JPEG Discs Only files with the jpeg and JPEG extensions can be played If the disc is not closed it will take longer to start playing and not all of the reco...

Страница 33: ...scs Frequency range 20 Hz 20 KHz 1 dB Signal noise ratio 85 dB at 1 KHz with filter Distortion 0 05 at 1 KHz Channel separation 75 dB Disc sizes Diameter 120 or 80 mm Thickness 1 2 mm TAPE DECK Frequency range 125 Hz 10 KHz Signal noise ratio 40 dB Channel separation 30 dB Erasing effect 50 dB without filter AMPLIFIER Output power Speaker 6 Ω 100 Watts CH RMS IEC total harmonic distortion 10 Chann...

Отзывы: