background image

English-2

Caution

CAUTION:

TO PREVENT ELECTRICAL SHOCK,

DO NOT REMOVE REAR COVER, NO USER
SERVICEABLE PARTS INSIDE. REFER SERVICING TO
QUALIFIED SERVICE PERSONNEL.

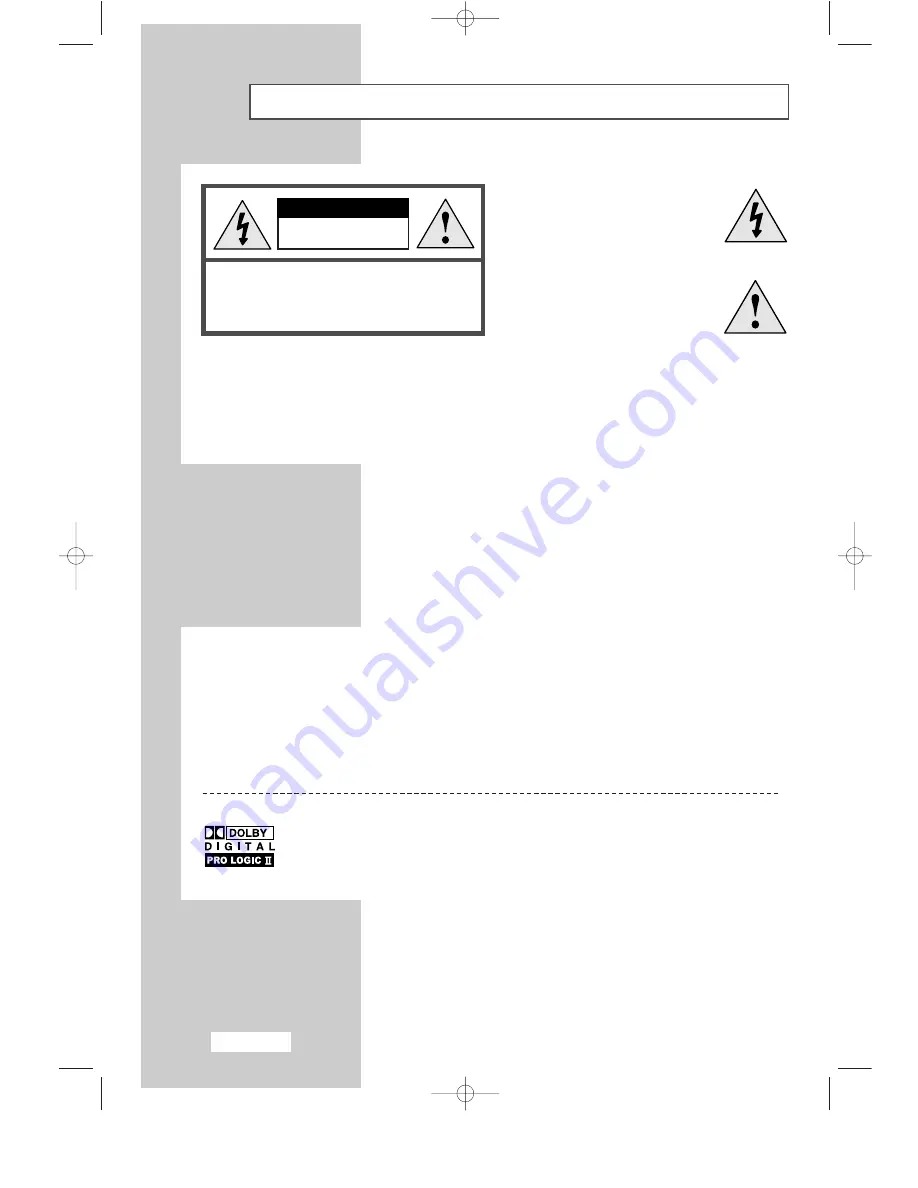
RISK OF ELECTRIC

SHOCK DO NOT OPEN

CAUTION

The lightning flash and arrow head
within the triangle is a warning
sign alerting you of “dangerous
voltage” inside the product.

The exclamation point within the
triangle is a warning sign alerting
you of important instructions
accompanying the product.

WARNING:

TO PREVENT DAMAGE WHICH MAY RESULT IN FIRE OR SHOCK HAZARD,
DO NOT EXPOSE THIS APPLIANCE TO RAIN OR MOISTURE.

The main voltage is indicated on the rear of your set and the frequency is 50 or 60 Hz.

Information in this document is subject to change without notice.

© 2003 Samsung Electronics Co., Ltd. All rights reserved.

Reproduction in any manner whatsoever without the written permission of Samsung Electronics Co., Ltd. is strictly forbidden.
Samsung Electronics Co., Ltd. shall not be liable for errors contained herein or for incidental or consequential damages in
connection with the furnishing, performance, or use of this material.
The 

Samsung logo

is the registered trademarks of Samsung Electronics Co., Ltd.; 

Microsoft

Windows®

and 

Windows® NT

are

registered trademark of Microsoft Corporation; 

VESA

DPMS

and 

DDC

are registered trademarks of Video Electronics Standard

Association. All other product names mentioned herein may be the trademarks or registered trademarks of their respective owners.

Manufactured under license from Dolby Laboratories.
“Dolby”, “Pro Logic”, and the double-D symbol are trademarks of Dolby Laboratories.

TRADEMARK & LABEL LICENSE NOTICE

 BN68-00438G-02Eng  8/19/03 9:20 PM  Page 2

Содержание LS17E34C

Страница 1: ...Owner s Instructions Before operating the unit please read this manual thoroughly and retain it for future reference ON SCREEN MENUS PC DISPLAY PICTURE IN PICTURE PIP TELETEXT BN68 00438G 01Eng AS15C...

Страница 2: ...2003 Samsung Electronics Co Ltd All rights reserved Reproduction in any manner whatsoever without the written permission of Samsung Electronics Co Ltd is strictly forbidden Samsung Electronics Co Ltd...

Страница 3: ...r away from any other heater Possible fire hazard Do not expose the TV to direct sunlight If the TV is broken do not try to repair it yourself Contact qualified service personnel Keep all power adapto...

Страница 4: ...Viewing the Remote Control All Functions Except Teletext 12 Viewing the Remote Control Teletext Functions 13 Switching On and Off 14 Placing in Standby Mode 14 Becoming Familiar with the Remote Contr...

Страница 5: ...Position 31 Adjusting the Color 32 Initializing the Image Settings 33 Adjusting the PC Screen Automatically 33 USING THE TELETEXT FEATURE Teletext Feature 34 Displaying the Teletext Information 35 Sel...

Страница 6: ...e selector left or right on the OSD Increases or decreases the level of audio volume and the values of the selected function CH Moves the selector up or down on the OSD Increases or decreases the chan...

Страница 7: ...n audio or video system to your set ensure that all elements are switched off Refer to the documentation supplied with your equipment for detailed connection instructions and associated safety precaut...

Страница 8: ...CR or DTV Set Top Box Connecting Computer Connect the 15 Pin D SUB connector to the PC video connector Connect the stereo audio cable to Audio ST on the rear of your set and the other end to Audio Out...

Страница 9: ...phone output on the rear of your set While the headphone is connected the sound from the built in speakers will be disabled Kensington Slot This television has been designed to apply a burglarproof lo...

Страница 10: ...s by selecting the appropriate input 1 Check that all the necessary connections have been made refer to pages 8 and 9 for further details 2 Switch your set on and if necessary press the TV VIDEO butto...

Страница 11: ...ol by pressing the symbol downwards and then pulling firmly to remove it 2 Insert two R03 UM4 AAA 1 5V or equivalent batteries taking care to respect the polarities on the battery against on the remot...

Страница 12: ...icture In Picture Off Temporary sound switch off Picture effect selection Sound effect selection Picture In Picture On PIP source selection Self adjust to the incoming video signal Volume decrease Nex...

Страница 13: ...information and the normal broadcast Teletext store Teletext previous page Teletext mode selection List or Flof Teletext cancel Teletext next page Programme selection by name Teletext sub page Telete...

Страница 14: ...e placed in Standby mode in order to reduce the power consumption The Standby mode can be useful when you wish to interrupt viewing temporarily during a meal for example 1 Press the Power button 2 To...

Страница 15: ...to select a channel numbered ten or over Press this button and the symbol is displayed Enter the two digit channel number Used to decrease the Used to volume Display a submenu containing selections fo...

Страница 16: ...s selected 4 Press the or button again Result The options available in the Auto store group are displayed with the Country is selected 5 Select your country by pressing the or button repeatedly The fo...

Страница 17: ...t you wish to change by pressing the or button repeatedly 6 Press the P or P button to select the To Select the new number by which you wish to identify the channel by pressing the or button repeatedl...

Страница 18: ...oup are displayed with the Colour system is selected 5 If necessary indicate the broadcasting standard required by pressing the or button repeatedly Result The color standards are displayed in the fol...

Страница 19: ...button Press the or button to find the correct number 9 Press the P or P button to select the Store Select the OK by pressing the or button Result The channel and associated programme number are stor...

Страница 20: ...o select the Name Press the or button Result The current channels are displayed 5 If necessary select the channel to be assigned to a new name by pressing the P or P button 6 Press the or button 7 Pre...

Страница 21: ...lect Enter Exit Channel P1 Added P2 Added P3 Added P4 Added Select Adjust Exit Skipping Unwanted Channels You can exclude the channels you chosen from the channels you scanned When you scan through th...

Страница 22: ...lt The main menu is displayed 2 Press the P or P button to select the Picture Result The options available in the Picture group are displayed 3 Press the or button 4 Select the option Contrast Brightn...

Страница 23: ...n repeatedly You can also select these options simply by pressing the P SIZE Picture Size button Function Sleep timer Off PIP Size Normal Select Adjust Exit Freezing the Current Picture Press the STIL...

Страница 24: ...tton Adjusting the Sound Settings The sound settings can be adjusted to suit your personal preferences 1 Press the MENU button Result The main menu is displayed 2 Press the P or P button to select the...

Страница 25: ...n Sound Mode Custom Bass Treble Dolby On Select Adjust Exit Selecting the Sound Mode You can set the sound mode by pressing the DUALI II button When you press it current sound mode is displayed on the...

Страница 26: ...of the sub picture by pressing the or button Result The sources are displayed in the following order TV VIDEO S VIDEO 7 Press the P or P button to select the Size Select a size of the sub picture by p...

Страница 27: ...by pressing the or button repeatedly The preset time intervals 10 20 30 60 90 120 150 180 210 and 240 minutes You can also select simply by pressing the SLEEP button If the sleep timer is already set...

Страница 28: ...ter manufacturer or Samsung Dealer 1 First click on Settings on the Windows start menu While Settings is highlighted move the cursor so that Control Panel is highlighted 3 Navigate to the Settings tab...

Страница 29: ...are displayed 5 Select the option Brightness or Contrast to be adjusted for the color of your computer image by pressing the P or P button Press the or button Result The horizontal bar is displayed 6...

Страница 30: ...lable in the Image lock group are displayed 5 Select the option Coarse or Fine to be adjusted for the quality of your computer image by pressing the P or P button Press the or button Result The horizo...

Страница 31: ...Select the position H Position or V Position to be adjusted by pressing the P or P button Press the or button Result The horizontal bar is displayed 6 Press the or button to reach the required setting...

Страница 32: ...olour 2 Colour 3 6 If you wish adjust the color which best corresponds to your viewing requirements select the option Red Green or Blue to be adjusted by pressing the P or P button Press the or button...

Страница 33: ...is displayed 2 Press the P or P button to select the PC Result The options available in the PC group are displayed 3 Press the or button 4 Press the P or P button to select the Auto adjustment Press t...

Страница 34: ...nto numbered pages see diagram Part Contents A Selected page number B Broadcasting channel identity C Current page number or search indications D Date and time E Text F Status information FASTEXT info...

Страница 35: ...ing the Teletext service using the P or P button 2 Press the TTX MIX button to activate the teletext mode Result The contents page is displayed It can be redisplayed at any time by pressing the index...

Страница 36: ...ry pages the secondary pages are displayed in sequence To freeze the display on a given page press the hold button Press the hold button again to resume Using the various display options To display Pr...

Страница 37: ...To display the subpage see the following steps Press the SUBPAGE button Result The available subpages appear Select the required sub page Sub pages can be scrolled by using the or button You can stor...

Страница 38: ...picture contrast and brightness settings Check the volume Check the volume Check whether the MUTE button has been pressed on the remote control Adjust the color settings Check that the broadcast syst...

Страница 39: ...cally returns to normal operation when horizontal and vertical sync return This occurs when you move the computer s mouse or press a key on the keyboard Troubleshooting Before Contacting Service Perso...

Страница 40: ...mponent YPbPr Composite sync 480i 480p 720p 1080i 60Hz 576i 576p 1080i 50Hz Video Input 1 0 Vp p 75 ohm Audio Input 500 mVrms Power Supply Input AC 90 264V 50 60 Hz Output DC 14V 3A DC 14V 3 5A Power...

Страница 41: ...For the display modes listed below the screen image has been optimized during manufacture Mode Resolution Horizontal Vertical Pixel Clock Sync Polarity Frequency kHz Frequency Hz Frequency MHz H V VG...

Страница 42: ...g the television from the power outlet before cleaning When you clean the TFT LCD and the panel outside please apply the recommended small amount of cleaner by using soft and dry cloth and polish it L...

Страница 43: ...h 43 How to assemble the TV set and stand base Note The curved side of the stand base should be placed at the back of the TV set as shown in the above figure BN68 00438G 01Eng AS15CO 6 17 03 1 49 PM P...

Страница 44: ...English 44 Installing the Wall Mount Kit Sold separately 1 2 BN68 00438G 01Eng AS15CO 6 17 03 1 49 PM Page 44...

Страница 45: ...English 45 Installing the Wall Mount Kit Sold separately 3 4 BN68 00438G 01Eng AS15CO 6 17 03 1 49 PM Page 45...

Страница 46: ...SERVICE Do not hesitate to contact your retailer or service agent if a change in the performance of your product indicates that a faulty condition may be present BN68 00438G 01Eng AS15CO 6 17 03 1 49...

Отзывы: