English-41
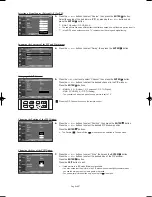
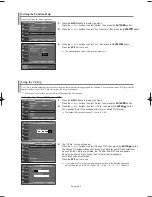
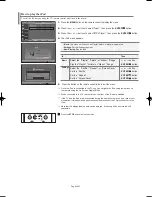
Option 2: Setting the Clock Automatically
1.
Press the
MENU
button to display the menu.
Press the
or
buttons to select “Setup”, then press the
ENTER
button.
Press the
or
buttons to select “Time”, then press the
ENTER
button.
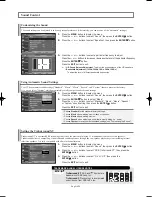
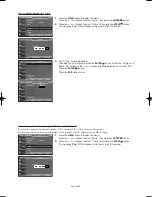
2.
Press the
ENTER
button to select “Clock”.
3.
Press the
ENTER
button to select “Clock Mode”.
Press the
or
buttons to select “Auto”, then press the
ENTER
button.
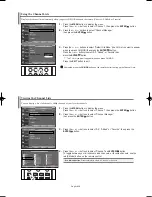
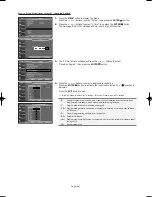
4.
Press the
or
buttons to select “Time Zone”, then press the
ENTER
button.
5.
Press the
or
buttons to highlight the time zone for your local area
(and to move the highlight to the appropriate time zone on the map of the
United States), then press the
ENTER
button.
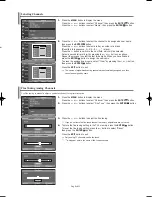
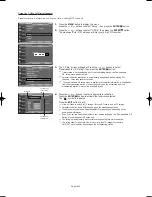
6.
Press the
or
buttons to select “DST” (Daylight Saving Time), then press the
ENTER
button.
Press the
or
buttons to select “On” or “Off”, then press the
ENTER
button.
Press the
EXIT
button to exit.
Depending on the broadcast station and signal, the auto time may not be set correctly.
If this occurs, set the time manually.
Antenna or cable must be connected in order to set the time automatically.
BN68-00998A-03Eng.qxd 6/28/06 7:31 PM Page 41
Содержание LNS4051DX
Страница 63: ...This page is intentionally left blank ...
Страница 64: ...This page is intentionally left blank ...
Страница 125: ...Cette page est laissée intentionnellement en blanc ...
Страница 186: ...Esta pagina se ha dejado en blanco expresamente ...

