


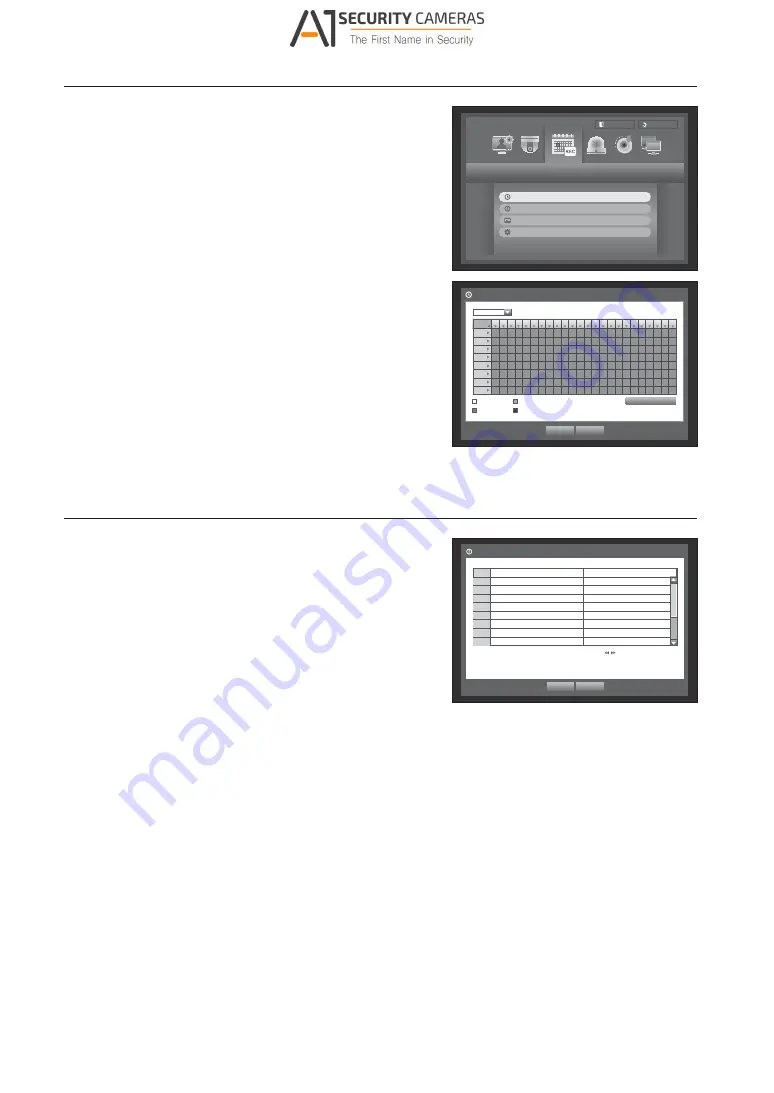
Recording Schedule
1.
Press the [
MENU
] button on the remote control.
2.
Use the left/right button (
◄ ►
) to select <
Record
>.
Record menu is selected.
3.
Use the up/down buttons (
.T
) to move to <
Recording
Schedule
>, and press [
ENTER
] button.
4.
Select <
Recording Schedule
>.
A window of scheduled recording setup appears.
5.
Use direction buttons (
.T◄ ►
) to move to a desired item, and
set the value.
•
Apply to All CH : If selected <
Apply to All CH
>, “
Apply to All CH
”
window appears.
Press <
OK
> to apply the setup to all channels.
6.
When the recording schedule setup is done, press <
OK
>.
Event Record Duration
Record
Logout
Recording Schedule
Event Record Duration
REC Quality & Resolution
Record Option
Return
All
00 01 02 03 04 05 06 07 08 09 10 11 12 13 14 15 16 17
Sun
Mon
Tue
Wed
Thu
Fri
Sat
Hol
No Recording
Continuous
Event Both(Cont&Evnt)
OK
Cancel
Recording Schedule
CH1
18 19 20 21 22 23
Apply to All CH
1.
Use the up/down buttons (
.T
) in <
Record
> window to move to
<
Event Record Duration
>, and press [
ENTER
] button.
2.
Use direction buttons (
.T◄ ►
) to move to a desired item, and
set the value.
•
Pre Event : The recording of an event will start at a pre-determined time
prior to the actual occurrence of the event.
If it is set to 5 seconds, the recording begins from 5 seconds before
the event.
•
POST Event : The recording will continue for a pre-determined time
after the actual end of an event.
If it is set to 5 seconds, the recording ends in 5 seconds after an
event.
3.
When the event recording duration setup is done, press <
OK
>.
Event Record Duration
CH
1
Pre
Event
OFF
POST
Event
1
min
2
OFF
1
min
3
OFF
1
min
4
OFF
1
min
5
OFF
1
min
6
OFF
1
min
7
OFF
1
min
8
OFF
1
min
OK
Cancel
Previous/Next Page
4_
English
Available from A1 Security Cameras
www.a1securitycameras.com email: [email protected]


