GB
29
GB
28
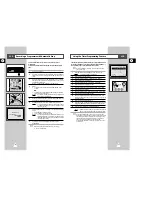
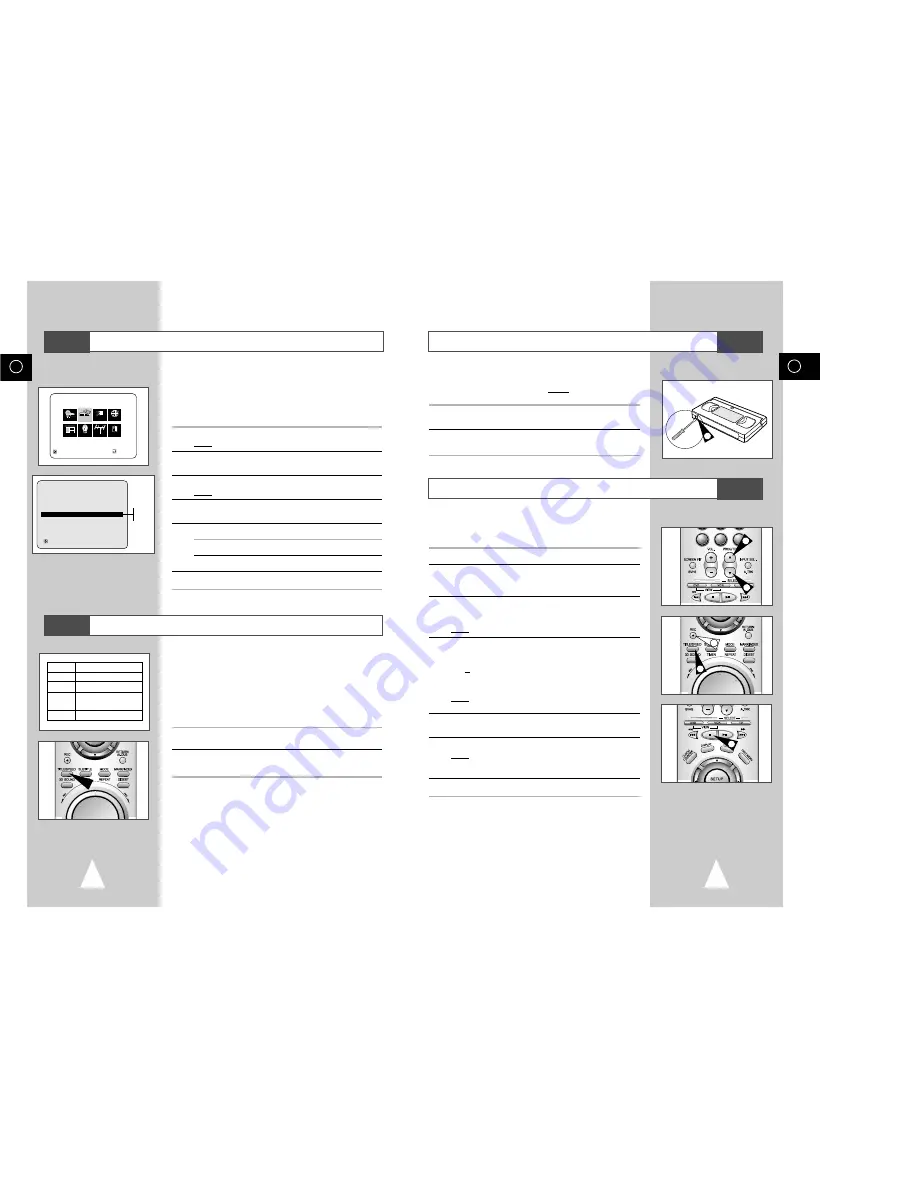
Protecting a Recorded Cassette
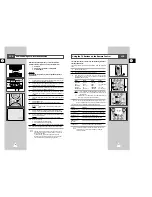
Recording a Programme Immediately
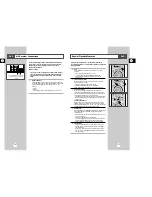
Video cassettes have a safety tab to prevent accidental erasure.
When this tab has been removed, you cannot record on the tape.
1
If you wish to protect a cassette, break off the tab using a small
screwdriver.
2
To re-record over a protected cassette (safety tab broken), cover
the hole with adhesive tape.
Before recording a programme, you must have preset the corres-
ponding station (unless you are recording via an external video
source). If you have not done so, refer to pages 19 and 20.
1
Switch on the television.
2
To monitor the programme being recorded, select the television
channel reserved for use with your DVD-VCR (or the AV input if
used).
3
Insert the cassette on which the programme is to be recorded, with
the window visible and the safety tab intact or the opening covered
with adhesive tape.
Result:
The DVD-VCR is switched on automatically.
4
Select:
◆
The station to be recorded using the PROG/TRK (
"
or
❷
)
buttons
or
◆
The LINE source using the INPUT SEL. button for a satellite
tuner or external video source
Result:
The station number is displayed and the programme
can be seen on the television.
5
Select the recording speed by pressing the SPEED button as
many times as required (see page 28).
6
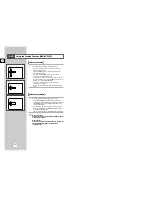
Hold REC (
●
) down for a while to start recording.
Result:
The record indicator appears on the television and DVD-
VCR display. An index is recorded on the tape (see page
36).
7
To stop recording, press
■
once.
➢
◆
If your DVD-VCR ejects the cassette when you start
recording, check to make sure that the cassette’s
safety tab is intact or that the opening (created by a
broken safety tab) is covered with adhesive tape.
◆
If you reach the end of the tape while recording, the
cassette rewinds automatically.
1
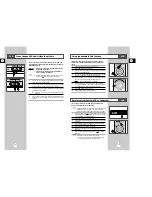
Displaying/Hiding On-Screen Information
Selecting the Recording Speed
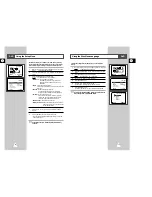
Your DVD-VCR displays most information both on the DVD-VCR
and the television.
You can choose to display or hide this information on the television
screen (except for the Index, MAIN MENU and
Timer functions, which cannot be hidden).
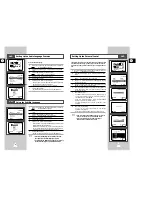
1
Press SETUP on the remote control.
Result:
The MAIN MENU is displayed.
2
Press the corresponding
"
,
❷
or
➛
,
❿
buttons to select the
VCR FUNCTION SETUP
option.
3
Press the ENTER button to select this option.
Result:
The
VCR FUNCTION SETUP
menu is displayed.
4
Press the corresponding
"
or
❷
buttons, until the
OSD
option is
selected.
5
To...
Press
➛
or
❿
, until...
Display on-screen information
ON
is displayed.
Hide on-screen information
OFF
is displayed.
6
On completion, press RETURN twice to exit the menu.
You can record a cassette at two different speeds:
◆
SP (Standard Play)
◆
LP (Long Play)
In Long Play modes:
◆
Each cassette lasts twice as long
◆
The recording is of a slightly lower quality
To record a cassette...
Press the SPEED button on the
remote control, until...
In standard play mode
SP
is displayed.
In long play mode
LP
is displayed.
Type
Recording Time (in SP)
E-180
180 mins. or 3 hours
E-240
240 mins. or 4 hours
E-260
260 mins. or
4 hours and 20 mins.
E-300
300 mins. or 5 hours
VCR
VCR
VCR
VCR
MAIN MENU
VCR FUNCTION SETUP
RETURN
"❷!!
➛!!!❿
ENTER
Program Clock Install Exit
DVD VCR Option Language
VCR
VCR FUNCTION SETUP
Tape Select
E180
Repeat Play
Off
OSD
➛ ❿
On
RETURN
" ❷
On
Off
7
0
ANGLE
AUDIO
6
4
4
5


