37
GB
36
GB
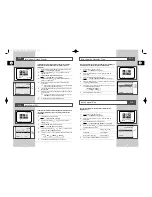
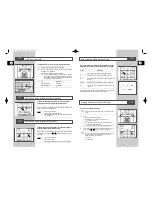
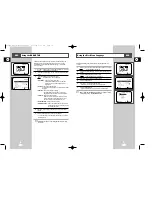
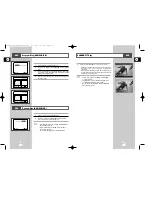
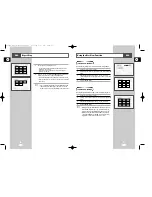
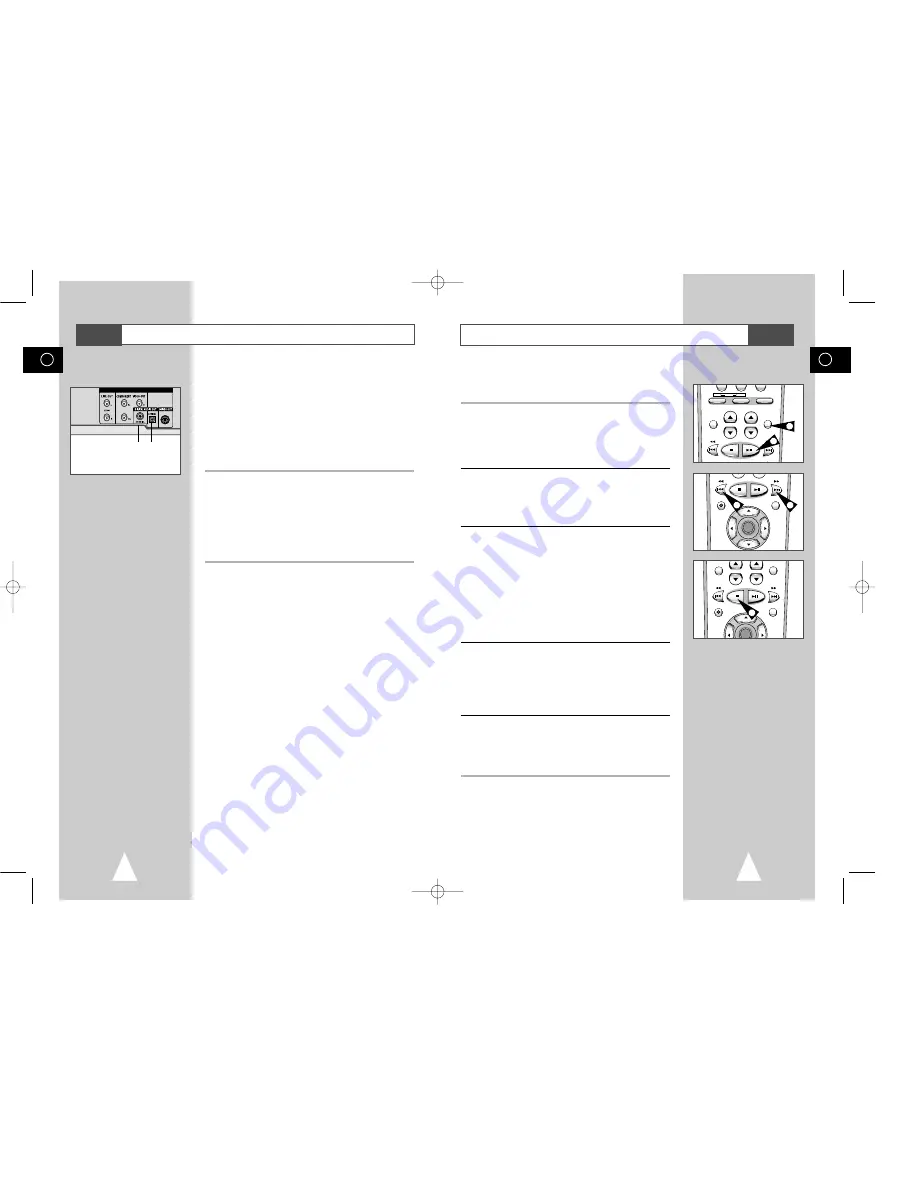
During DVD/CD playback you can select from the following
special playback options. To resume normal playback, press the
❿
ll
(Play/Still) button.
1
Still
Press the
❿
ll (Play/Still) button on the remote control during
playback.
• The picture will still and the audio will mute.
• To resume playback, press the
❿
ll (Play/Still) button.
• If the player is left in still mode for 5 minutes, it will stop
automatically.
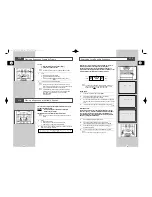
2
Frame Advance (Step)
While in Still mode, press the F.ADV/STEP button on the remote
control to advance one frame at a time.
• Audio is muted during Frame Advance mode.
• Press
❿
ll (Play/Still) to resume normal playback.
NOTE: Frame Advance operates only in the forward direction.
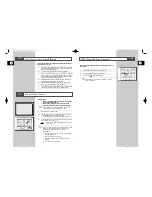
3
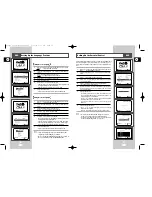
Skip Forward/Back
While a CD or DVD disc is in Play mode, press the Skip
Forward/Back (
❿❿
l / l
➛➛
) buttons on the remote control or front
panel to jump forward and backward through disc chapters/tracks.
• Skip Forward will jump to the next chapter/track.
• Skip Back will jump to the beginning of the current chapter/track.
• Press Skip Back again to jump to the beginning of the previous
chapter/track.
Search Forward/Back
While a disc is in Play mode, press and hold the Forward/Back
(
❿❿
/
➛➛
) buttons on the remote control or front panel to visually
search forward/backward at 2X - 4X - 8X - 16X - 32X - 128X speed.
Press
❿
ll (Play/Still) button to resume normal speed.
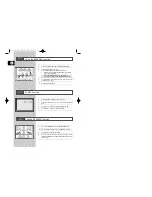
4
Slow Motion
During playback, press the
❿
ll (Play/Still) button to Still the image.
Then use the Search Forward (
❿❿
) to play in slow motion at
variable speeds.
• Each press increases the slow motion speed playback to 1/8, 1/4
or 1/2 normal speed.
• Audio is muted during slow motion playback.
• Press the
❿
ll (Play/Still) button to resume normal playback.
5
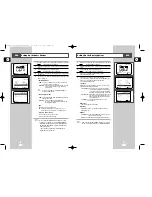
Stop/Resume
• Press the Stop button once to stop playback. To resume the
DVD/CD from the point where the disc stopped, press the
❿
ll
(Play/Still) button.
• Press the
■
(Stop) button twice to completely stop playback.
The next time you press
❿
ll (Play/Still), the disc will start over
from the beginning.
Special Playback Features
REC
DISC MENU
SETUP
/ENTER
0
DVD VCR
KARAOKE
VOLUME ECHO
DIGEST
F.ADV/STEP
REC
DISC MENU
A.TRK
VIEW
VOLUME ECHO
DIGEST
F.ADV/STEP
REC
DISC MENU
SETUP
/ENTER
A.TRK
2
1
3
3
5
A/V Receiver Connections
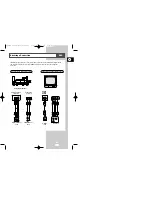
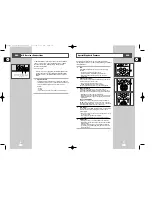
To take full advantage of the movie theater experience that DVD
offers, you may want to connect your DVD-VCR to a complete
Surround Sound system, including an A/V Receiver and six
Surround Sound speakers.
Before You Begin...
•
If your A/V receiver is equipped with a Dolby Digital Decoder,
you have the option to bypass the DVD-VCR’s built-in Dolby
Digital Decoder. Use the DIGITAL AUDIO OUT connection
below.
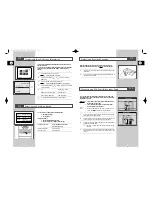
1
Digital Audio Out
Connect EITHER an optical cable OR a digital coaxial cable from
the DIGITAL AUDIO OUT jacks on the back panel of the DVD-VCR
to their corresponding Digital Audio Input jacks on your A/V
Receiver:
• Optical
• Coaxial
• Use whichever connection is available on your A/V Receiver.
DVD Only
To Digital Audio Input of an A/V
Receiver with a Dolby Digital
Decoder
or
DVD
DVD
00046S DVD-V14000/HACO-GB3 3/21/03 4:31 PM Page 36


