


23
ENG
If no signal is being received or the signal is very weak, a blue
screen automatically replaces the noisy picture background.
If you wish to continue viewing the poor picture, you must set the
“Blue Screen” mode to “Off”.
1
Press the
MENU
button.
Result:
The main menu is displayed.
2
Press the
▼
or
▲
button to select
Setup
.
Result:
The options available in the
Setup
group are
displayed.
3
Press the
¦
or
button.
4
Press the
▼
or
▲
button to select
Blue screen
.
5
To activate this feature, select
On
by pressing the
¦
or
button.
Setting the Blue Screen
If you find that the picture received is slightly tilted to one side, you
can adjust the tilt setting.
1
Press the
MENU
button.
Result:
The main menu is displayed.
2
Press the
▼
or
▲
button to select
Setup
.
Result:
The options available in the
Setup
group are
displayed.
3
Press the
¦
or
button.
4
Press the
▼
or
▲
button to select
Tilt
.
5
Press the
¦
or
button to reach the required setting (
-7
to
+7
).
Using the Tilt Control Feature
Move
œ
œ √
√
Adjust
Exit
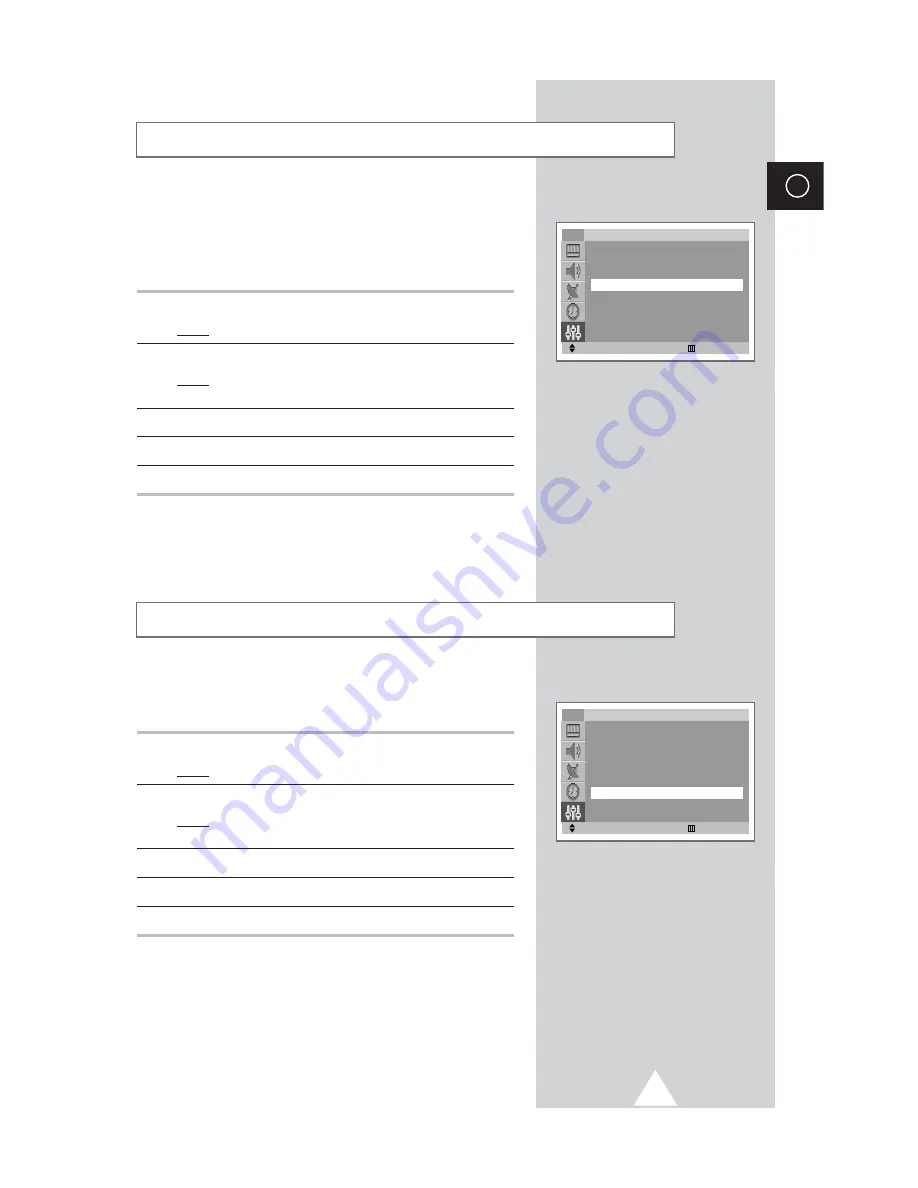
Setup
Plug & Play
√
√
Language
: English
Blue screen
: On
Demonstration
√
√
Tilt
: 0
PIP
√
√
TV
Move
œ
œ √
√
Adjust
Exit
Setup
Plug & Play
√
√
Language
: English
Blue screen
: On
Demonstration
√
√
Tilt
: 0
PIP
√
√
TV
Содержание CS29A10
Страница 43: ...43 ENG Memo ...