Media and tray
37
2. Menu Overview and Basic Setup
•
When printing the special media, you must follow the loading guideline
(See "Printing on special media" on page 37).
•
When papers overlap when printing using multi-purpose tray, open tray
1 and remove overlapping papers then try printing again.
•
When paper does not feed well while printing, push the paper in
manually until it starts feeding automatically.
4
When you print a document, set the paper type and size for the multi-
purpose (or manual feeder) tray
G
(see "Setting the paper size and type" on
page 42).
The settings made from the machine driver override the settings on the
control panel.
a
To print in application, open an application and start the print menu.
b
Open
Printing Preferences
(See "Opening printing preferences" on
page 46).
c
Press the
Paper
tab in
Printing Preferences
, and select an appropriate
paper type.
For example, if you want to use a label, set the paper type to
Label
.
d
Select
MP Tray
(or
Manual Feeder
) in paper source, then press
OK
.
e
Start printing in application.
If your machine has multi-purpose tray,
G
press
OK
on the control panel
each time you load a sheet of paper.
4
Printing on special media
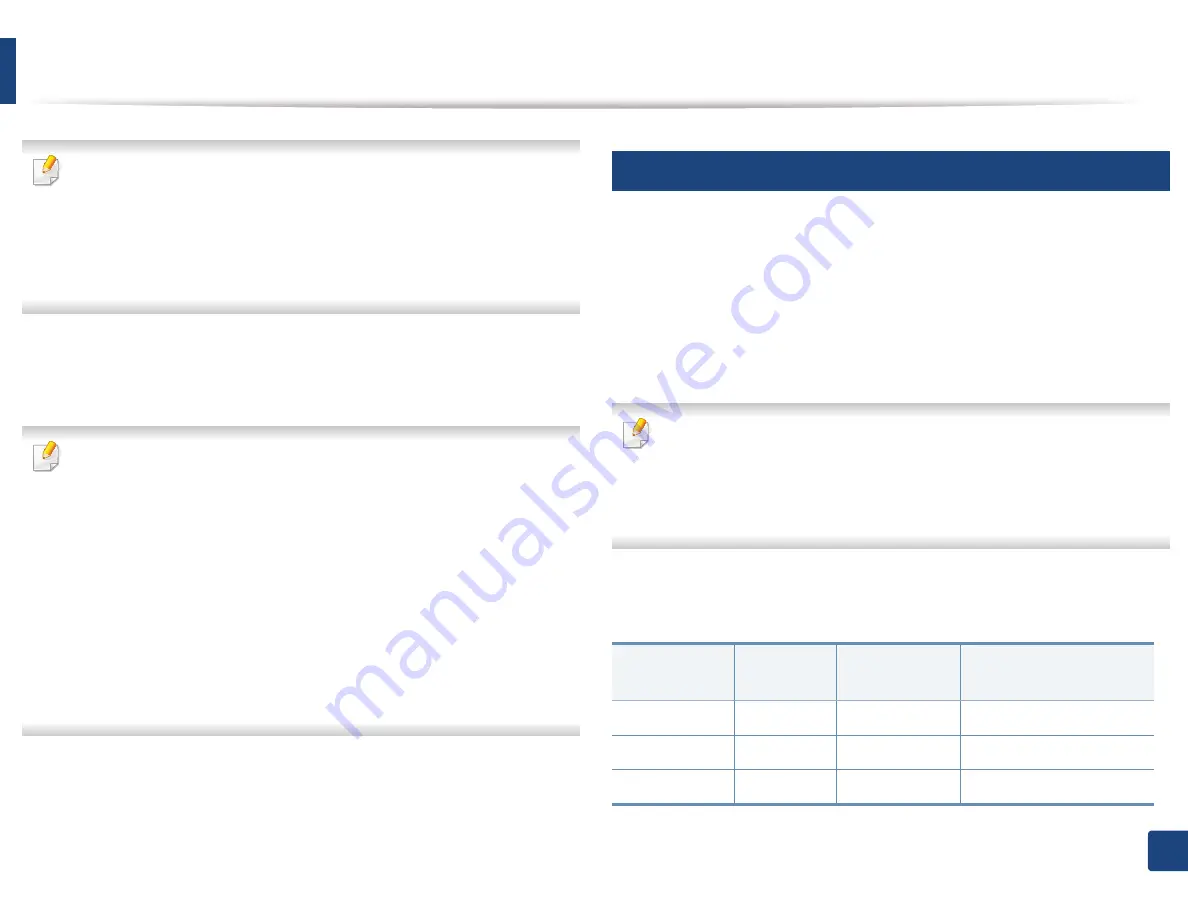
The table below shows the special media usable in tray.
The media is also shown in the
Printing Preferences
. To get the highest
printing quality, select the proper media type from the
Printing preferences
window >
Paper
tab >
Paper Type
(see "Opening printing preferences" on page
46).
For example, if you want to print on labels, select
Labels
for
Paper Type
.
•
When using special media, we recommend you feed one sheet at a time
(see "Print media specifications" on page 105).
•
Illustrations on this user’s guide may differ from your machine
depending on its options or models. Check your machine type (see
"Front view" on page 17).
To see for paper weights for each sheet, refer to "Print media specifications" on
page 105.
Types
Tray 1
Optional tray
a
Manual feeder/ Multi-
purpose tray
Plain
Ɣ
Ɣ
Ɣ
Thick
Ɣ
Ɣ
Ɣ
Thicker
Ɣ
Ɣ


