background image

English - 3

5

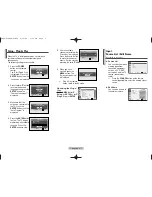
After all available
channels are stored, the
“Clock Set” is displayed.
Press the 

œ

or 

button

to move to the hour or
minute. Set the clock by
pressing the 

or 

button.

6

When you have
finished, press the

MENU

button. The

“Enjoy your watching.”
is displayed.

Plug & Play feature
doesn’t work in the AV mode.

Re-setting the Plug &
Play

Method: MENU 

/

(

Setup

ENTER

/

(

Plug & Play

ENTER

eft

e

n

ed

Setup - Plug & Play

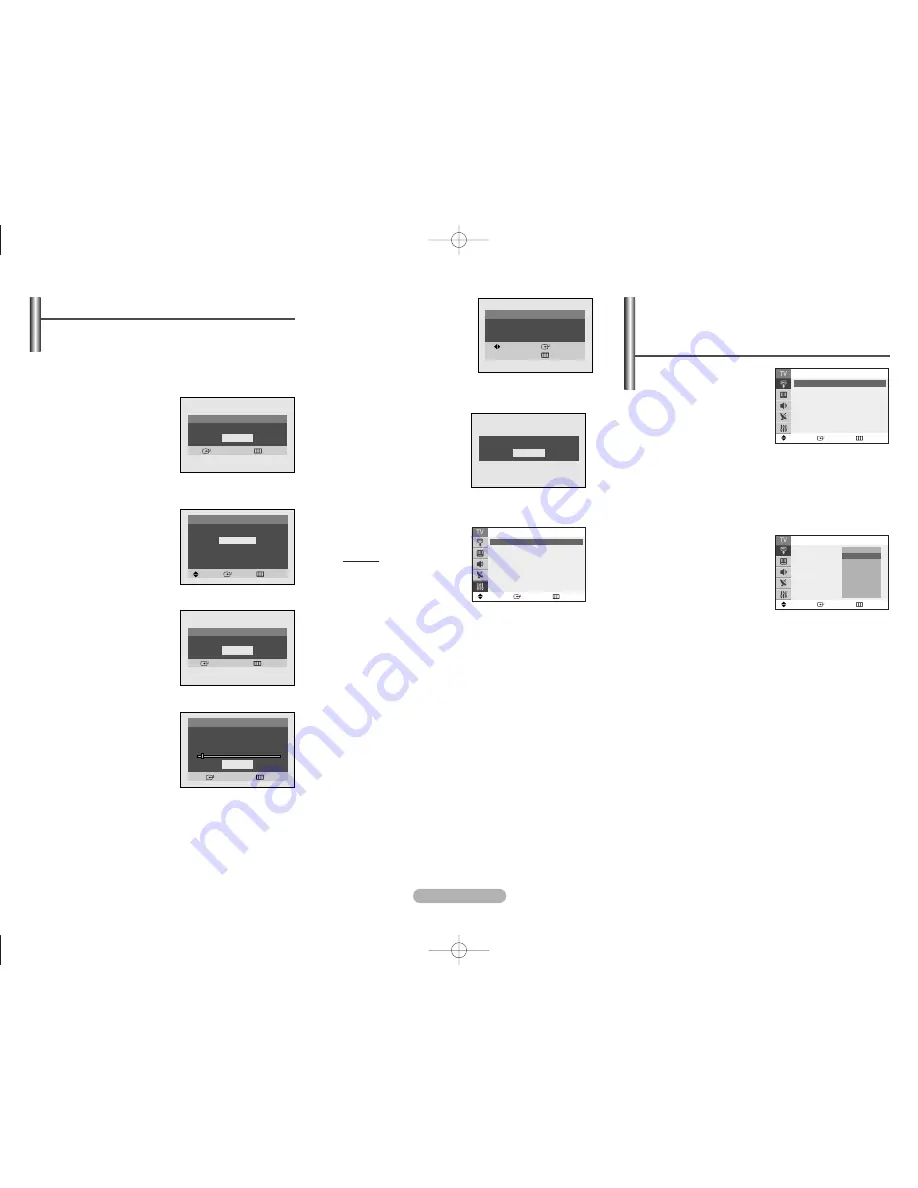
When the TV is initially powered on, several basic
customer settings proceed automatically and
subsequently.
The following settings are available.

1

Press the 

POWER

button on the remote
control.
The “Start Plug & Play”
is displayed. Press the

ENTER

button, then the

“Language” is displayed.

2

Press the 

or 

button

to select the desired
language, then press the

ENTER

button. The

“Check antenna input.” is
displayed.

3

Make sure that the
antenna is connected to
the TV. Press the

ENTER

button, then the

“Auto Program” is
displayed.

4

Press the 

ENTER

button

to start. The TV begins
memorizing all available
channels. Press the

ENTER

button to stop.

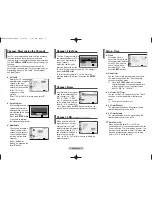
Source List 

You can switch between
viewing signal from
connected equipment,
such as a VCR, DVD,
set-top box, and the TV
source (broadcast or
cable).

Press the 

SOURCE

button on the remote

control repeatedly to select the desired signal
source.

Edit Name

You can give a name to
the external source.

Input - 
Source List / Edit Name

(depending on the model)

Plug & Play

Enter               

Exit

OK

Plug & Play

Move    

Enter    

Skip

Language

English

Español
Português
Français

Start Plug & Play

Plug & Play

Check antenna input.

Enter

Skip

OK

Plug & Play

Enter              

Skip

Auto Program
Air 3

3%

Stop

Plug & Play

Clock Set             -- : -- am

Move                 

Enter

Skip

Enjoy your watching.

OK

Move

Enter

Return

Setup

Plug & Play

Language

: English

Time

Caption 

Child Lock

Blue Screen

: Off

Melody

: On

Demonstration

Move

Enter

Return

Source List

TV

AV1

- - - -

AV2

- - - -

S-Video

- - - -

Component

- - - -

Move

Enter

Return

Edit Name

AV1

:

- - - -

AV2

:

- - - -

S-Video

:

- - - -

Component

:

- - - -

- - - -

VCR

DVD
Cable STB
Sat. STB
AV Receiver
DVD Receiver

e

V”.

AA68-03858A-03Eng  8/16/06  1:29 PM  Page 3

Содержание CL29K40MQ

Страница 1: ...als and cable jacks When both the side and rear jacks AV IN 2 are connected to external equipment the side receives priority Œ S Video Input Jack Connect an S Video signal from a camcorder or video game Video Input Jack Connect a video signal from a camcorder or video game ˇ Audio Input Jacks Connect audio signals from a camcorder or video game The product color and shape may vary depending on the...

Страница 2: ...u can use the remote control up to a distance of about 23 feet from the TV When using the remote always point it directly at the TV Remote Control depending on the model Installing Batteries Remove the cover Install two AAA size batteries then replace the cover When the remote control does not operate normally check that the and ends of the batteries are inserted correctly or the batteries are dra...

Страница 3: ...e Auto Program is displayed 4 Press the ENTER button to start The TV begins memorizing all available channels Press the ENTER button to stop Source List You can switch between viewing signal from connected equipment such as a VCR DVD set top box and the TV source broadcast or cable Press the SOURCE button on the remote control repeatedly to select the desired signal source Edit Name You can give a...

Страница 4: ...SPN PBS2 CNN1 etc A label consists of four fields where each field is a letter A Z a number 0 9 or a blank When the INFO button is pressed the channel label will appear next to the channel number Move Adjust Return Name More 2 3 4 5 6 More A Channel LNA depending on the model When a weak broadcast signal causes an unclear noisy picture the LNA feature improves the picture quality by setting to On ...

Страница 5: ...he program such as news or weather is displayed Text often covers a large portion of the screen Channel Field Depending on the particular broadcast it might be necessary to make changes to Channel and Field Different channels and fields display different information Field 2 carries additional information that supplements the information in Field 1 For example Channel 1 may have subtitles in Englis...

Страница 6: ...ture size Digital NR If the signal received by the TV is weak you can activate this feature to reduce any static and ghosting that may appear on the screen DNIe Jr Digital Natural Image engine Junior depending on the model This feature bring you more detailed image with detail enhancement contrast enhancement and white enhancement New image compensation algorithm gives brighter clearer much detail...

Страница 7: ...e sound Press the TURBO button on the remote control repeatedly to select On or Off Move Enter Return Sound Mode Custom Equalizer MTS Stereo Auto Volume Off Pseudo Stereo Off Turbo Plus Off If the TV seems to have a problem first try this list of possible problems and solutions If none of these troubleshooting tips apply then call your nearest Samsung authorized service center Poor picture Try ano...

Страница 8: ...week Wide screen format televisions 16 9 the aspect ratio of the screen width to height are primarily designed to view wide screen format full motion video The images displayed on them should primarily be in the wide screen 16 9 ratio format or expanded to fill the screen if your model offers this feature and constantly moving Displaying stationary graphics and images on screen such as the dark si...

Отзывы: