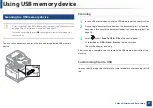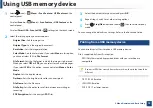
Using USB memory device
72
2. Menu Overview and Basic Setup
1
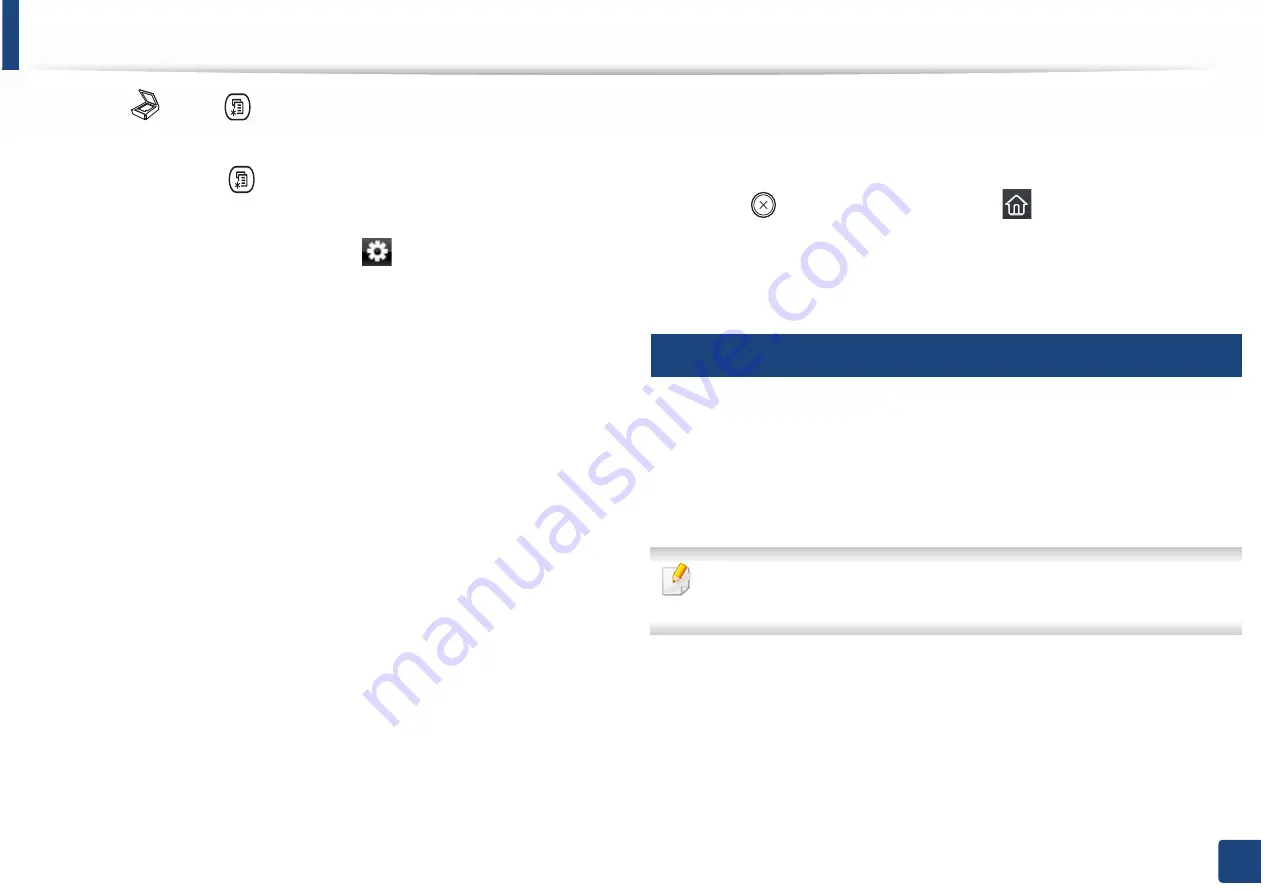
Select (scan)
> (
Menu
) >
Scan Feature
>
USB Feature
on the
control panel.
Or select
Scan to
>
(
Menu
) >
Scan Feature
>
USB Feature
on the
control panel.
Or select
Direct USB
>
Scan to USB
>
(settings) on the touch screen.
2
Select the setting option you want appears.
•
Original Size:
Sets the image size.
•
Original Type:
Sets the original document’s.
•
Resolution:
Sets the image resolution.
•
Color Mode:
Sets the color mode. If you select
Mono
in this option,
you cannot select JPEG in
File Format
.
•
File Format:
Sets the file format in which the image is to be saved.
When you select
TIFF
or
, you can select to scan multiple pages.
If you select
JPEG
in this option, you cannot select
Mono
in
Color
G
Mode
.
•
Duplex:
Sets the duplex mode.
•
Darkness:
Sets the brightness level to scan an original.
•
File Name:
Sets the file name.
•
File Policy:
Sets the policy to save files between overwirting or
renaming
•
PDF Encryption:
Sets the encrypts
files.
3
Select the desired status you want and press
OK
.
4
Repeat steps 2 and 3 to set other setting options.
5
Press (
Stop/Clear
) button or home(
) icon to return to ready
mode.
You can change the default scan settings. Refer to the Advanced Guide.
26
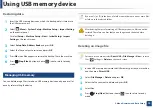
Printing from a USB memory device
You can directly print files stored on a USB memory device.
File is supported by Direct Print option.
•
PRN: Only files created by provided driver with your machine are
compatible.
If you print PRN files created from other machine, the printout would be
different.
•
TIFF: TIFF 6.0 Baseline
•
JPEG: JPEG Baseline
•
PDF: PDF 1.7 or lower version.


