background image

ENG

MISCELLANEOUS

47

46

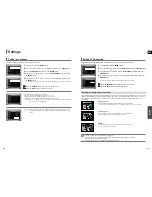
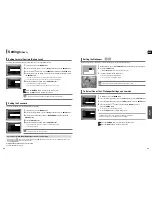
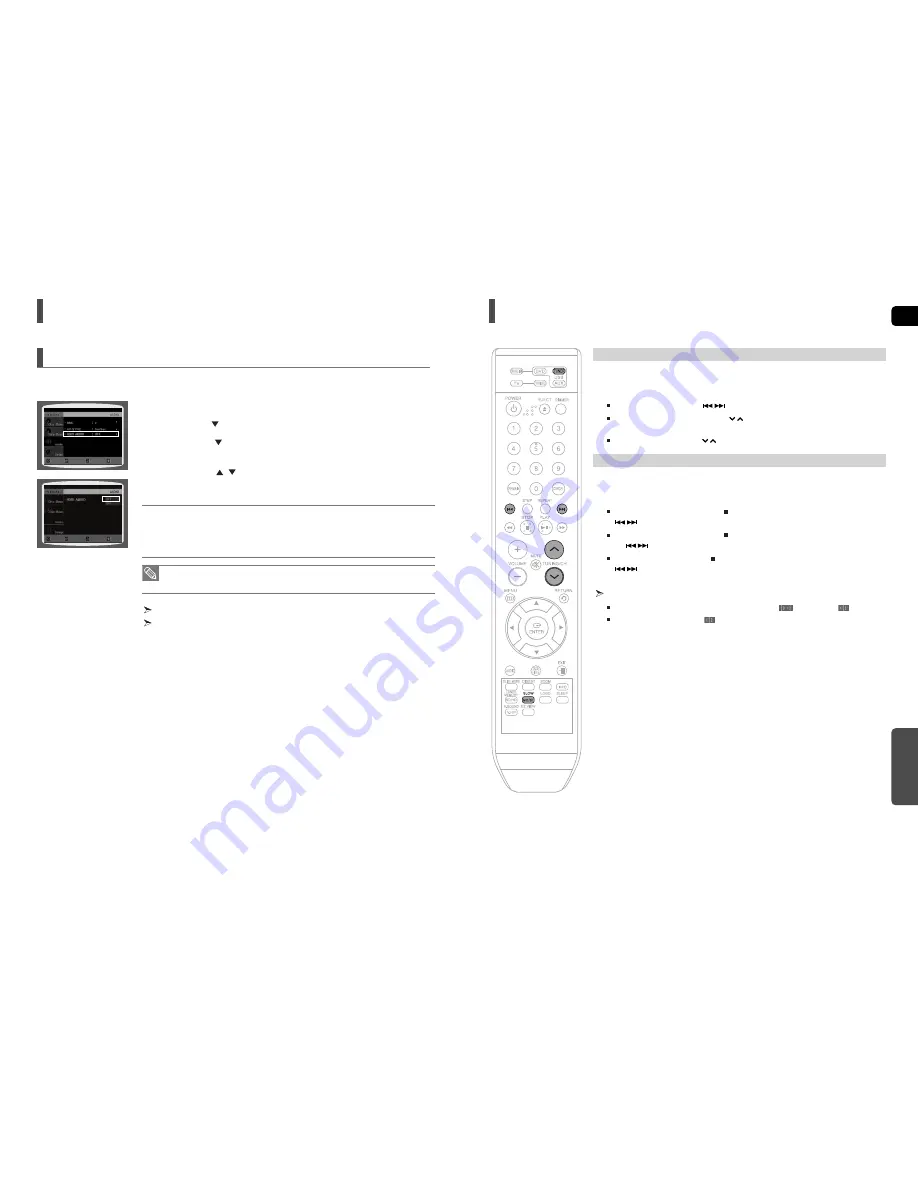
The audio signals transmitted over the HDMI Cable can be toggled ON/OFF.

1

In Stop mode, press the 

MENU

button.

2

Press the Cursor

button to move to 

<Audio>

and then press the 

ENTER 

button.

3

Press the Cursor

button to move to 

<HDMI AUDIO>

and then press the

ENTER

button.

4

Press the Cursor

,

button to select <ON> or <OFF> and then press the 

ENTER

button.

• ON : Both video and audio signals are transmitted over the HDMI connection cable, and audio 

is output through your TV speakers only.

• OFF : Video is transmitted over the HDMI connection cable only, and audio is output through 

the home theater speakers only.

Press the 

RETURN

button to return to the previous level.

Press the 

EXIT

button to exit the setup screen.

Setting the HDMI Audio

MOVE

ENTER

EXIT

RETURN

MOVE

SELECT

EXIT

RETURN

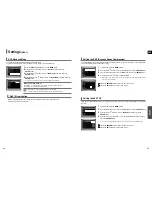
• The default setting of this function is HDMI AUDIO OFF.
• HDMI AUDIO is automatically down-mixed to 2ch for TV speakers.

Settings

(Con’t)

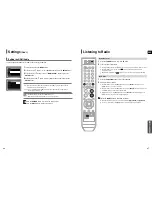
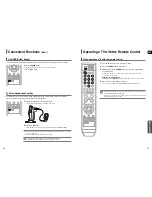
Listening to Radio

1

Press the 

TUNER

button to select the FM band.

2

Tune in to the desired station.

Automatic Tuning 1 : When the 

button is pressed, a preset broadcast station is selected.

Automatic Tuning 2 : Press and hold the 

button to automatically search for active 

broadcasting stations.

Manual Tuning : Briefly press the

button to increase or decrease the frequency incrementally.

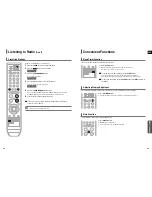
1

Press the 

FUNCTION

button to select the FM band.

2

Select a broadcast station.

Automatic Tuning 1 : Press the 

STOP

(

) button to select 

<PRESET>

and then press the

button to select the preset station.

Automatic Tuning 2 : Press the 

STOP 

(

) button to select 

<MANUAL>

and then press and hold

the

button to automatically search the band.

Manual Tuning : Press the 

STOP

(

) button to select 

<MANUAL>

and then briefly press the

button to tune in to a lower or higher frequency.

Press the 

MO/ST

button to listen in Mono/Stereo.

Each time the button is pressed, the sound switches between 

(STEREO)

and 

(MONO)

.

In a poor reception area, select 

(MONO) for a clear, interference-free broadcast.

,

,

Remote Control

Main Unit

Содержание AH68-01943R

Страница 1: ... REV 00 COMPACT DIGITAL AUDIO AH68 01963S SAMSUNG ELECTRONICS CANADA INC HEADQUARTERS 55 Standish Court Mississauga Ontario L5R 4B2 Canada TEL 1 905 542 3535 www samsung ca SERVICE DIVISION 55 Standish Court Mississauga Ontario L5R 4B2 Canada 1 800 SAMSUNG 1 800 726 7864 ...

Страница 2: ...d shall stay readily operable at any time Do not expose the unit to direct sunlight or other heat sources This could lead to overheating and malfunction of the unit 2 The batteries used with this product contain chemicals that are harmful to the environment Do not dispose of batteries in the general household trash Safety Warnings RISK OF ELECTRIC SHOCK DO NOT OPEN TO REDUCE THE RISK OF ELECTRIC S...

Страница 3: ...ut to TV 16 HDMI Function 17 Connecting Audio from External Components 18 Connecting the FM Antenna 20 OPERATION Before Reading the User s Manual 21 Before Using Your Home Theater 22 Disc Playback 23 MP3 WMA CD Playback 24 JPEG File Playback 25 DivX Playback 27 Using the Playback Function 28 Displaying Disc Information 28 Checking the Remaining Time 29 Fast Playback 29 Slow Playback 29 Skipping Sc...

Страница 4: ...session disc the disc can be played only up to the blank segment A maximum of 9 999 images can be stored on a single CD When playing a Kodak Fuji Picture CD only the JPEG files in the picture folder can be played Picture discs other than Kodak Fuji Picture CDs may take longer to start playing or may not play at all CD R MP3 Discs Only CD R discs with MP3 files in ISO 9660 or Joliet format can be p...

Страница 5: ...hone Jack 2 AUX IN 1 Jack 3 USB Port PREPARATION Description 1 2 3 4 5 6 7 8 9 10 1 2 3 1 2 1 Channel Speaker Output Connector 2 Component Video Output Jacks Connect a TV with Component video inputs to these jacks 3 Video Output Jack Connect your TV s video input jacks VIDEO IN to the VIDEO OUT Jack on this unit 4 External Digital Optical Input Jack Use this to connect external equipment capable o...

Страница 6: ...so be operated at a horizontal angle of up to 30 from the remote control sensor 1 DVD RECEIVER button 2 TV button 3 TV VIDEO button 4 POWER button 5 Number 0 9 buttons 6 REMAIN button 7 STEP button 8 Tuning Preset CD Skip buttons 9 VOLUME button 10 MENU button 11 AUDIO button 12 DIGEST button 13 SLIDE MODE button 14 TUNER MEMORY SD Standard Definition HD High Definition button 15 V SOUND Virtual S...

Страница 7: ...l Place it anywhere you like SW If you place a speaker near your TV set screen color may be distorted because of the magnetic field generated by the speaker If this occurs place the speaker away from your TV set 1 Press down the terminal tab on the back of the speaker 2 Insert the black wire into the black terminal and the red wire into the red terminal and then release the tab 3 Connect the conne...

Страница 8: ...hat it is slightly slanted 3 Insert the 2 stand anchors into the holes on the back of the DVD Player 4 Turn the right side of the stand clockwise to fix it to the back of the DVD Player 1 2 3 4 Method 2 Installing the Stand so that the DVD Player Stands up Arranging the Cables Preparation Disconnect the AC power cord from the AC outlet before installing the main unit Connect the cables before inst...

Страница 9: ... will also turn off Anynet HDMI CEC will only work while in the DVD mode In Stop mode press and hold the SD HD Standard Definition High Definition button on the remote control Resolutions available for the HDMI output are 480p 720p and 1080i SD Standard Definition resolution is 480p and HD High Definition resolution is 720p 1080i Resolution Selection If the TV does not support the configured resol...

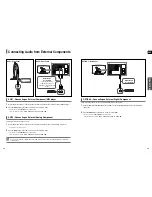
Страница 10: ...on on the main unit The mode switches as follows DVD D IN AUX 1 AUX 2 USB FM Connecting Audio from External Components Audio Cable not supplied If the external analog component has only one Audio Out connect either left or right You can connect the Video Output jack of your VCR to the TV and connect the Audio Output jacks of the VCR to this product AUX1 Side Panel AUX2 Rear Panel Audio Cable not s...

Страница 11: ...wing terms before reading the user manual Icon Term Definition DVD CD MP3 JPEG DivX CAUTION NOTE DVD CD MP3 JPEG DivX This involves a function available with DVD or DVD R DVD RW discs that have been recorded and finalized in Video Mode This involves a function available with a data CD CD R or CD RW This involves a function available with CD R RW discs This involves a function available with CD R R...

Страница 12: ...Disc Playback 1 Load a disc vertically into the Disc Insert Hole Insert a disc so that the label side faces forward Playback starts automatically 2 To eject the disc press the EJECT button Depending on the content of the disc the initial screen may appear different Pirated discs will not run in this player because it violates the CSS Content Scrambling System a copy protection system recommendatio...

Страница 13: ...e MP3 WMA disc WMA DRM files cannot be played 2 In Stop mode use the Cursor button to select the album and then press the ENTER button Use the Cursor button to select the track 3 To change the album use the Cursor button to select another album in Stop mode and then press the ENTER button To select another album and track repeat Steps 2 and 3 above 4 Press the STOP button to stop playback To play ...

Страница 14: ...will be played normally If the Disc has more than One Subtitle File DivX is a video file format developed by Microsoft and is based on MPEG4 compression technology to provide audio and video data over the Internet in real time MPEG4 is used for video encoding and MP3 for audio encoding so that the users can watch a movie at near DVD quality video and audio DivX Digital internet video eXpress 1 Sup...

Страница 15: ...a button that operation is not possible with the disc currently being played DVD AUDIO display DVD AUDIO Press the REMAIN button For checking the total and remaining time of a title or chapter being played Each time the Remain button is pressed Checking the Remaining Time Press the button Each time the button is pressed during playback the playback speed changes as follows Fast Playback 2X 4X 8X 3...

Страница 16: ...back Repeat Playback Options Press the REPEAT button Each time the button is pressed during playback the repeat playback modechanges as follows 1 Press the INFO button twice 2 Press the Cursor button to move to REPEAT PLAYBACK display 3 Press the Cursor button to select the desired Repeat Playback mode To select another album and track repeat Steps 2 and 3 above 4 Press the ENTER button For DivX M...

Страница 17: ...oves forward one frame each time the button is pressed during playback A B DVD Step Function 33 1 Press the INFO button 2 Press the Cursor button to move to ANGLE display 3 Press the Cursor or numeric buttons to select the desired angle Each time the button is pressed the angle changes as follows This function allows you to view the same scene in different angles Angle Function 2 3 3 3 1 3 The Ang...

Страница 18: ...oup that requires a 4 digit key number to access See the disc packaging for details and the key number Bonus Group During playback press the button on the remote control You can select the desired image from a DVD Audio disc containing still images With some discs you may not be able to select images Navigating Pages BONUS GROUP KEY NUMBER DVD AUDIO DVD AUDIO To operate this function you can also ...

Страница 19: ...elected title or time 01 05 001 040 0 00 37 1 1 Using the Disc Menu Using the Title Menu The disc menu display may be different depending on the disc 1 In Stop mode press the MENU button 2 Press the Cursor button to move to the DISC MENU and then press the ENTER button When you select Disc Menu and it is not supported by the disc the This menu is not supported message appears on the screen 3 Press...

Страница 20: ... Remove the USB cable During playback press the button When there is more than one file and you press the button the next file is selected When there is more than one file and you press the button the previous file is selected Skip Forward Back To play back the disc at a faster speed press the button during playback Each time you press either button the playback speed will change as follows 2x 4x ...

Страница 21: ...DVDs recorded in different screen sizes you should adjust the aspect ratio to fit your TV or monitor For a standard TV select either 4 3PS or 4 3LB option according to personal preference Select WIDE HDTV if you have a widescreen TV 1 In Stop mode press the MENU button 2 Press the Cursor button to move to Setup and then press the ENTER button 3 Press the Cursor button to move to TV DISPLAY and the...

Страница 22: ...display and all settings will return to the default values Press the POWER button Using the RESET function will erase all stored settings Do not use this unless necessary If you have forgotten the rating level password do the following While watching a DVD or JPEG CD you can set the image you like as background wallpaper 1 During playback press the PLAY PAUSE button when an image you like appears ...

Страница 23: ...V If this occurs adjust the audio delay time to to match the video 1 In Stop mode press the MENU button 2 Press the Cursor button to move to Audio and then press the ENTER button 3 Press the Cursor button to move to AV SYNC and then press the ENTER button 4 Press the Cursor button to select the AV SYNC Delay Time and then press the ENTER button You can set the audio delay time between 0 ms and 300...

Страница 24: ...o 2ch for TV speakers Settings Con t Listening to Radio 1 Press the TUNER button to select the FM band 2 Tune in to the desired station Automatic Tuning 1 When the button is pressed a preset broadcast station is selected Automatic Tuning 2 Press and hold the button to automatically search for active broadcasting stations Manual Tuning Briefly press the button to increase or decrease the frequency ...

Страница 25: ...s You can set the time that the Home Theater will shut itself off Press the SLEEP button Each time the button is pressed the preset time changes as follows 10 20 30 60 90 120 150 OFF To confirm the sleep timer setting press the SLEEP button The remaining time before the Home Theater will shut itself off is displayed Pressing the button again changes the sleep time from what you have set earlier To...

Страница 26: ...a Samsung TV by default ENG MISCELLANEOUS Convenient Functions Con t The 2 channel sounds can be listened with virtual effects for producing much more realistic sounds as in 5 1 channels Press the V SOUND button Each time the button is pressed the selection changes as follows V S1 V S2 OFF V SOUND Virtual Sound 1 Plug the headphones into the headphone jack You can purchase headphones from most Ele...

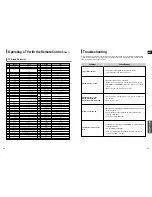
Страница 27: ...sic Concerto Contec Coronado Craig Croslex Crown Curtis Mates CXC Daewoo Daytron Dynasty Emerson Fisher Funai Futuretech General Electric GE Hall Mark Hitachi Inkel JC Penny JVC KTV KEC KMC LG Goldstar Luxman LXI Sears Magnavox Marantz Matsui MGA Mitsubishi MGA No Brand Code 56 57 58 01 15 01 02 03 04 05 06 07 08 09 10 11 12 13 14 01 18 40 48 57 58 81 59 60 18 03 03 18 25 97 03 18 46 15 03 05 61 8...

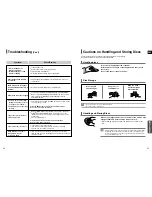
Страница 28: ...ubtitles will not work if the disc does not contain them Audio language and subtitles do not work Are you using a disc that does not contain menus Menu screen does not appear even when the menu function is selected While NO DISC message appears on the display of main unit hold the main unit s STOP button for longer than 5 seconds INITIALIZE appears on the display and all settings will return to th...

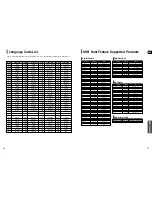
Страница 29: ...T5 Samsung MP3 Player YP 60 Samsung MP3 Player YP 780 Samsung MP3 Player YP 35 Samsung MP3 Player YP 55 Samsung MP3 Player iAUDIO U2 Cowon MP3 Player iAUDIO G3 Cowon MP3 Player iAudio M3 Cowon HDD MP3 Player SI M500L Sharp 256MB MP3 Player H10 Iriver MP3 Player YP T5 VB Samsung MP3 Player YP 53 Samsung 256MB MP3 Player Product Company Type MP3 Player MOMOBAY UX 2 Dvico USB 2 0 Product Company Type...

Страница 30: ...ned in the instruction manual are not covered under the terms of this warranty This warranty will automatically be voided for any unit found with a missing or altered serial number This warranty is valid only on products purchased and used in Canada HEADQUARTERS SAMSUNG ELECTRONICS CANADA INC CUSTOMER SERVICE 55 STANDISH COURT MISSISSAUGA ONTARIO L5R 4B2 CANADA FABRIQUE EN CORÉE 1 800 SAMSUNG 1 80...

Страница 31: ...Contact SAMSUNG WORLD WIDE If you have any questions or comments relating to Samsung products please contact the SAMSUNG customer care centre Region Country Customer Care Center Web Site ...

Отзывы: