


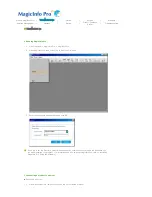
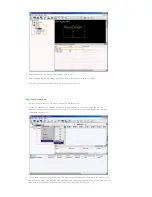


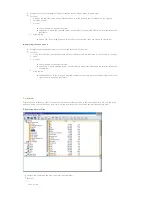
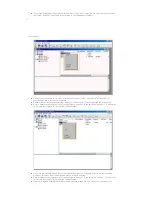

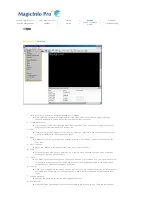
5. Repeat steps 2 to 4 to register other areas on a screen.
6. After finishing registering areas, select Save from the File menu to save the screen.
7. Register a schedule to display the saved screen on a monitor(s).
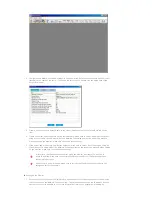
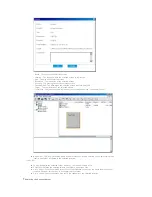
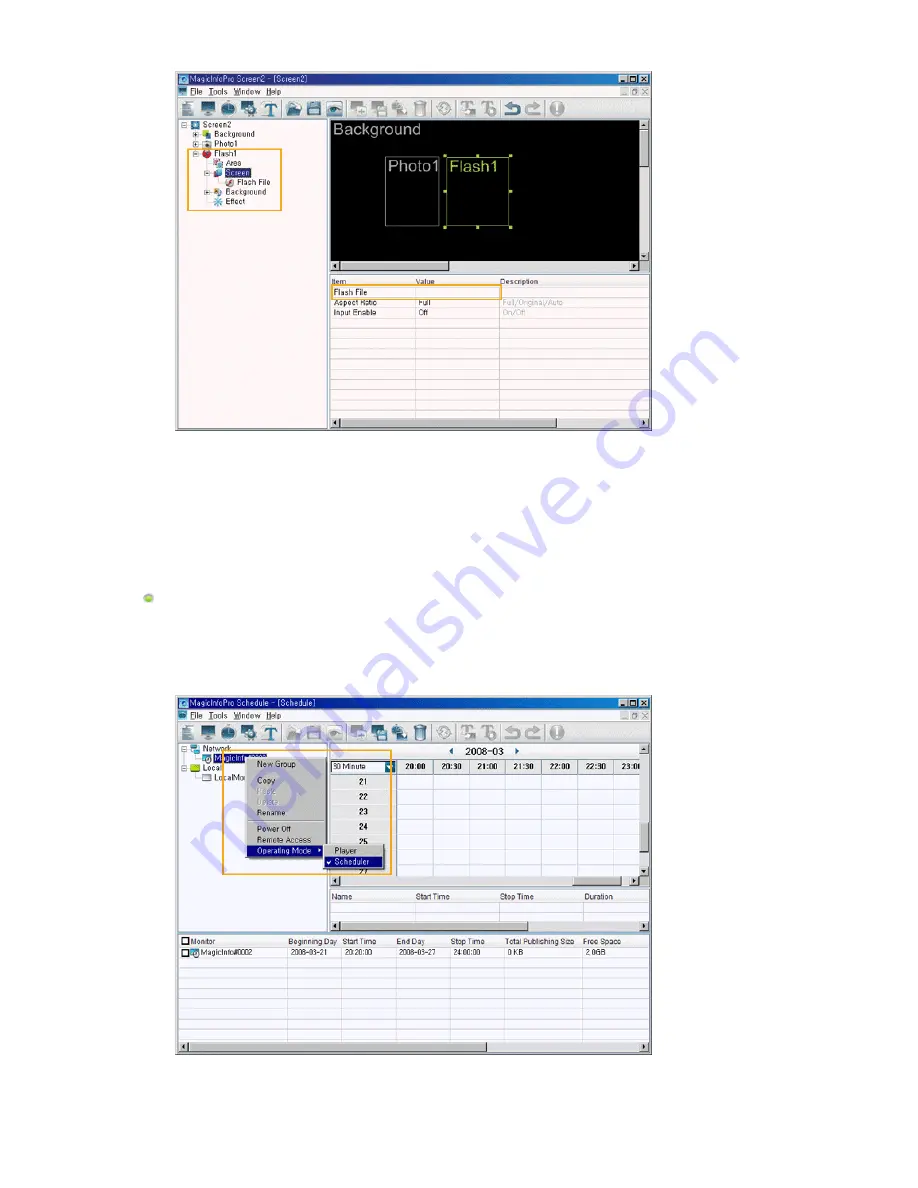
Registering a Schedule
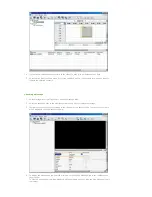
1. Select Schedule from the File menu to open the Schedule View.
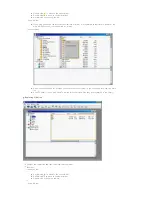
2. Select the monitors to which the schedule is to be registered in the Tree View at the left. The
Operating Mode of the selected monitors must be set to Schedule if they can display the schedule
registered on the server.
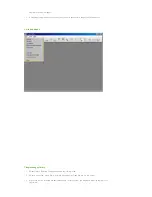
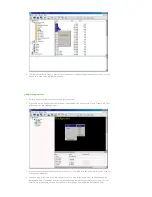
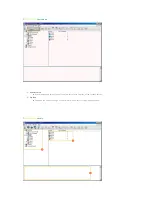
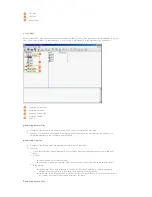
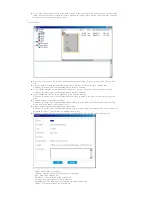
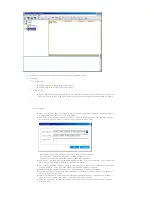
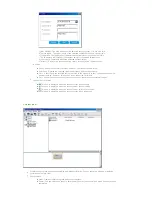
3. Click a date and time in the Edit View at the right to select the date and time when the schedule is to
be performed. Right-click the Edit View and select Add from the displayed menu. At this time, you can
only select the schedules for the screens you saved using the Screen menu.
Содержание 400MX - SyncMaster - 40" LCD Flat Panel...
Страница 1: ...SyncMaster 400MX 460MX 400MXn 460MXn LCD Monitor User Manual...
Страница 18: ...LCD Display Head Introduction...
Страница 45: ...6 Choose a folder to install the MagicInfo Pro program 7 Click Install Using the Software...
Страница 75: ......
Страница 87: ...Hot Key z Ctrl C Copies the selected message to the clipboard so that you can paste it to another location...
Страница 179: ...Zoom Displays a reduced picture Close Closes the image control Menu Adjusting the LCD Display...
Страница 183: ...TCP IP Changes the TCP IP settings Connection Modifies the network settings Adjusting the LCD Display...


