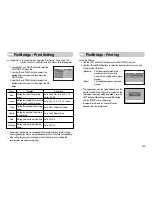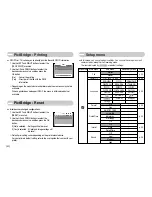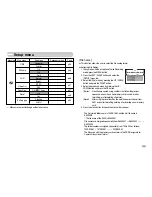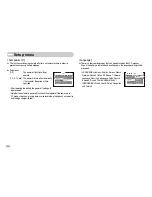
ŝ
44
Ş
Starting the slide show
Protecting images
ƈ
This is used to protect specific shots from being accidentally erased (Lock).
It also unprotects images that have been previously protected (Unlock).
ƃ
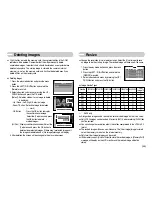
Protecting Images
1. Press the play mode button and press the menu
button.
2. Press the LEFT / RIGHT button and select the
[PROTECT] menu tab.
3. Select a desired sub menu by pressing the UP /
DOWN button and press the OK button.
[Select ] : Selection window for an image to be
protected/released is displayed.
- Up / Down / Left / Right : Select an image
- Zoom W / T Button : Protect / release the image
- OK button
: Your changes will be saved
and the menu will
disappear.
[All Pics] : Protect / release all saved images
- Zoom W / T Button : Protect / release the images
- OK button
: Your changes will be saved
and the menu will disappear.
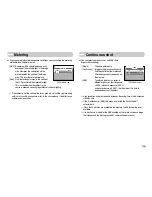
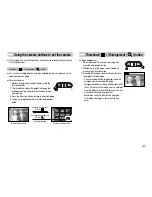
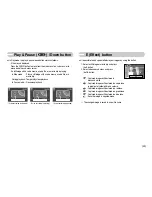
- If you protect an image, the protect icon will be
displayed on the LCD monitor. (An unprotected
image has no indicator)
- An image in LOCK mode will be protected from
the delete function or [Delete] functions, but will
NOT be protected from the [Format] function.
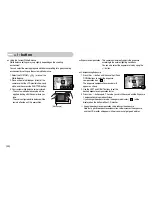
PROTECT
Select
All Pics
Exit:MENU
Move:
Set:OK
W
Unlock
T
Set:OK
W
Unlock
T
ƃ
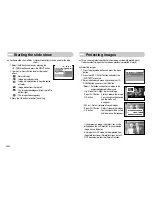
Configure slide show effects : Unique screen effects can be used for the slide
show.
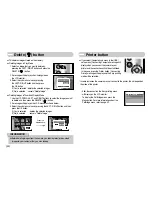
1. Select the [Effect] sub menu by pressing the
UP / DOWN button and press the RIGHT button.
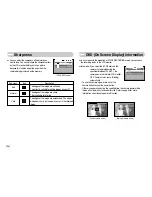
2. Use the Up / Down button to select the type of
effect.
: Normal display.
: Image is displayed slowly.
: Image is displayed slowly from the centre
outwards.
: Image moves from the top left.
: The image slides diagonally from top left to
bottom right.
: The image slides irregularly.
3. Press the OK button to confirm the setting.
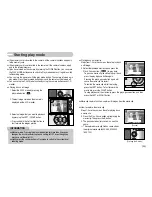
SLIDE
Show
Interval
Effect
Back:
Set:OK
OFF

