background image

MD22 INSTRUCTION MANUAL

5

Release system pressure then drain the pipe run where the device
is to be located (it may be necessary to drain the whole system).
When installing below a boiler or other object, allow 250mm
clearance from the top of the canister to beneath the object, to
enable the lid assembly to be removed when servicing. 

The device has been designed to facilitate various inlet and outlet
configurations. Most configurations will require Elbows. For
soldering we recommend 28x Yorkshire Solder Ring Elbow
YP1222mm (code08290), or for compression we recommend
2 Yorkshire copper KS61522mm (code 61124K) and the fitting
instructions (which follow) are based around dimensions of these
elbows. For clarity the recommended solder and compression
fittings require the same dimension of cutout.

Vertical pipe run: 

Measure and mark a 110mm section for a

22mm unit, as shown below. Remove this marked section using a
pipe cutter as shown. Now create 64mm and 106mm of 22mm
copper pipe to attach between the respective elbow and
compression fitting on the  inlet/outlet. Tip: Reuse the cut out
section.

Horizontal pipe runs: 

Measure and mark 73mm section and

remove the marked section with a rotary tube cutter. Create
64mm and 134mm lengths of 22mm copper pip to attach
between the respective elbow and compression fitting on the 
inlet/outlet. 

Tip:

Reuse the cut out section.

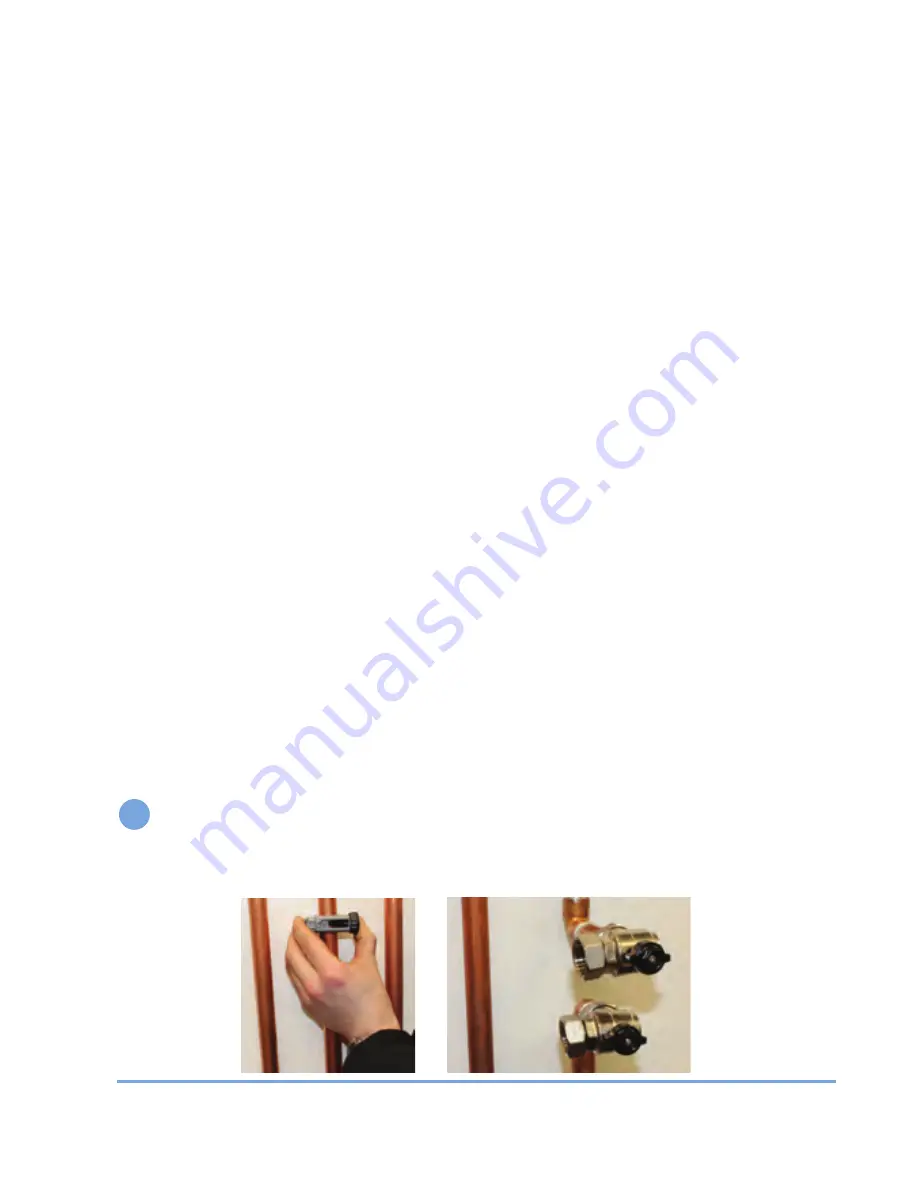
Prepare the pipe and fittings, lubricate the olives and connect
the valves on the pipe work, please only hand tighten the
connections at first.

1

MAG Defender Manual 013_Layout 1  28/02/2013  15:57  Page 6

Содержание MAG Defender MD22

Страница 1: ...DEFENDER Full Flow Magnetic Filter Model MD22 5 Y E A R WARRA N T Y...

Страница 2: ...particles can cause premature failure of valves and pumps and boiler efficiency is reduced dramatically as the particles contaminate the boilers heat exchanger and the complete system pipework The SA...

Страница 3: ...k Vent Pipe RETURN Boiler 110mm How to install 154mm Howtoserviceandclean QUICK REFERENCE GUIDE INSTALLATION In order to achieve the best protection for the boiler it is recommended that the Mag Defen...

Страница 4: ...r during commissioning Pipe runs are vertical horizontal or any angle in between The inlet and outlet can also be swapped to suit Where the device is fitted to the metallic building structure earth bo...

Страница 5: ...e based around dimensions of these elbows For clarity the recommended solder and compression fittings require the same dimension of cutout Vertical pipe run Measure and mark a 110mm section for a 22mm...

Страница 6: ...bber washers provided There are 2 supplied with this product Loosely secure the Mag Defender to the valves Grip the Mag Defender and tighten the compression fittings being careful not to over tighten...

Страница 7: ...spillage and partially open the drain valve using the cap as a tool to purge air from the device Close the drain valve once water starts to flow Bleed the device again after the system has reached tem...

Страница 8: ...work turn off electrical supply to the boiler and let the water cool down to a safe working temperature Using the Mag Defender spanner provided turn both isolation valves to the OFF position Using the...

Страница 9: ...Remove the inner lid and magnet assembly Withdraw the snorkel and mesh filter Some debris may stick to the snorkel however the majority will fall to the bottom of the canister Rinse snorkel and mesh f...

Страница 10: ...rain valve cap as shown Use the drain valve cap key to open the valve Ensure you have a bucket underneath to collect the spillage Open the drain valve fully and drain the Mag Defender into a bucket Ri...

Страница 11: ...TRUCTION MANUAL 11 Insert snorkel and mesh filter Insert magnet Now replace the lid onto the canister and tighten with the Mag Defender spanner Do not over tighten Close drain valve and replace cap 9...

Страница 12: ...ucket ready to collect spillage and partially open the drain valve using the cap as a tool to purge air from the device Close the drain valve once water starts to flow Bleed the device again after the...

Страница 13: ...500ml and the inhibitor should be poured down the outer edge of the snorkel DO NOT POUR DOWN CENTRE OF THE SNORKEL Tip Cover the centre hole of the snorkel temporarily with the inhibitor lid Continue...

Страница 14: ...efender is the flow and which is the return The inlet and outlet on Mag Defender are reversible and there is no flow restriction How often do I service the Mag Defender Servicing is required once a ye...

Страница 15: ...valves to the marked OFF position using the spanner provided Important Remember to switch off the electrical supply to the boiler when servicing the Mag Defender Will the Mag Defender affect my pacema...

Страница 16: ...e guidelines can be found at www hse gov uk electricity The inlet and outlet on the MAG Defender are reversible and there is no flow restriction Following installation don t forget to complete the war...

Страница 17: ...ce with its specification for a period of five years from the date of installation SALUS Controls sole liability for breach of this warranty will be at its option to repair or replace the defective pr...

Страница 18: ...MD22 INSTRUCTION MANUAL 18 SALUSrecommendstheuse ofSALUSSYSTEM GUARDproducts withtheMAG DEFENDER...

Страница 19: ...MD22 INSTRUCTION MANUAL 19 Formoreproductsinthe SALUSrangevisit www salus tech com...

Страница 20: ...pressionNylonCap Neodymiummagnet assembly hermetically sealedinSSTL304 Polypropylene Snorkel 500mlhydrolysisresistantcirculationchamber 22mmcompressionInlet andoutlet360swivel isolationvalve x2 BSPdra...

Отзывы: