19
TIP: If the flow of wort through the false bottom is slow you need to
reduce the flow through the pump by using the riser pipe valve. This
may be caused by the e mash can begetting “stuck”, i.e. the mash is
compressed near the bottom. It can then sometimes help to gently
stir the mash.
When the mashing phase is completed an audible signal will be
heard, and the next phase will start.
Phase
II
: Lautering:
After the mashing phase the brew controller will automatically
start heating the wort in the bottom of the brew kettle to 78°C.
This phase consist of two parts; circulation and sparging.
Tip: If you haven’t already adjusted the settings for this phase you
can do this now.
Circulation:
Now, while the lid is still on and the riser pipe valve is open:
start the pump and circulate during this phase. You will find that
the temperature in the mash will rise to the target lautering
temperature (mashout).
When the temperature is reached there will be a new audible
signal, and the countdown of the lautering phase will start.
Note: The default time setting for phase
II
is 60 minutes. The
time value for this phase should be reduced to 15 minutes when
using the false bottom, as the circulation can stop when the
temperature in the mash has reached 78°C (mashout). Please
note that the lautering phase will continue with sparging, even
after the brew controller has finished and switched itself off.
Sparging:
Now, when the brew controller has finished and turned itself off,
you need to switch off the pump and close the riser pipe valve.
Disconnect the lid CamLock from the riser pipe and remove the
lid.
It is now time to add fresh, hot water of holding 78°C (sparge
water) to the mash, and at the same time runoff of wort from
the brew kettle.
First, place a bucket under the brew kettle tap and open adjust
the tap ball valve to, about apporoximately 25% of maximum
opening. The tap opening should be adjusted so that the runoff
amount is 20 litres pr. 30 minutes.
Tip: It is suggested that you use at least two or morefermenting
buckets that each can hold 15 to 20 litres each, enough for your
desired pre-boil volume.
Next, slowly pour the pre-heated sparge water (about
approximately 78°C) over the mash. Try to pour at a speed
that will maintain 2-3 cm of water above the grain, for an even
pressure across the grain bed.
This method is called continuous sparge, and is considered the
most efficient way of extracting sugar from the mash.
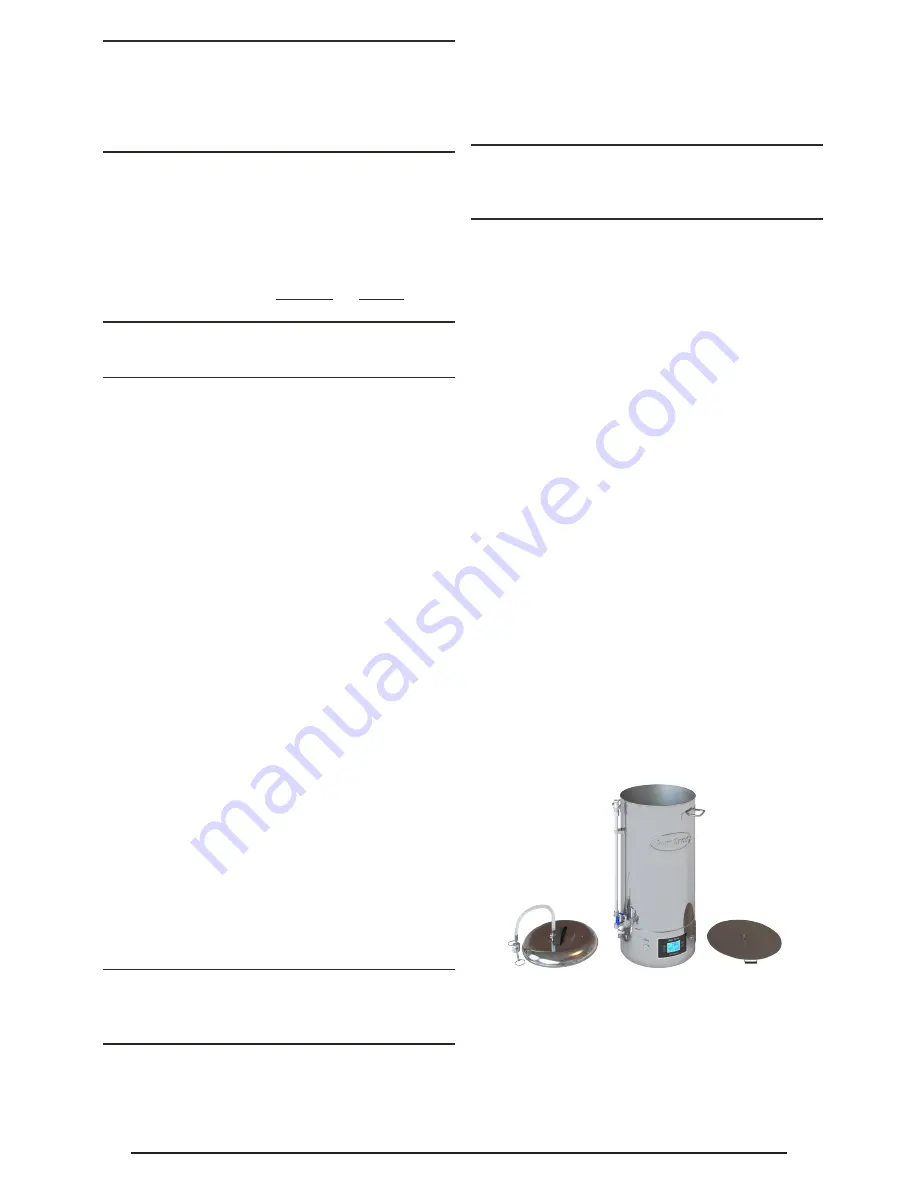
Tip: You can use the brew kettle lid and the shower head as a “sparge
head” to distribute the sparge water over the mash. Connect the lid
hose to your water heater or other source holding the sparge water.
Note: It is adviced that you don’t stir the mash during sparging
as this may allow more tannins and grain particles to make
its way into the wort. But at the same time, the sparge water
running through the mash can form “tunnels”, causing less
sugar to be washed out of the mash. If you do chose to stir, only
stir gently a few times, and do not stir all the way to the bottom
of your mash.
Stop sparging and close the tap ball valve when you have
collected the desired amount of wort, normally about 30 litres
(using the model 30) or 60 litres (using model 60). Read more
about this in the chapter “Water calculation”.
You now need to disconnect the power cord and empty the brew
kettle. Remove the mash, for example by using a ladle, then
remove the false bottom and rinse out the remaining wort and
mash by using warm water only. Use a soft brush if necessary.
Phase
III
:
Place the brew kettle back on a stable surface and connect
the power cord to the wall outlet. Do not put the false bottom
back into the brew kettle. Pour the wort back into brew kettle.
You should keep a clearance from the brew kettle rim of about
five cm. If you fill up the brew kettle more than above this level,
there is a high risk of a boil-over. You should also remember
that the wort will increase in volume by approximately 3 % when
heated from a temperature of 20°C to boiling temperature.
Turn the brew program selector to “
• • •
” and press the “ON”
button to initiate the brew program. The display light will
illuminate, and the brew kettle will start heating and continue
until the target boil temperature (100°C) has been reached.


