background image

Safco Products Company,  New Hope, MN 55428

5110-37MP:  2 of 6;  Rev. 2: 12/03

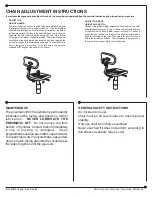
CHAIR ADJUSTMENT INSTRUCTIONS

To maximize the ergonomic benefits of this chair, it is essential to understand how the controls function and how they affect your posture.

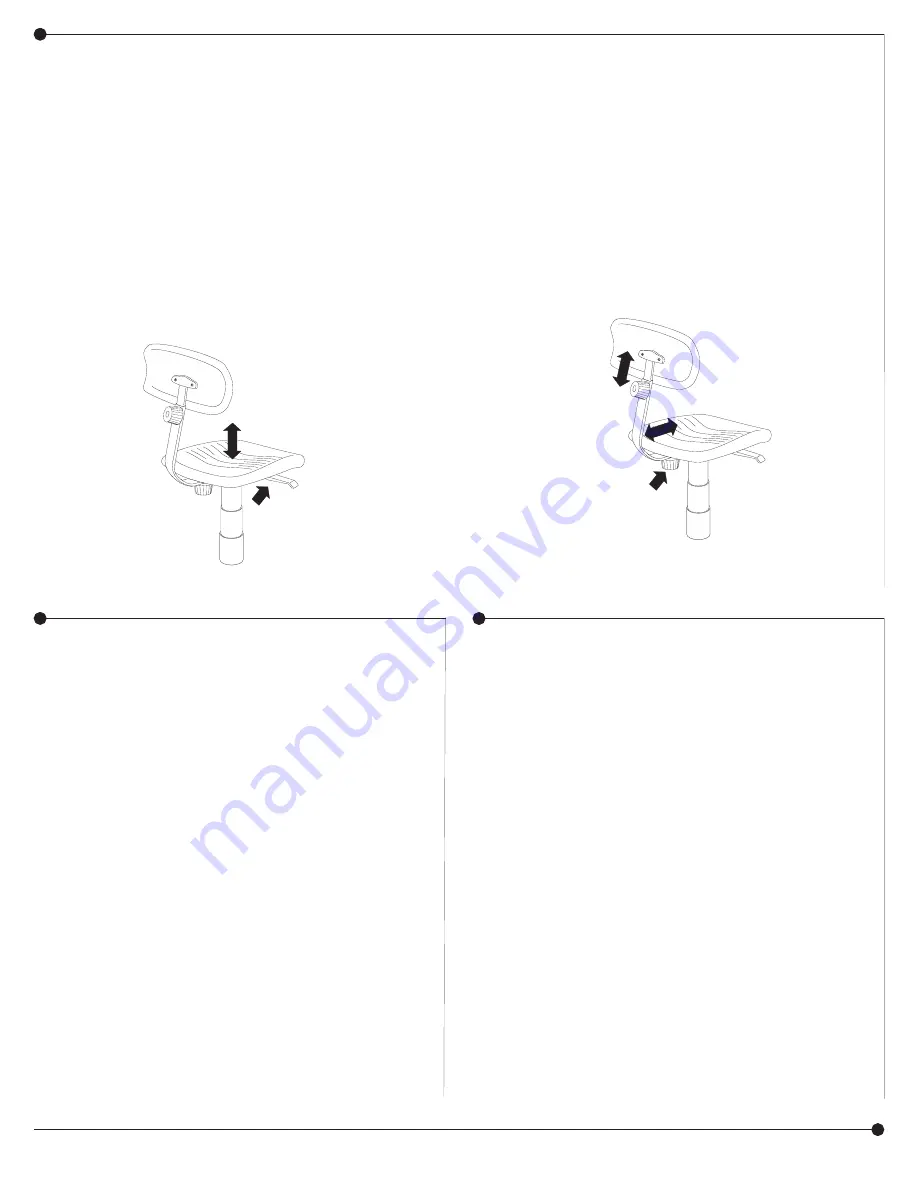
ADJUST THE
HEIGHT RANGE:

The lever under the seat on the right side pneumatically adjusts

the height of the seat over a range of about 8".  The proper height

should be determined by a combination of variables:  the height

of the work surface, the task to be performed and your body size.

Typically, the chair should be high enough so your arms form a

90

o

 angle at the elbow or slightly greater.  This allows for better

circulation in the shoulders and neck area and also reduces the

amount of fatigue in the forearms and hands.  The feet should lie

flat  on  the  ground  or  footring.    To  help  insure  good  posture,

maintain a 90

o

 angle at the bend of the knees.

ADJUST THE BACK
HEIGHT AND DEPTH:

Loosen the backrest height adjustment knob behind  the seat.

Slide the backrest assembly up or down and adjust the height

of the back, which has a lumbar support curve to it.  The knob

under the seat allows you to adjust the backrest forward and

back. Sit centered on the seat.  The curve in the backrest should

fit into the small of your back.  This will reduce the pressure on

the spinal discs, especially in the lumbar area.

MAINTENANCE

The pneumatic lift in the Cylinder is permanently

lubricated at the factory and needs no further

lubrication.   

NEVER  LUBRICATE  THE

PNEUMATIC  LIFT

.  Do not remove clip from

bottom of Cylinder. Contact Safco immediately

if  clip  is  missing  or  damaged.    Clean

polyurethane seat and back with soap and water.

To repair small cuts in polyurethane, apply a few

drops of quick-drying glue into the cut and press

the sides together until the glue sets.

GENERAL SAFETY INSTRUCTIONS

Do not stand on seat.
Chair must be on level surface to ensure proper

stability.
Only use chair when fully assembled.
Never use chair if it does not perform according to

this sheet or warranty may be void.

Содержание TASK MASTER 5110

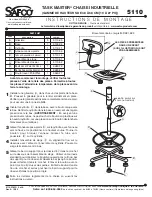
Страница 1: ...c lift Slide D Foot Ring on to cylinder ring side up posi tion at desired height Turn knob to secure Place E Dust Cover over exposed cylinder Install the F Seat Assembly by aligning the hole on the underside with the shaft of the cylinder assembly push down firmly on seat Slide I Back Support Bar into bracket on underside of seat assembly Use a standard screwdriver to depress push button near end ...

Страница 2: ... AND DEPTH Loosen the backrest height adjustment knob behind the seat Slide the backrest assembly up or down and adjust the height of the back which has a lumbar support curve to it The knob under the seat allows you to adjust the backrest forward and back Sit centered on the seat The curve in the backrest should fit into the small of your back This will reduce the pressure on the spinal discs esp...

Страница 3: ...e Utiliser un tournevis standard pour déprimer le bouton poussoir près la fin du bar du support pour le dossier lit Glisser la bar jusqu à le bouton poussoir fermer dans le crochet Enlever le bouton avec le point du cône H du sac des parties Enfiler le bouton dans le trou du crochet et serrez pour fixer le bar du support pour le dossier lit dans la position propre Faire les derniers règlements de ...

Страница 4: ...de dossier vers le haut ou vers le bas pour régler la hauteur du dossier qui est courbe pour assurer un support lombaire Le bouton qui se trouve au dessous du siège permet de régler le dossier vers l avant ou vers l arrière Pour régler la profondeur du dossier il faut s asseoir avec le corps bien centré sur le siège La courbe du dossier devrait épouser le creux des reins pour réduire la pression s...

Страница 5: ...n cierra en el anaquel Remueva el bulto con el punto del cono H de la bolsa de las partes Enhebre el bulto en el agujero del anaquel y tense para fijar el bar de apoyo para el respaldo en la posición apropiada Para hacer los ajustes finales siga las instrucciones que se encuentran al reverso de esta hoja 5110 37MP 5 of 6 Rev 2 12 03 TASK MASTER SILLA INDUSTRIAL RANGO DE ALTURA DE 48 A 68 CM 19 27 ...

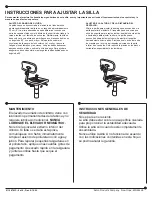
Страница 6: ...a en la parte posterior del asiento El respaldo tiene una curva que sirve de soporte para la región lumbar deslícelo hacia arriba o hacia abajo para ajustar la altura La perilla que se encuentra debajo del asiento permite ajustar el respaldo hacia adelante o hacia atrás Siéntese en el centro de la silla de manera que la curva del respaldo coincida con la parte inferior de su espalda Esto reducirá ...

Отзывы: